Introducing Patterns, the quintessential video test pattern generator for macOS. Backed by Metal, Patterns is also color management compliant allowing for validation through the entire processing path.
Requirements
- Requires macOS 10.12 or later.
- Calman Home, Video Pro, Studio, or Ultimate required
- Version 5.13.0. or later.
- Calman Supported Meter Hardware
- Apple Built-In or External SDR display
Step 1
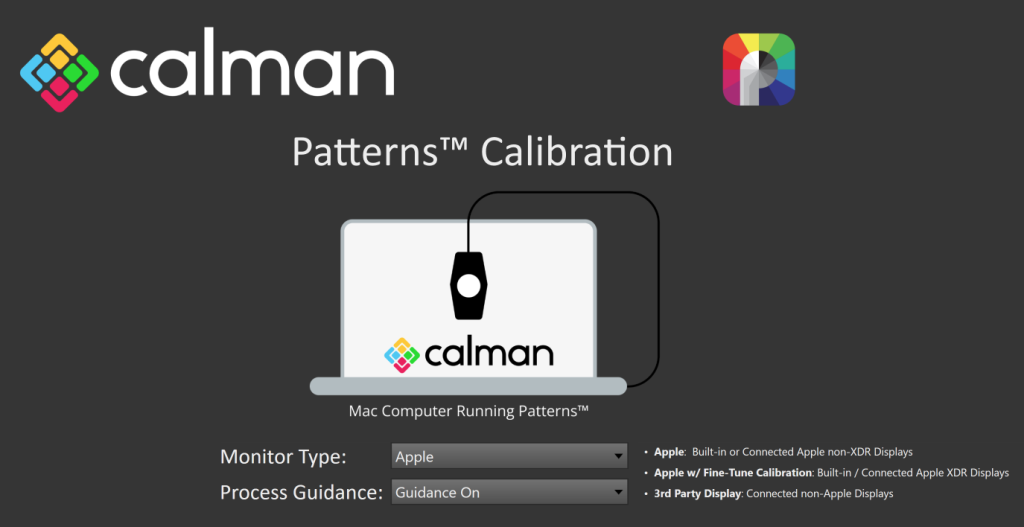
Welcome to the Patterns™ Calibration Workflow
- From the Calman Menu in the top-left, choose Open Workflow Template -> Calibration and then Patterns™ Calibration
- For Apple Built-in or External displays capable of SDR, choose Apple
- This will configure the workflow to best support built-in or external Apple displays
Step 2
Connect Patterns and your Meter
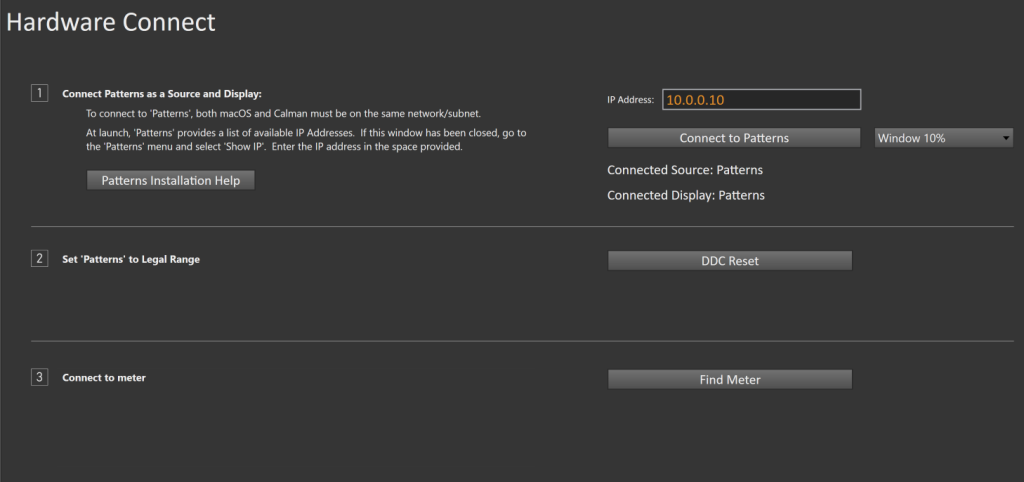
- To connect to Patterns, both macOS and Calman must be on the same network/subnet.
- At launch, Patterns provides a list of available IP Addresses. If this window has been closed, go to the Patterns menu and select Show IP. Enter the IP address in the space provided.
- Click Connect to Patterns.
- This will automatically connect to Patterns as both a pattern generator and display device
- Connect your meter to Calman
Step 3
Set your colorspace settings for Pre-Calibration Validation.
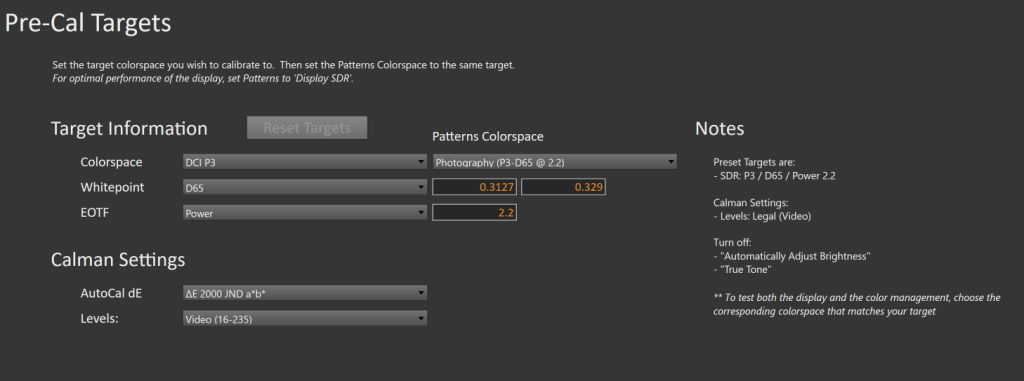
- Set the target colorspace you wish to calibrate to. Then set the Patterns Colorspace to the same target.
- For optimal performance of the display, set Patterns to ‘Display SDR’.
- In the macOS Display Preferences, Disable:
- Automatically Adjust Brightness
- True Tone
Step 4
Here you will measure the pre-calibration state of your selected colorspace
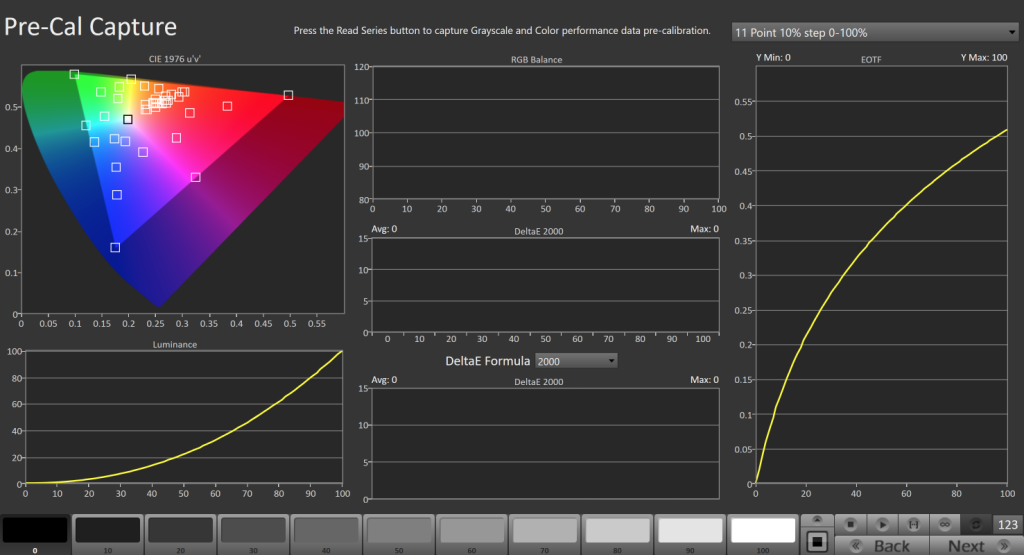
- To take Pre-Calibration Measurements click the Read Series […] button to measure the display’s grayscale and ColorChecker response
Step 5
Here you will establish your targets for calibration
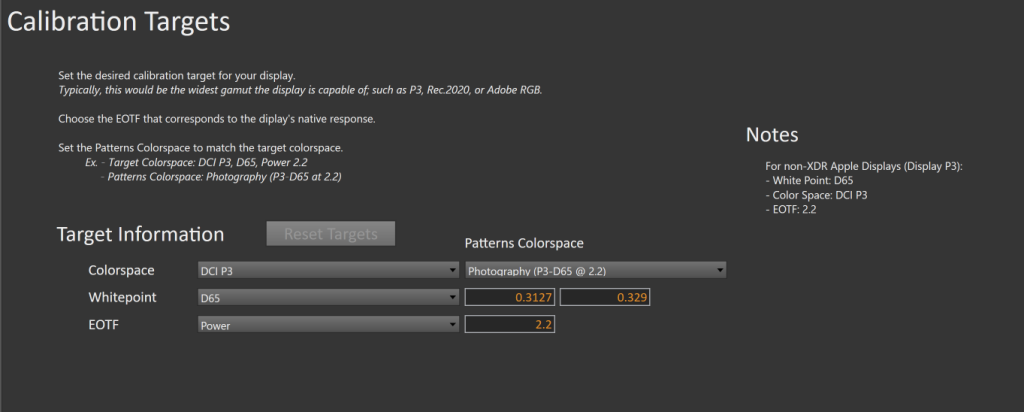
- Set the desired calibration target for your display.
- Typically, this would be the widest gamut the display is capable of; such as P3, Rec.2020, or Adobe RGB.
- Choose the EOTF that corresponds to the display’s native response.
- Set the Patterns Colorspace to match the target colorspace.
- Example: Target Colorspace: DCI P3, D65, Power 2.2, Patterns Colorspace: Photography (P3-D65 at 2.2)
- For non-XDR Apple Displays (Display P3):
- White Point: D65
- Color Space: DCI P3
- EOTF: 2.2
Step 6
Adjust the overall luminance of your display

- Click the Read Continuous button to measure your display’s light output at 100% white and adjust the display’s peak white to the desired luminance.
- Luminance is a subjective target. SDR reference luminance is 100nits, but you may need to target higher to account for the ambient light in your environment.
- Adjust your displays backlight/brightness control so your display is about 15% brighter than your final target to account for a reduction in luminance when calibrating the 1D LUT in the next step
- Press Stop when luminance adjustment is complete
Step 7
Here Calman will perform calibration to the selected targets.

- Press the AutoCal button in the lower right
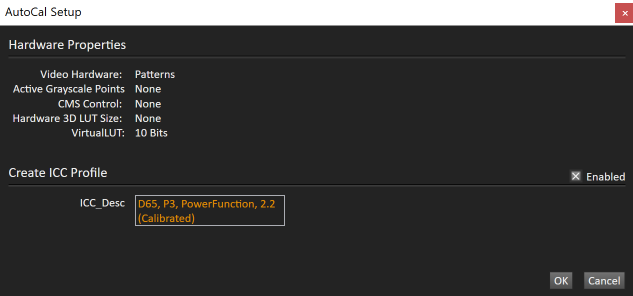
- On the AutoCal Setup Dialog, name your ICC profile for easy identification
Step 8
It’s common to lose some overall luminance following calibration, here you can verify and adjust your post-calibration luminance levels
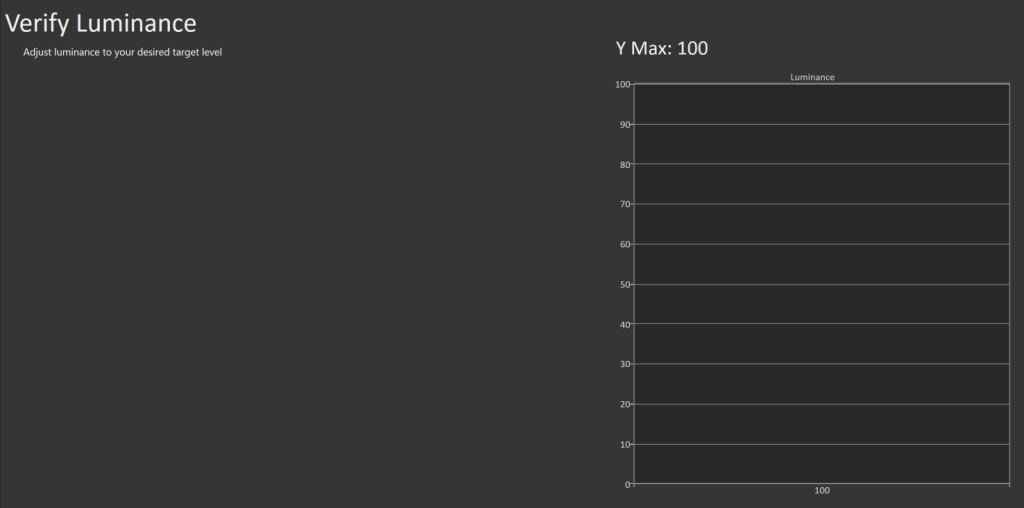
- Use the Read Single or Read Continous buttons in the lower right corner to measure your overall luminance and make small adjustments as needed to reach your target
Step 9
Here you will choose your colorspace for post-calibration verification

- Choose the same target colorspace in Patterns and Calman for validation.
Step 10
Here you will measure against your chosen colorspace
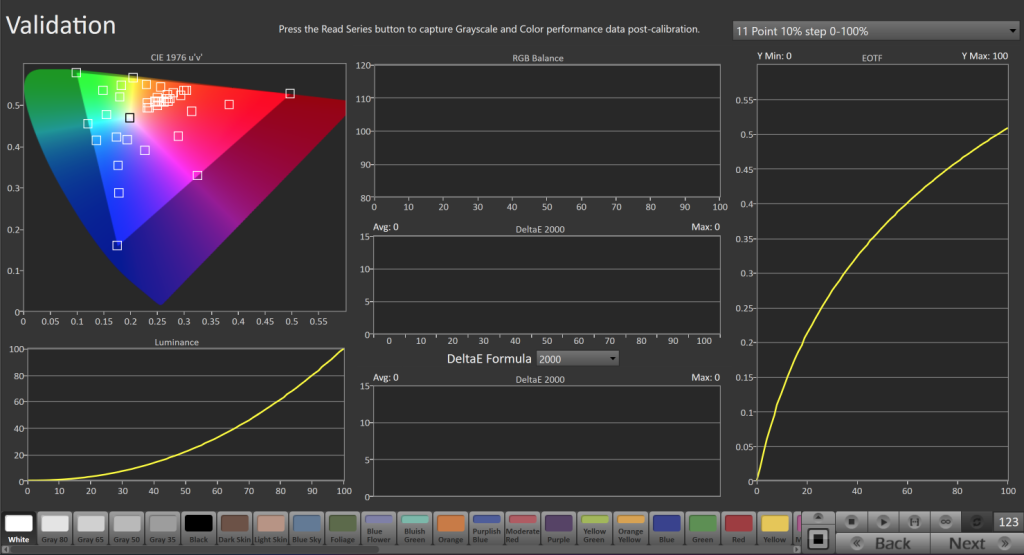
- To take Validation Measurements click the Read Series […] button to measure the display’s grayscale and ColorChecker response
Calibration Complete
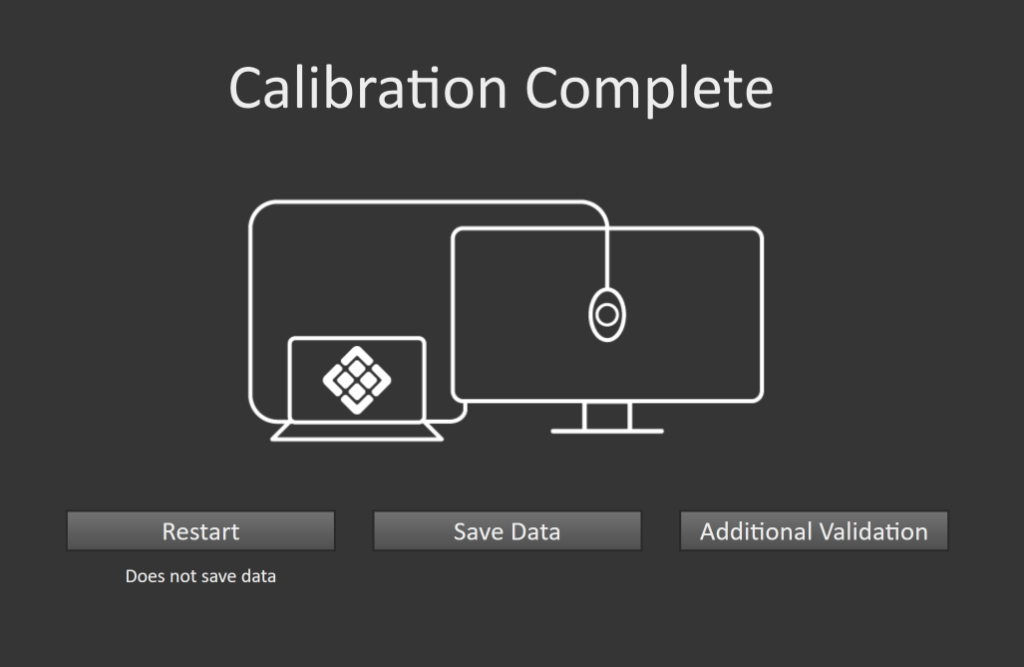
- Following Calibration, you can choose to…
- Restart – Resets the workflow and returns to the beginning of the calibration process
- Save Data – Saves the calibration session for later reference
- Additional Validation – Provides ColorChecker and Saturation Sweep layouts to perform more in-depth verification