Calman Studio and Ultimate provide direct calibration support for Calman Ready ASUS monitors. Through the built-in integration, Calman connects to the display over USB to perform automated grayscale, color, and gamma corrections. This workflow delivers precise and reliable results, optimized for professional content creation and color-critical work.

![]()
Calman Supported Models
- PA24US
- PA27UCX
- PA27UCX-K
- PA32UCG
- PA32UCG-K
- PA32UCR
- PA32UCX
- PA32DC
- PA32UCDM
- PA32UCE
Calman Required Version
- Calman (Ultimate or Studio) Version 5.16.2 or later
Step 1
- From the Calman Menu in the top-left, choose Open Workflow Template -> Calman Ready and then ASUS.
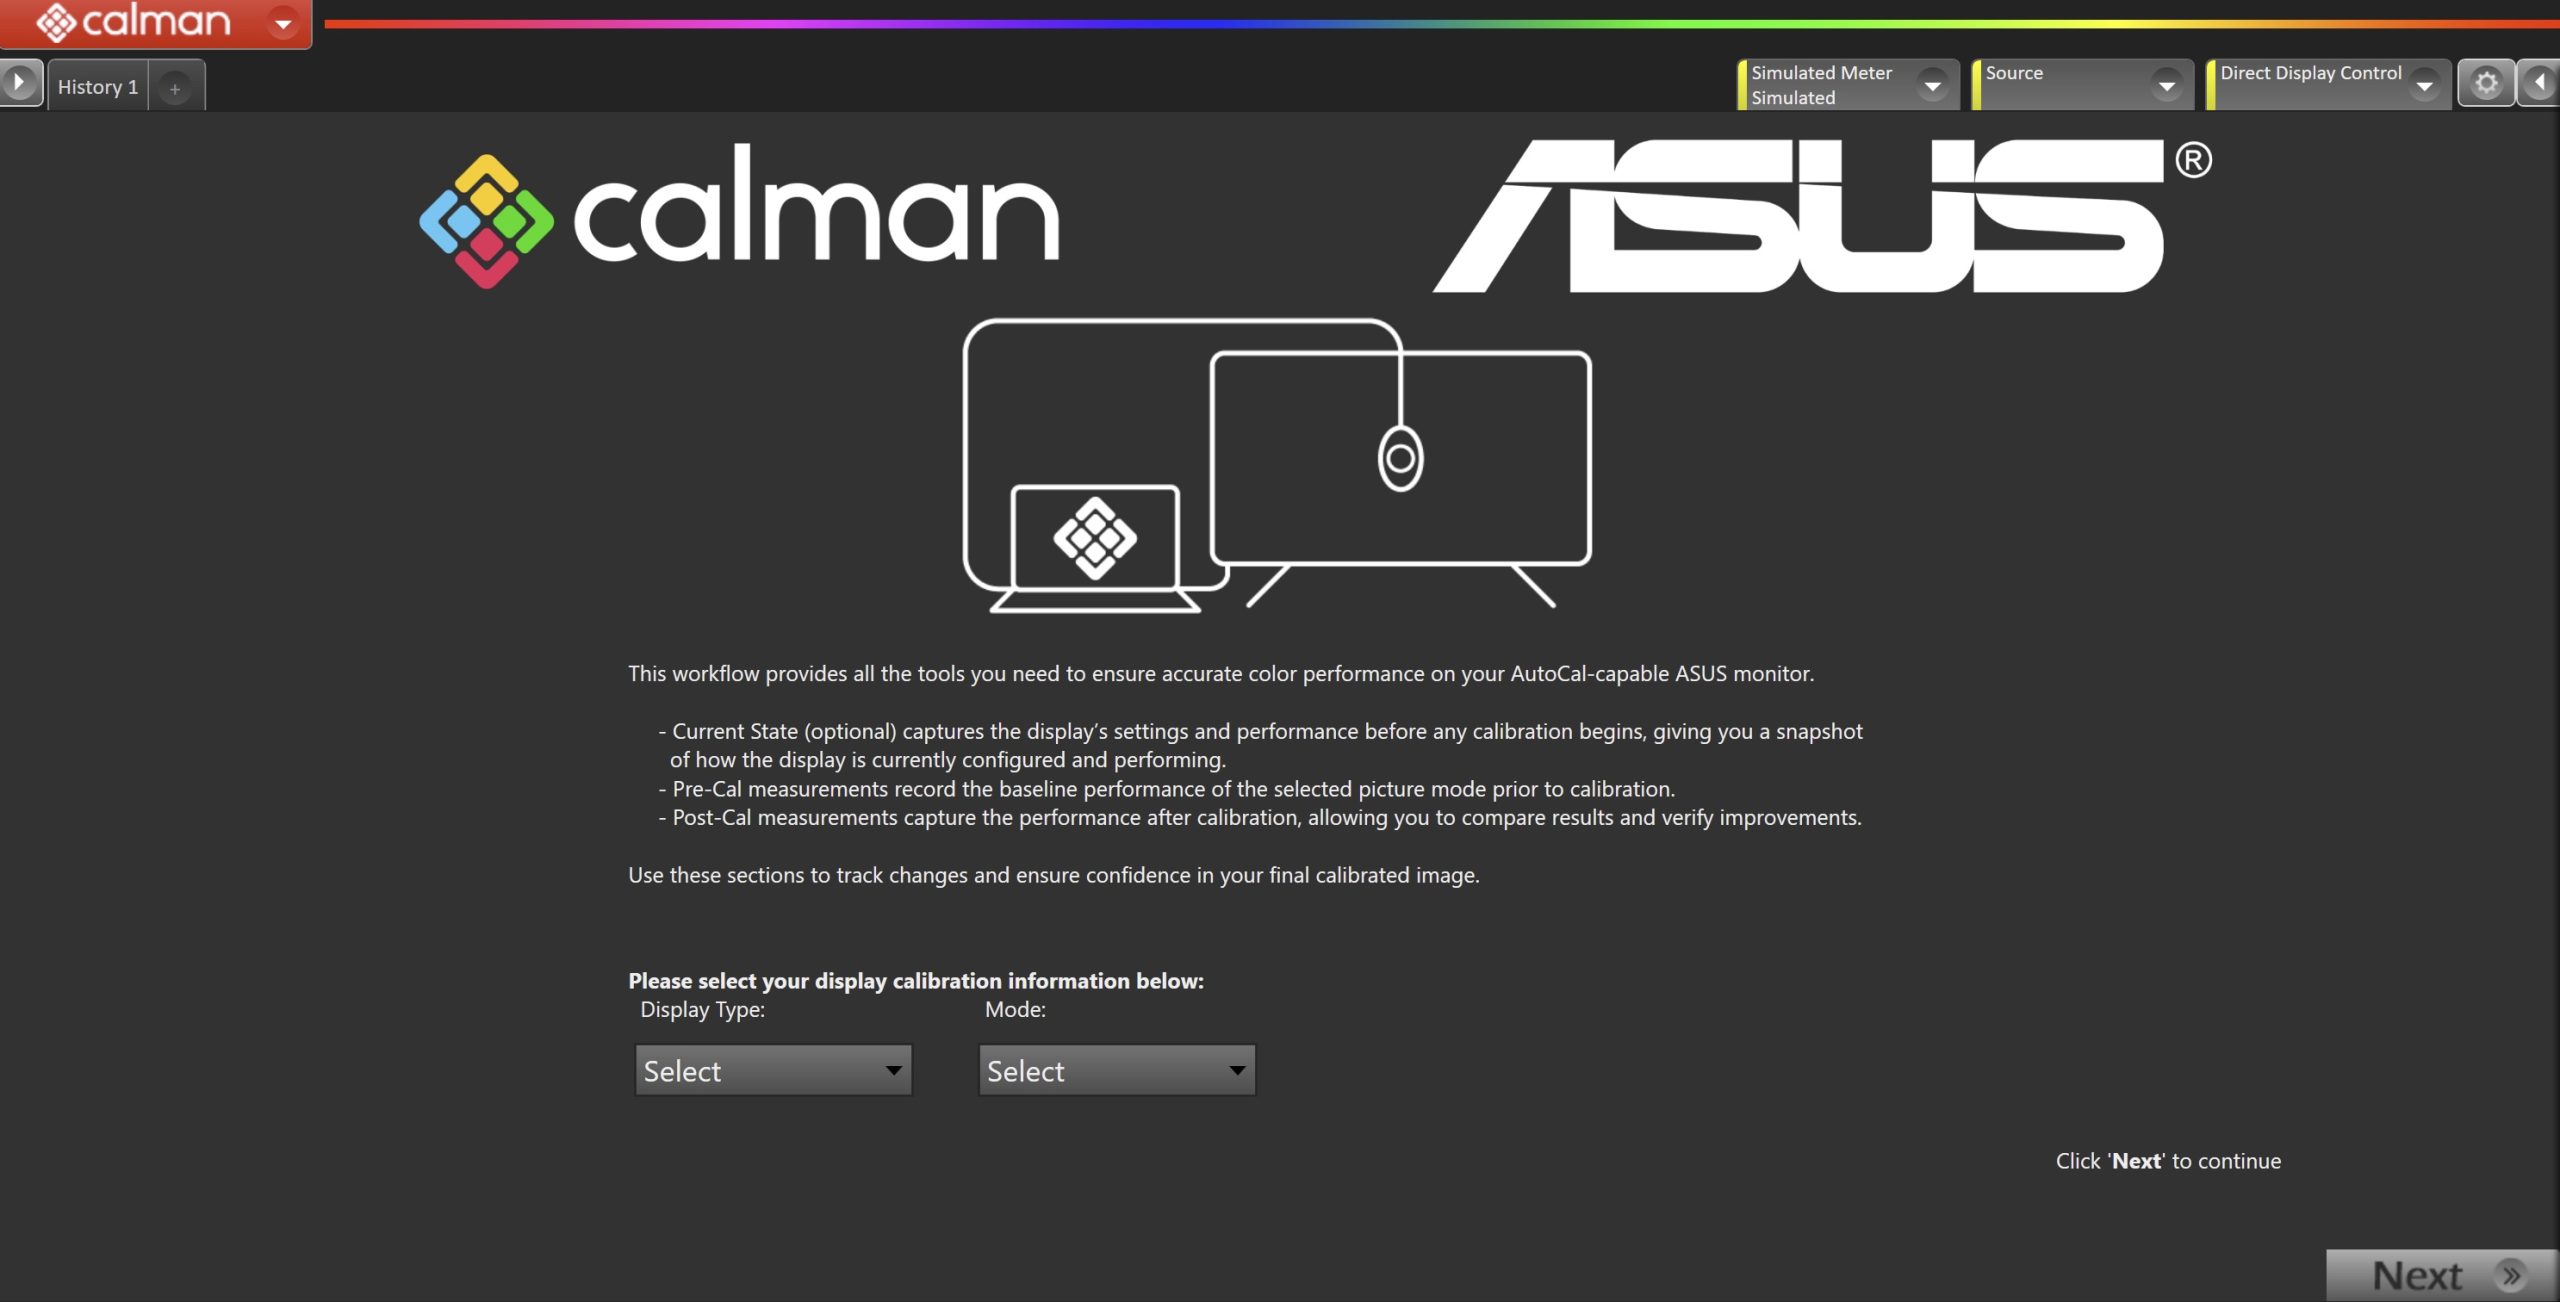
- On the introduction screen, select your display type (OLED or LCD) and mode (SDR or HDR) from the dropdown and click Next to proceed to Hardware Setup
Step 2
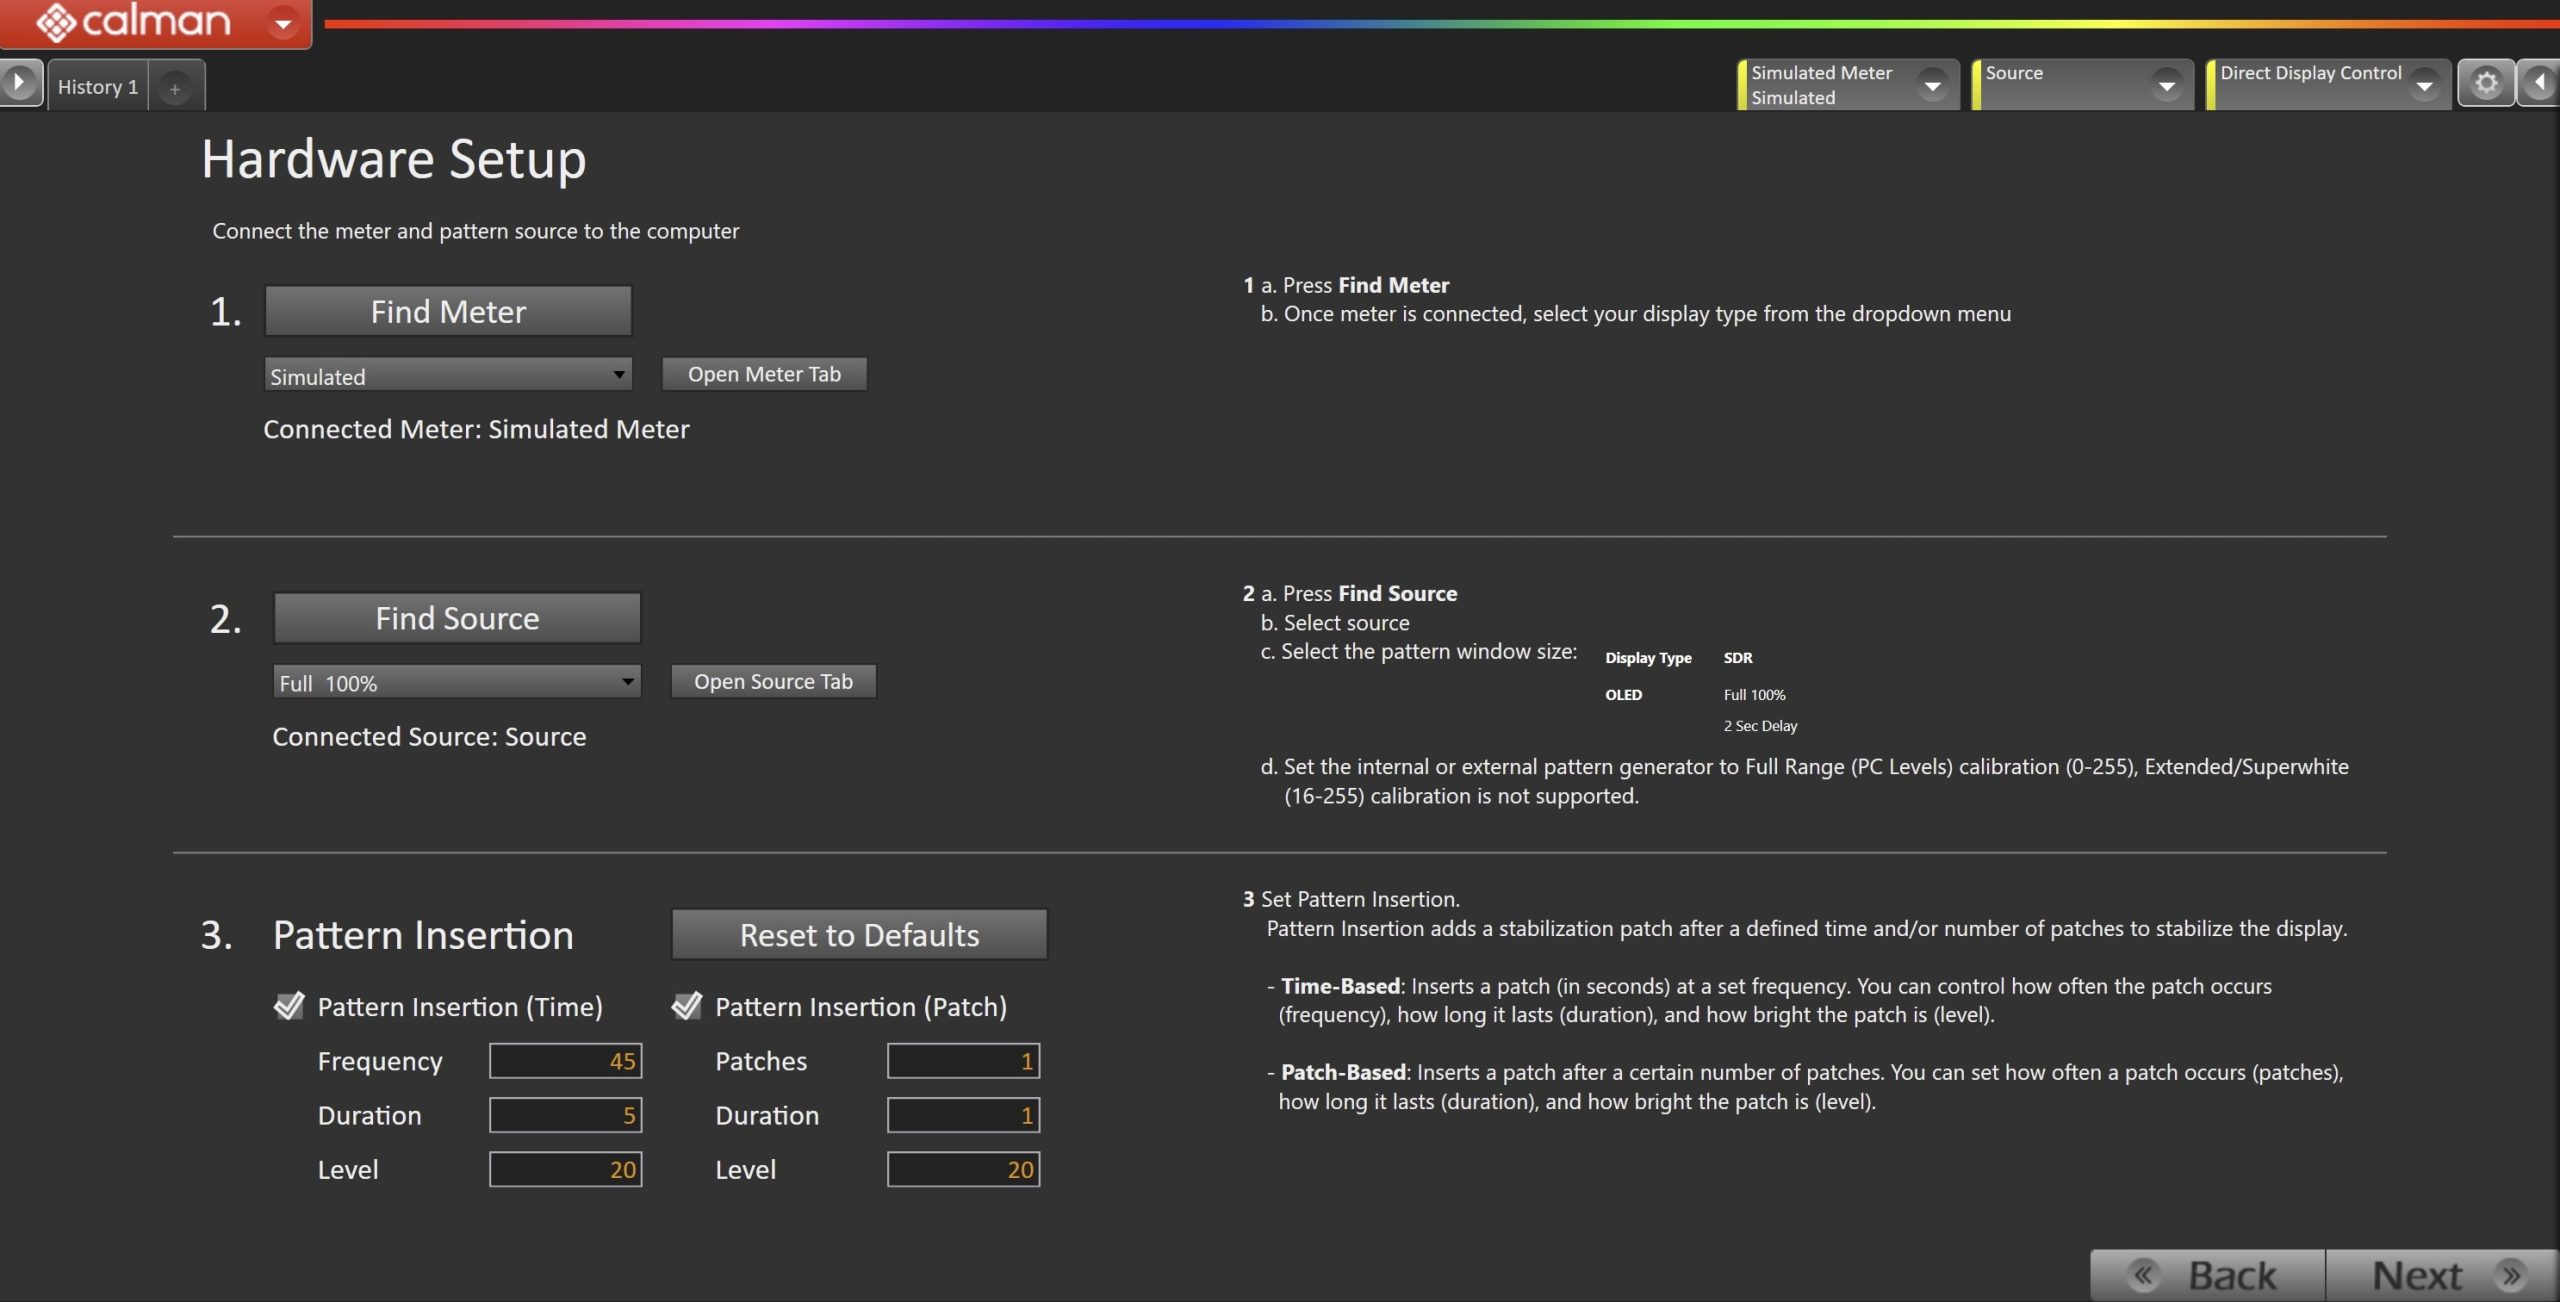
- Plug your meter into a USB port on the computer and press the Find Meter button on the left.
- When your meter is connected, select your display type from the dropdown
- Connect Pattern Source to your computer.
- Click the Find Source button, then select your source
- Select the pattern window size and delay
- OLED: Window 2% with 0.75-second delay
- LCD: Window 10% with 1.25-second delay
- Ensure your source is set to match your video range, and SDR or HDR corresponding to your choice in Step 1
- Note: The ASUS internal pattern generator cannot be used for HDR calibration.
- Set Pattern insertion
- Click the Reset to Defaults button to set the appropriate pattern insertion for the display and calibration type in Step 1
- Click Next to proceed
Step 3
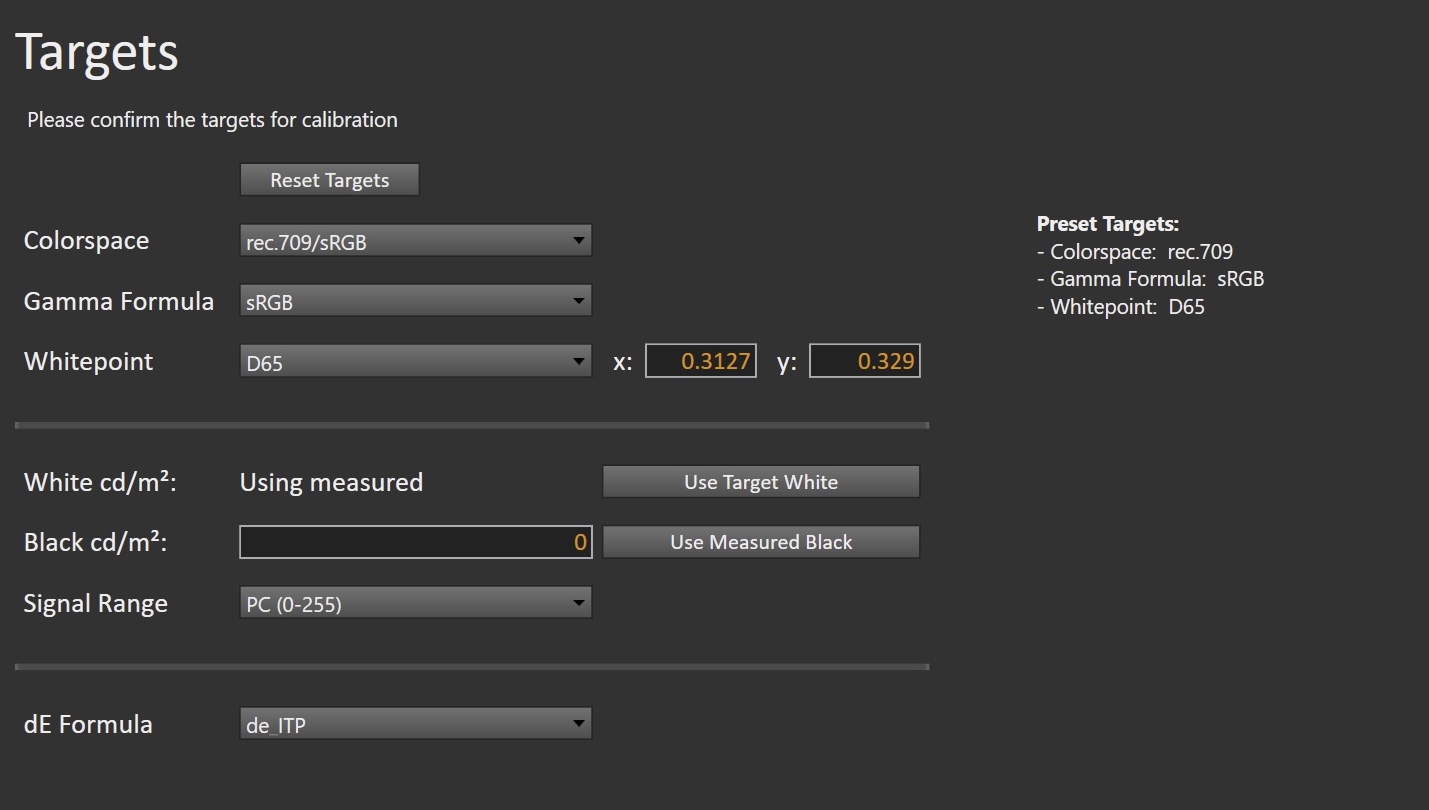
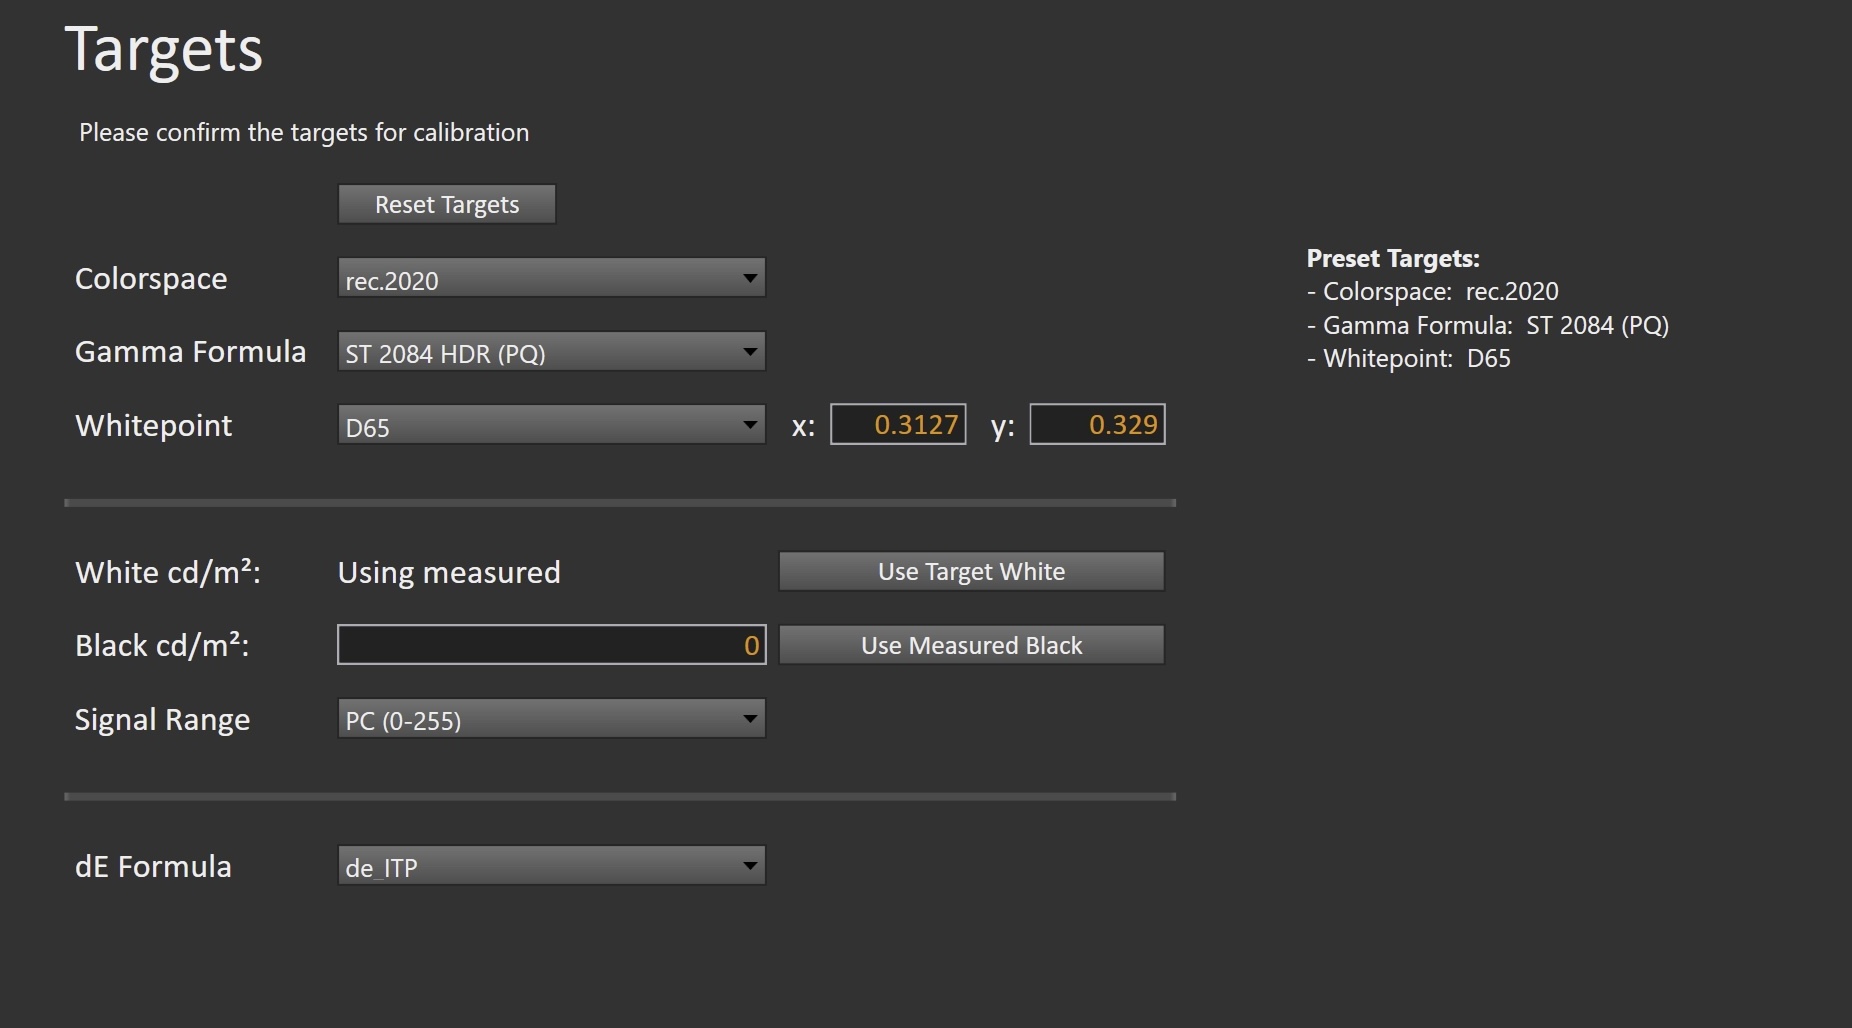
- Select the calibration targets
- Confirm/configure your calibration targets. These will be automatically set to common defaults by the options from Step 1
- Configuration Examples:
| SDR | HDR |
 |
 |
(Optional) Current State Measurements
- This workflow page is intended to document the monitor’s current operational state before establishing any DDC connection or selecting a calibration mode.
- This step can be skipped if documenting the current state is not needed. Another set of Pre-Calibration measurements will be taken in later steps.
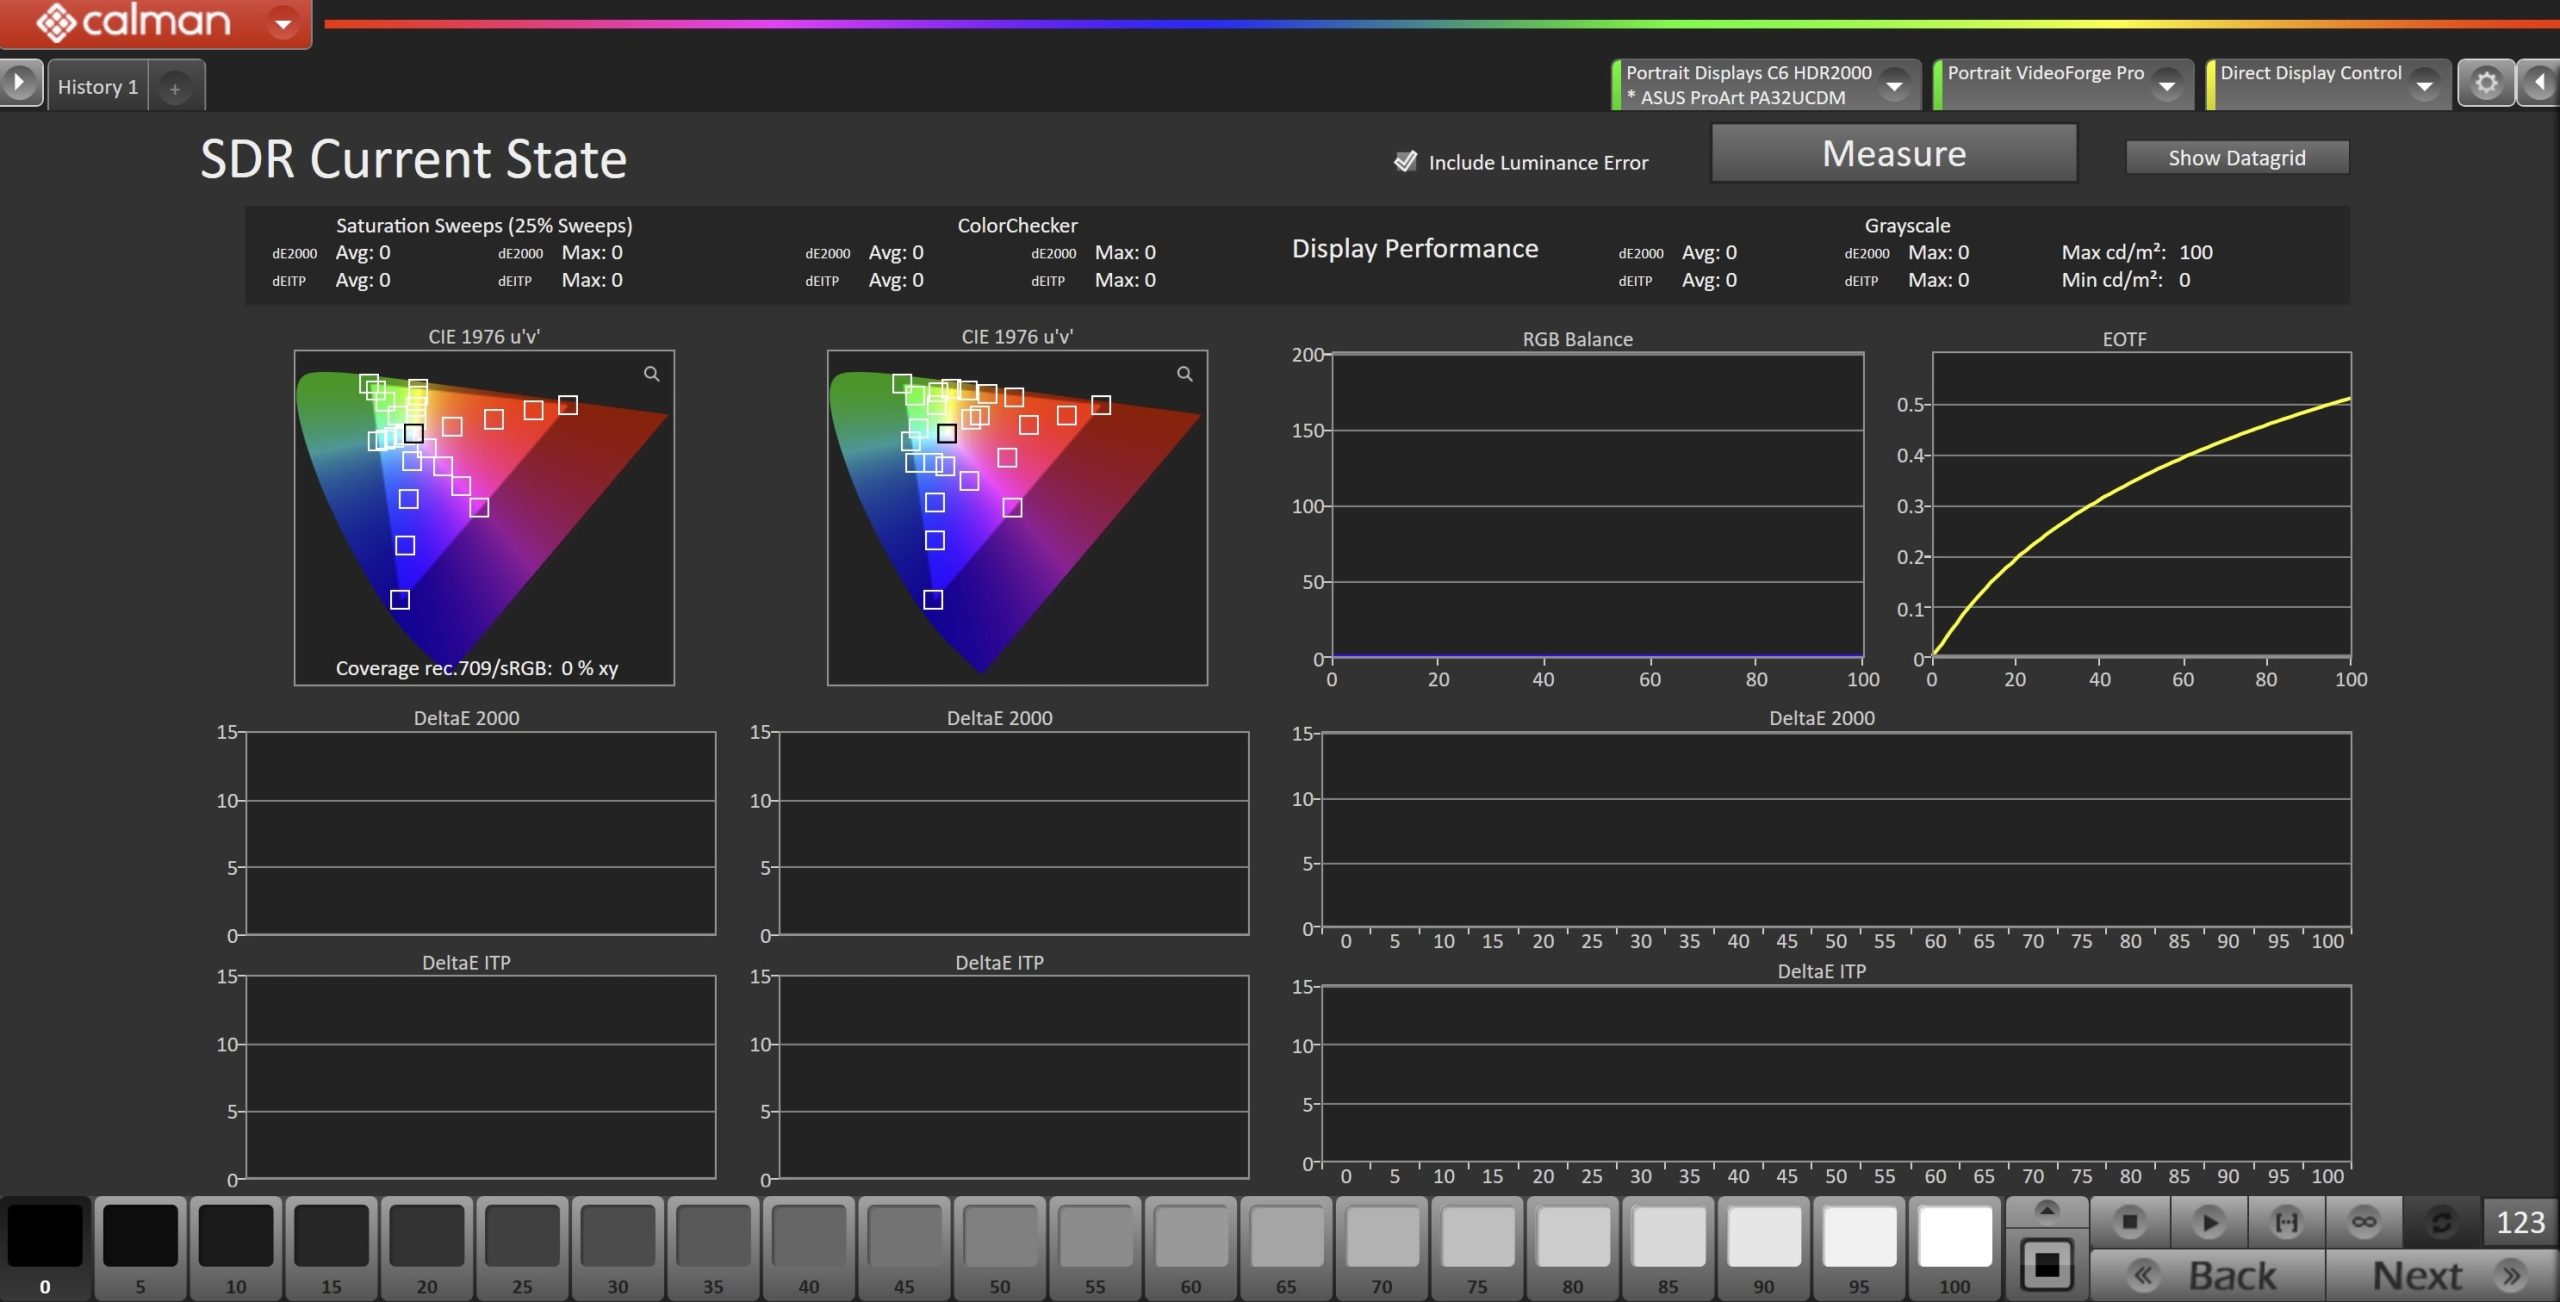
- To take Current State Measurements, click the Measure button to measure the display’s rayscale and color response.
- Click Next to proceed
Step 4
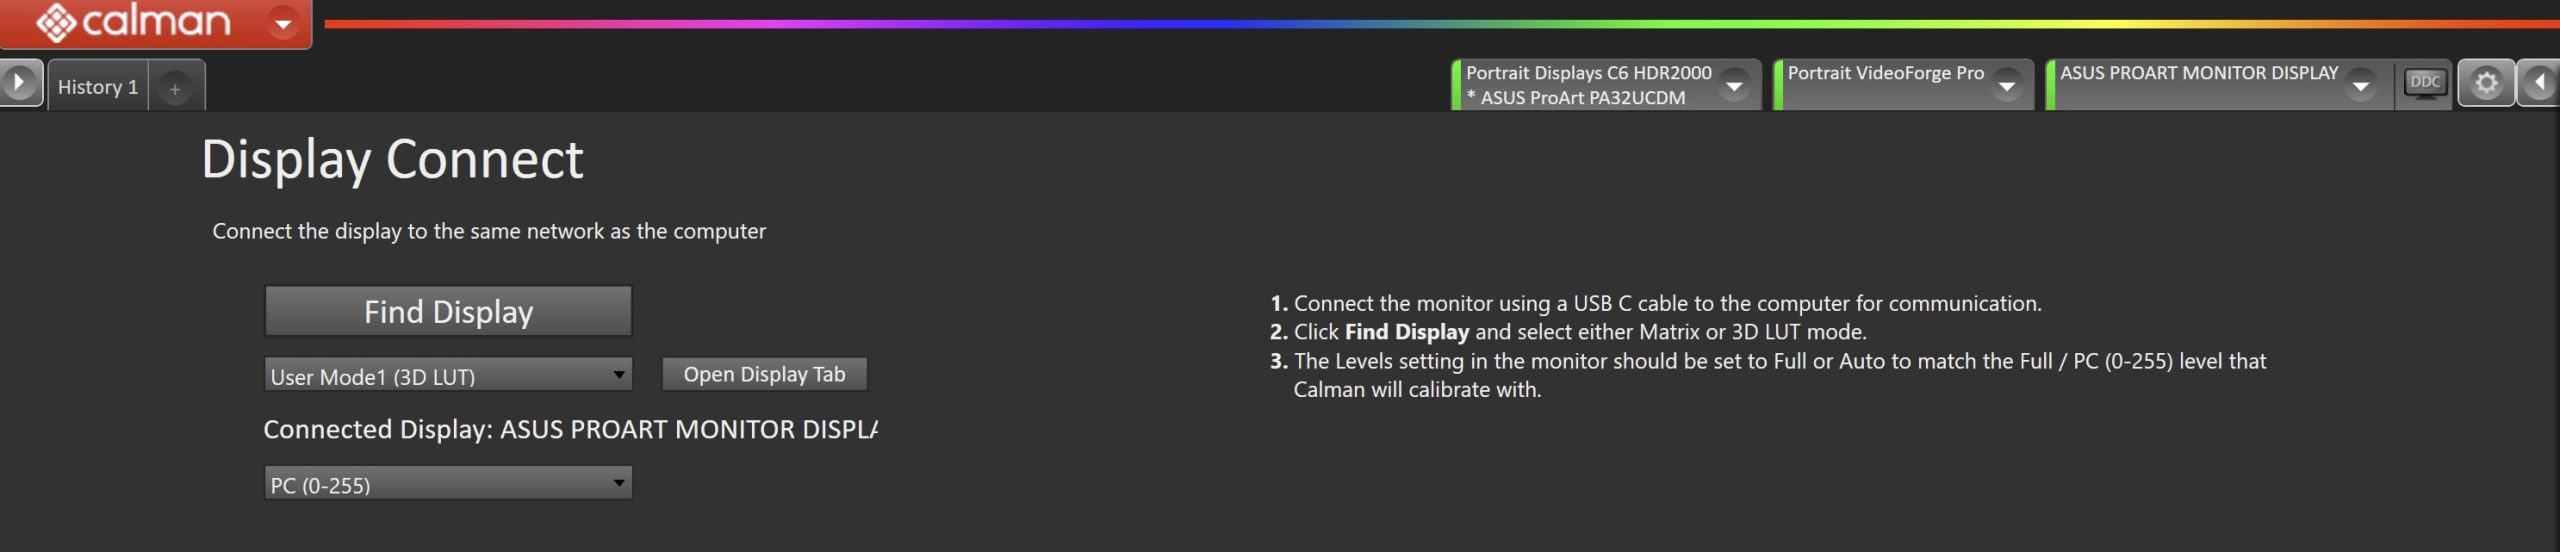
- Connect your ASUS Monitor
- Connect the monitor to the computer using a USB-C cable for communication.
- Click Find Display
- On the Find Display dialog, you can choose two calibration methods. Connect with the method you wish to calibrate with.
- Asus ProArt Monitors 3D LUT
- Calibrates the monitor using a 1D LUT for grayscale calibration, and a 3D LUT for color gamut correction
- Asus ProArt Monitor Matrix
- Calibrates the monitor using a 1D LUT for grayscale calibration, and a 3×3 matrix for color gamut correction
- Note: Not available for HDR calibration
- Asus ProArt Monitors 3D LUT
- Note: The Levels setting in the monitor should be set to Full or Auto to match the Full / PC (0-255) level that Calman will calibrate with.
Pre-Calibration Measurements
- This workflow page is intended to document the target picture mode prior to calibration.
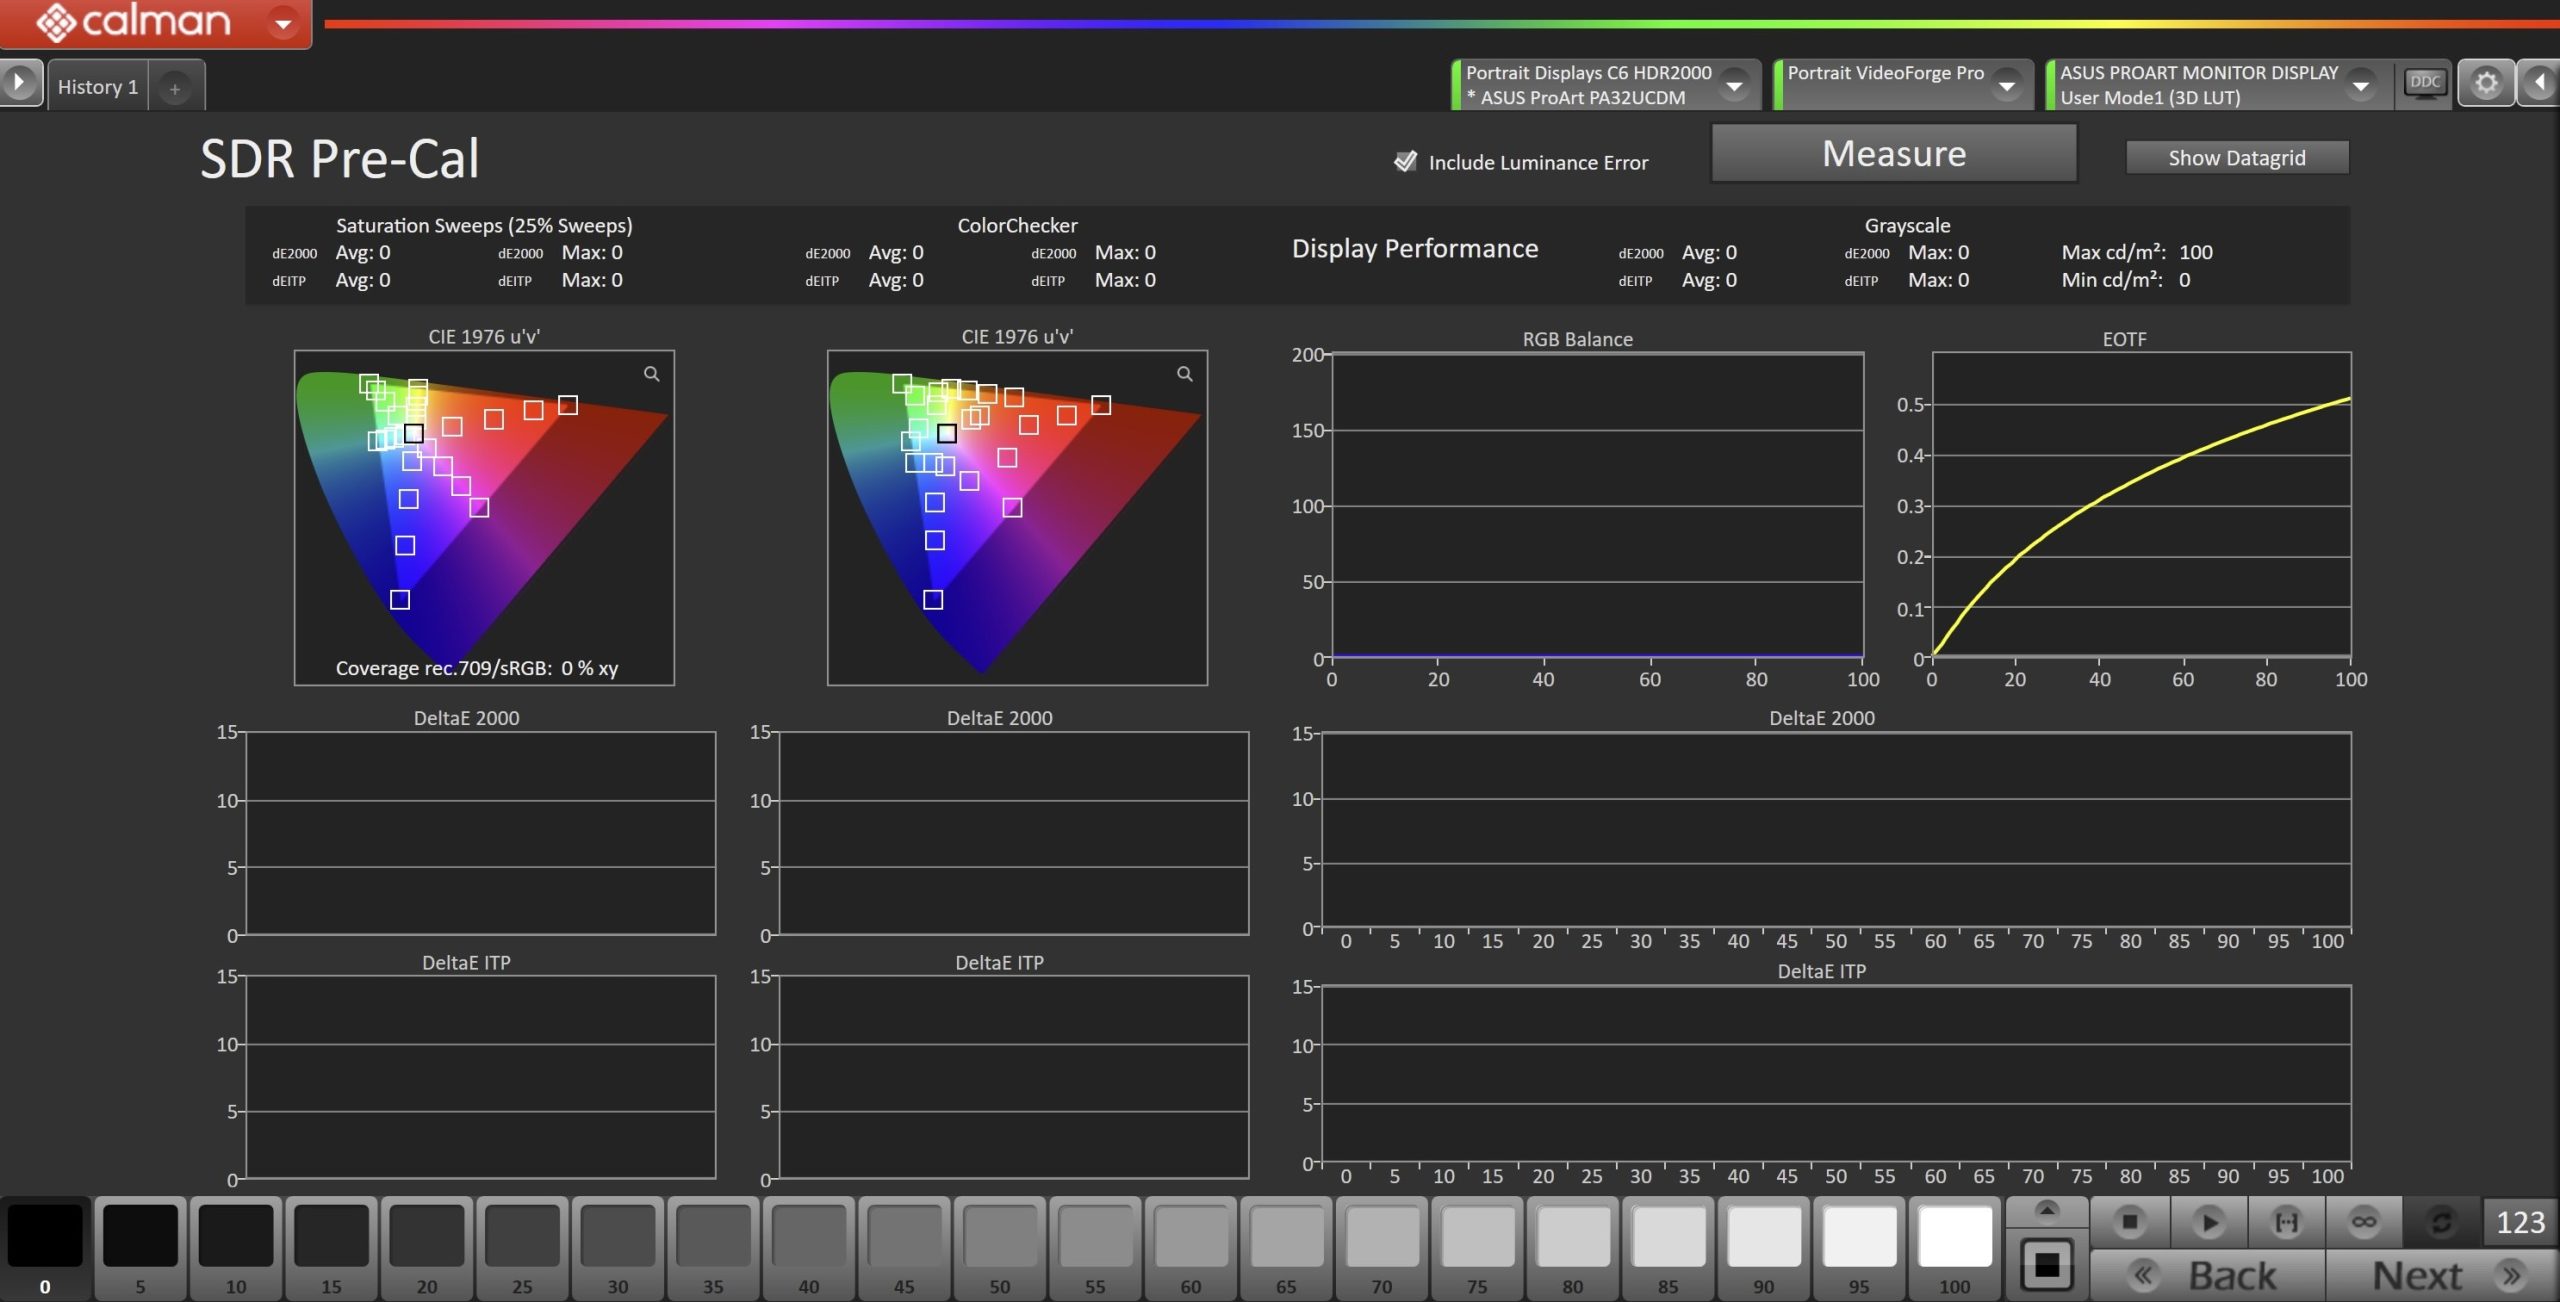
- To take Pre-Calibration Measurements, click the Measure button to measure the display’s rayscale and color response.
- This will provide a point of reference to compare the calibration results
- Click Next to proceed
Step 5
- Here, the target picture mode can be selected, and the display will be reset to prepare for calibration.
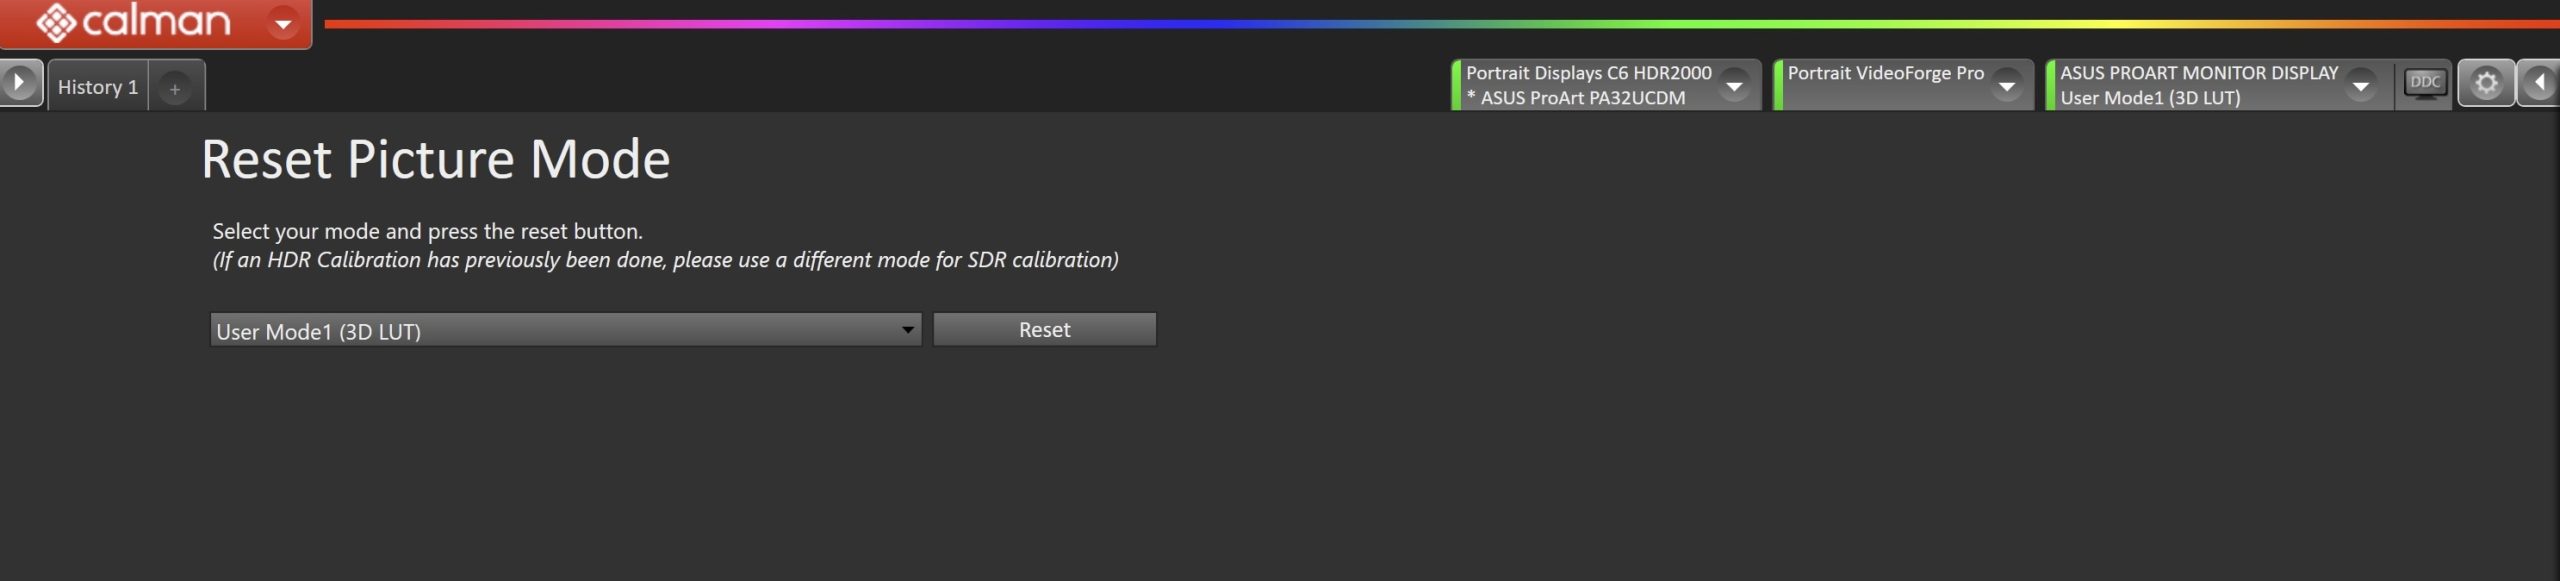
- Select the display mode you wish to calibrate, and click Reset to prepare the display for calibration
- Note: Each mode can only be calibrated for either SDR or HDR. Use different modes for each to prevent calibration loss
SDR Only – Measure and set Luminance
- Here, you can adjust the monitor’s overall luminance setting to one that meets or exceeds your target luminance.
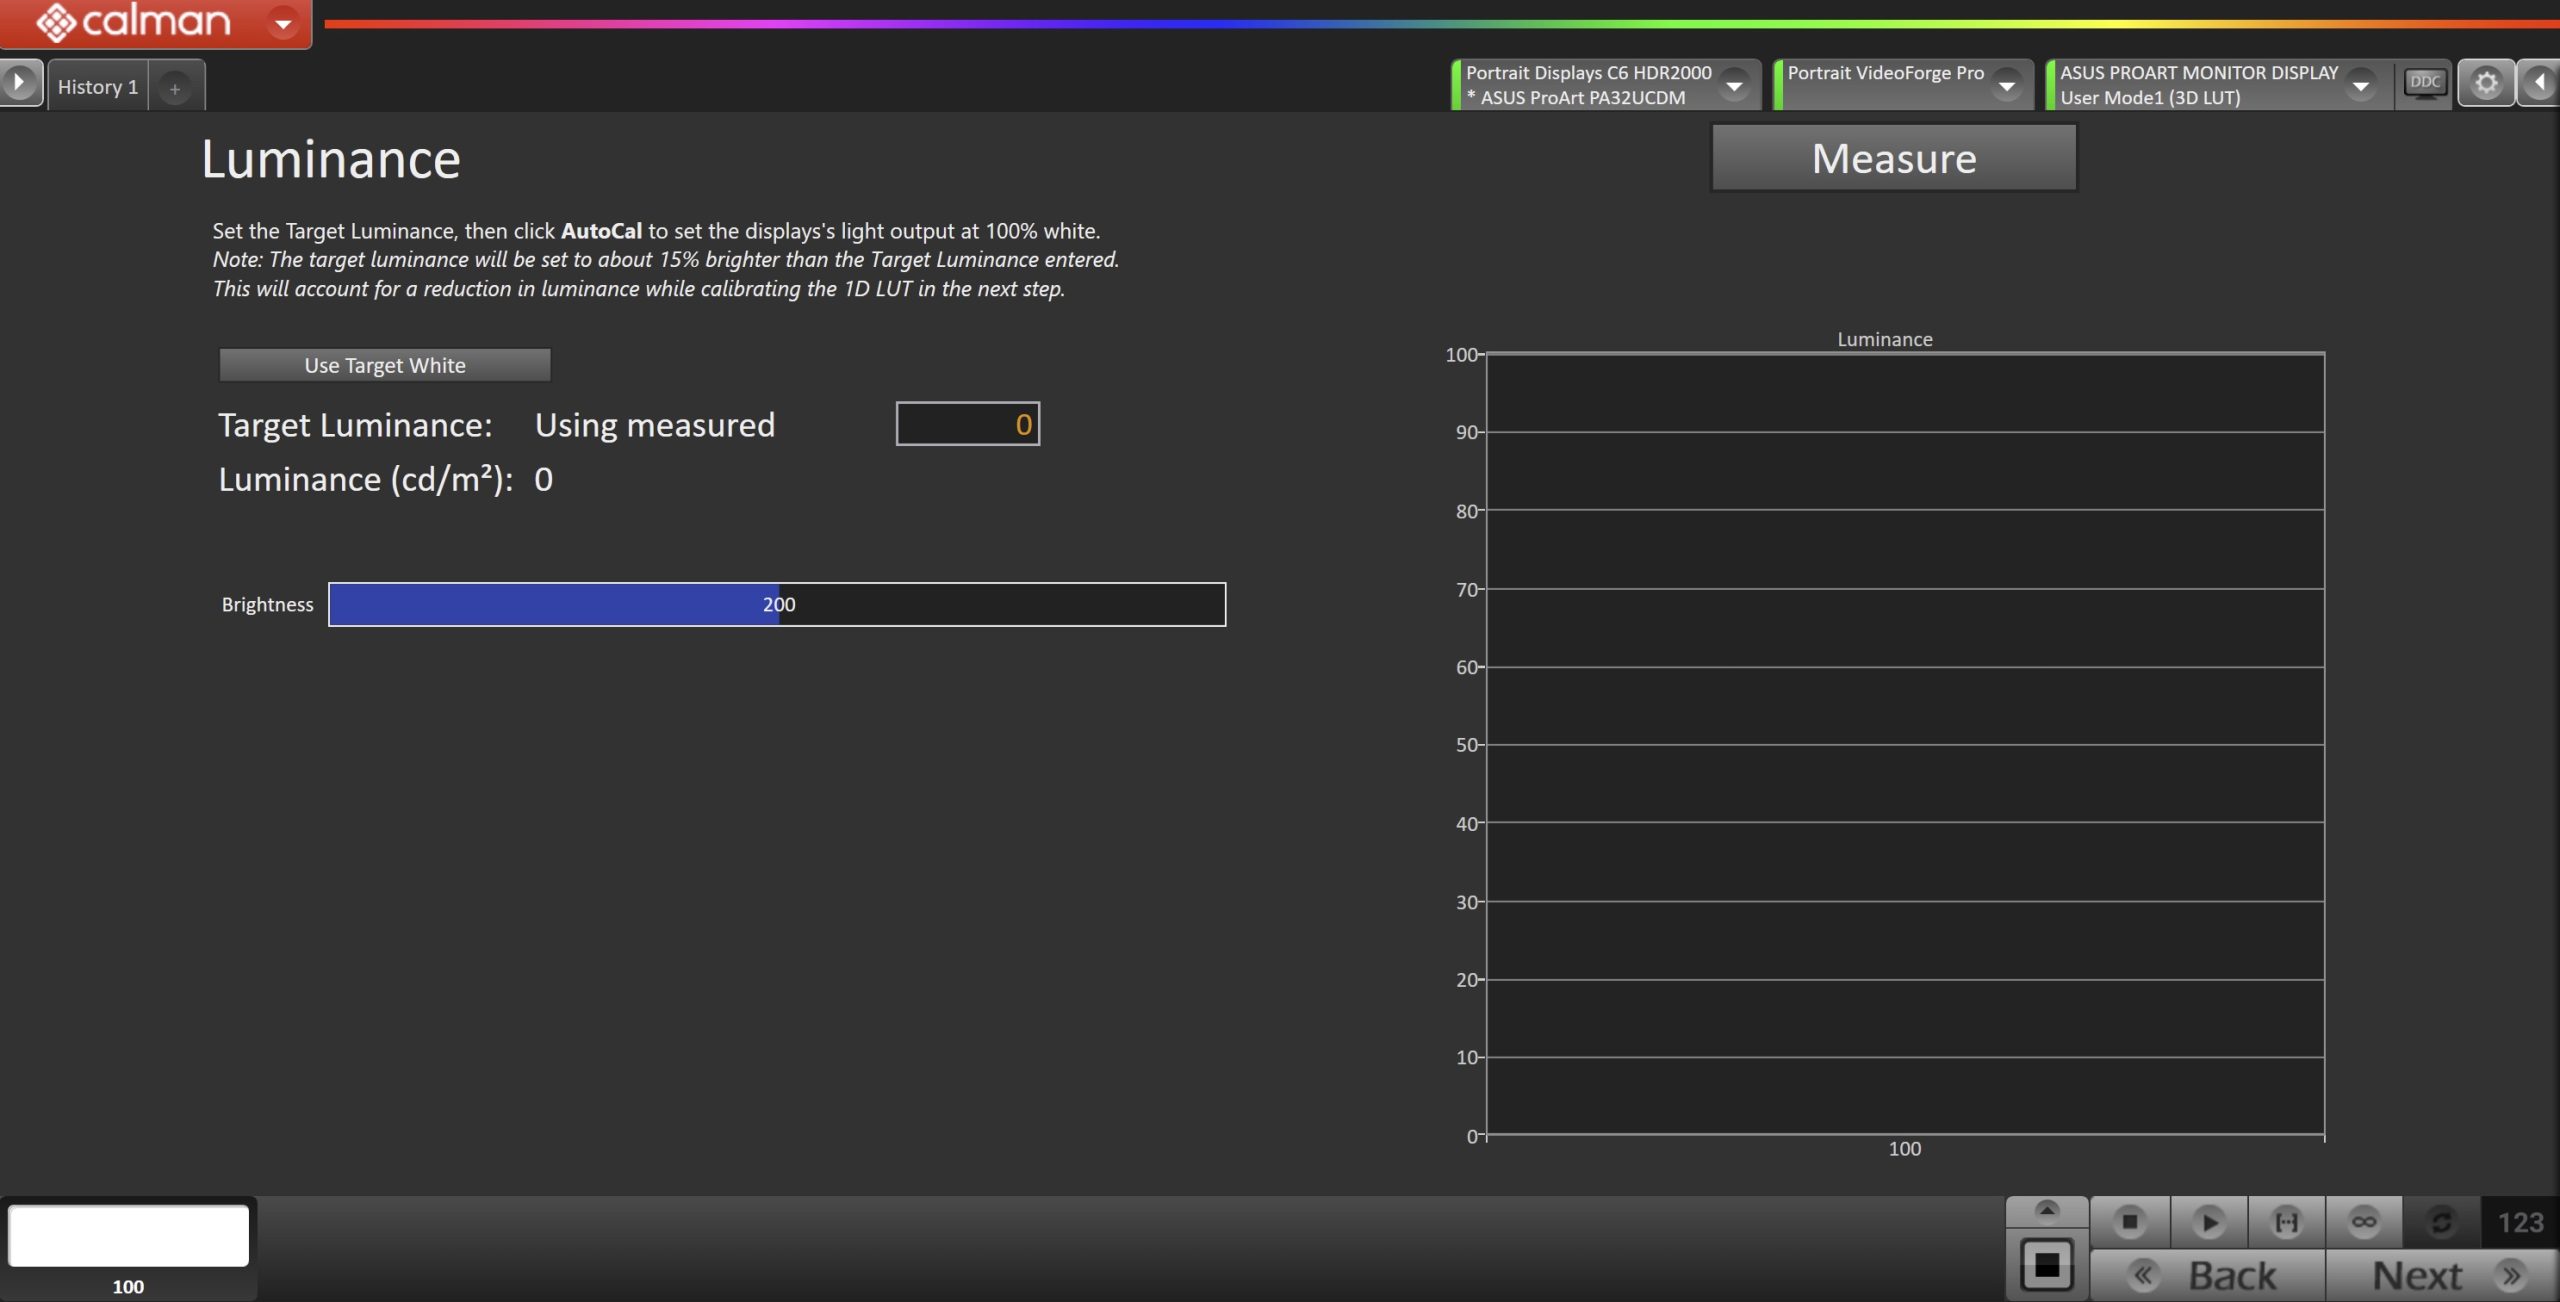
- Click Measure and adjust the Brightness slider as needed.
- In the Target Luminance box, you can also set the target luminance that the 1D LUT will achieve.
- Click Next to proceed
Step 6
- Here, Calman will adjust the Multipoint Greyscale of the display using a 1D LUT.
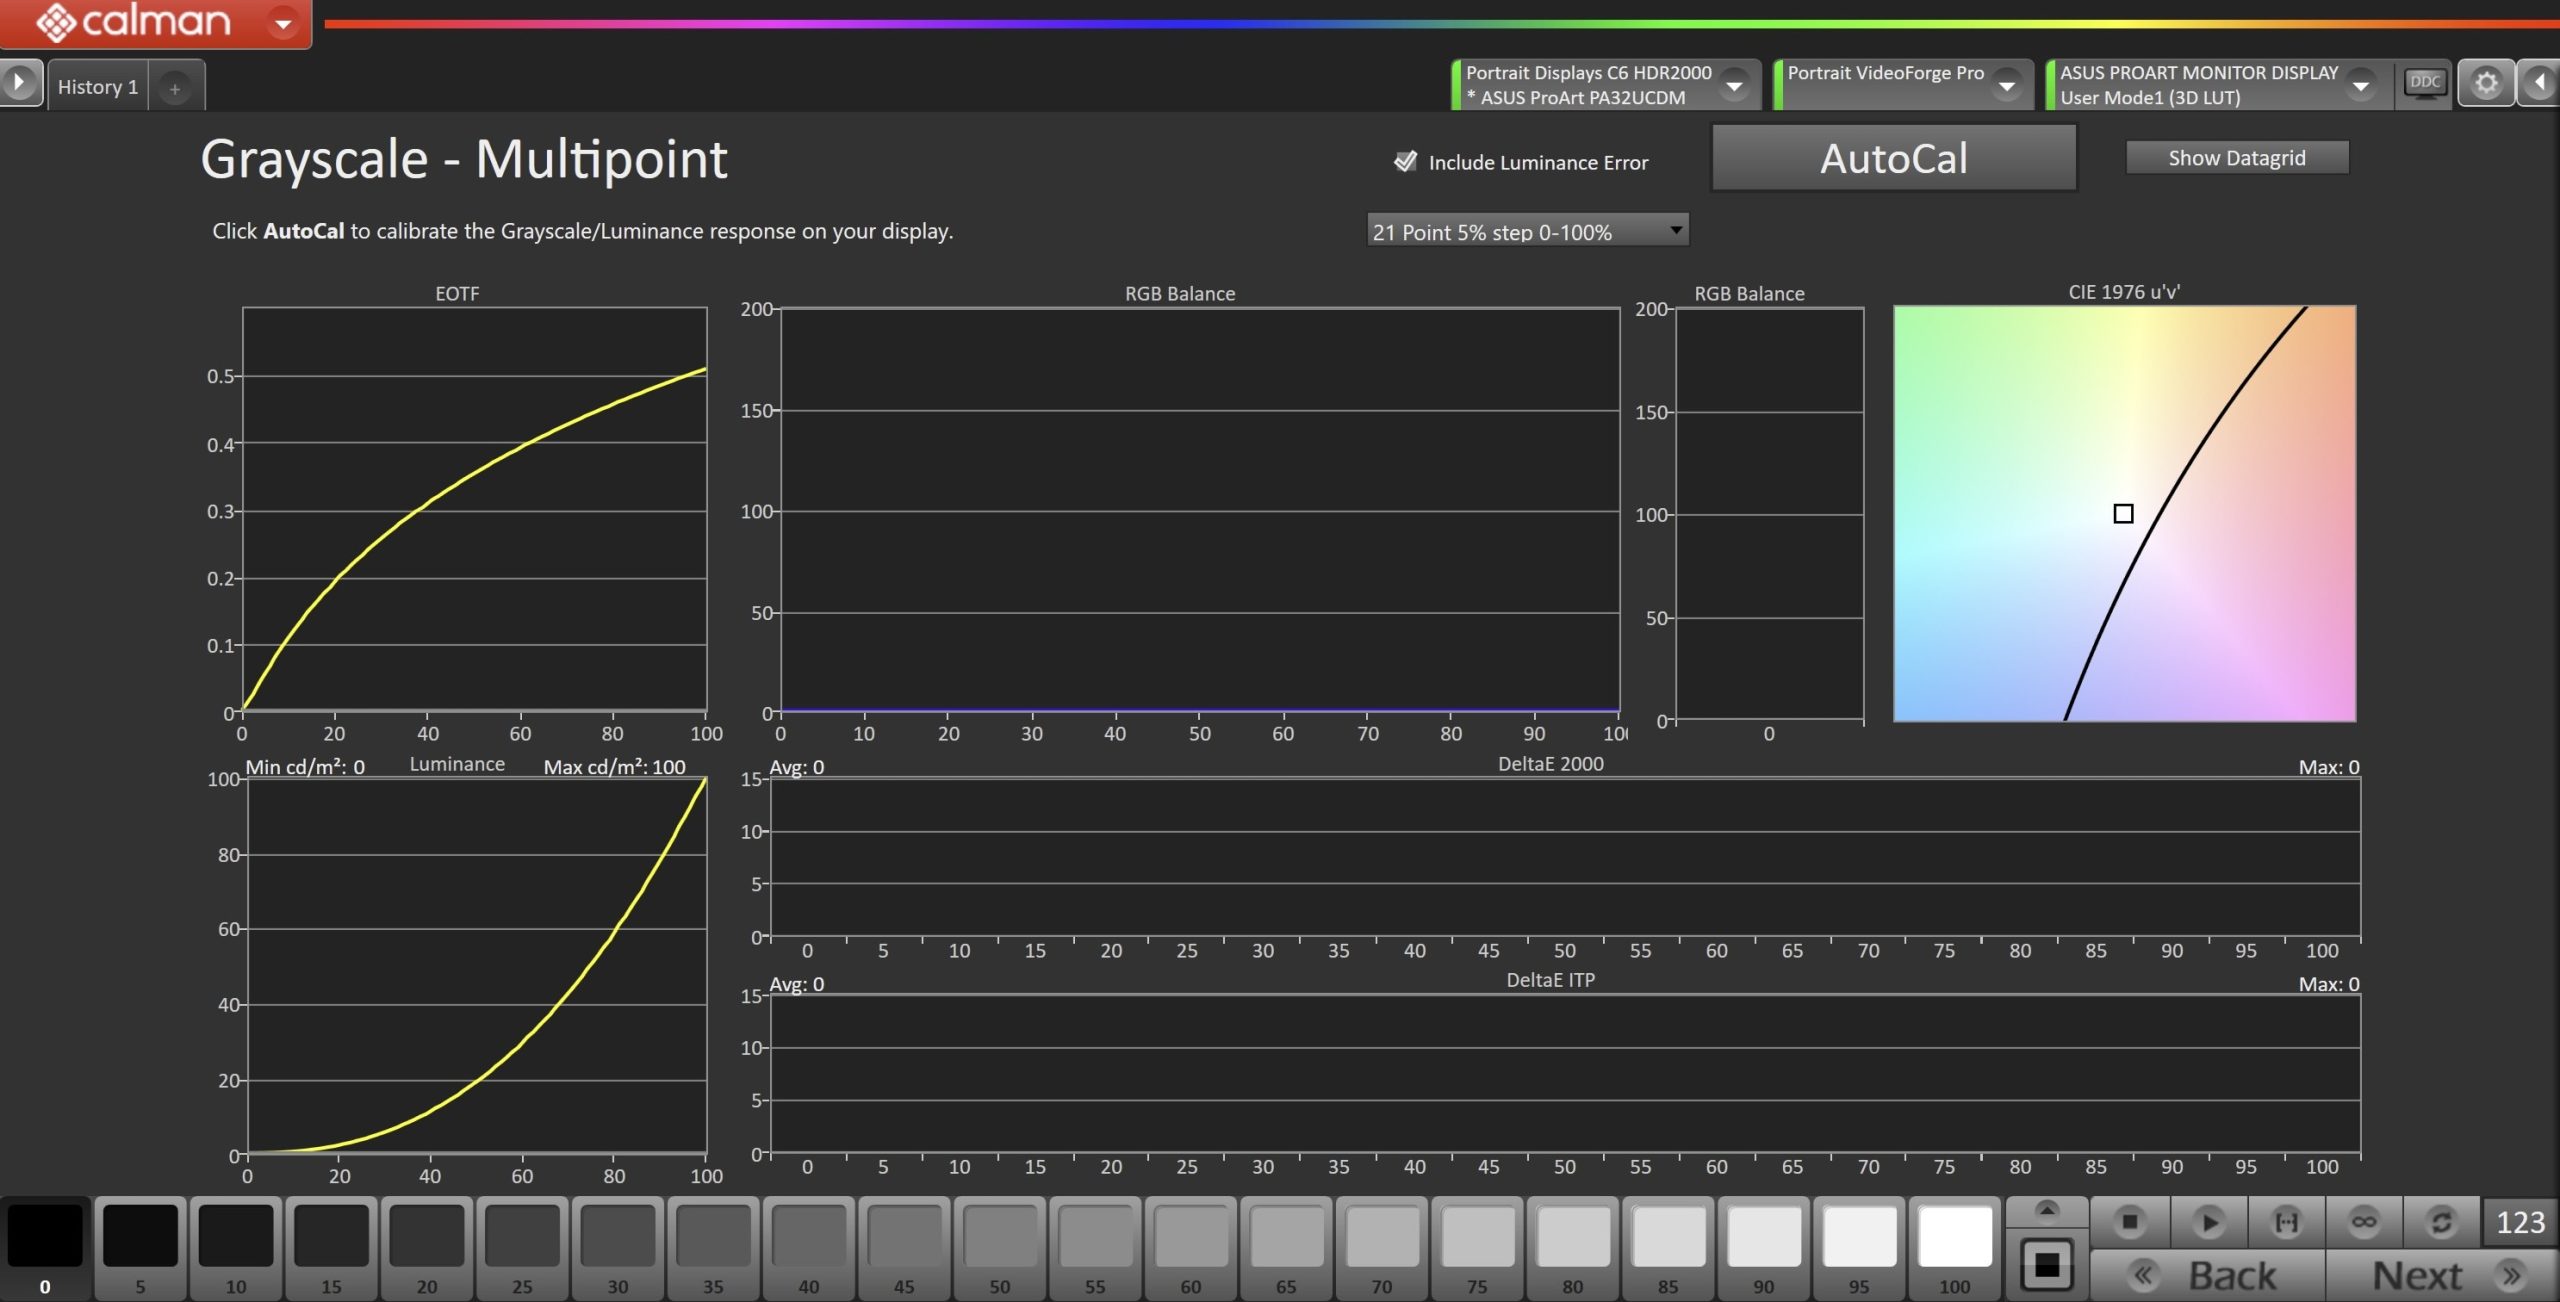
- Click the AutoCal button and select the correct data points in the AutoCal Dialog to auto-calibrate the Grayscale/Luminance response on the display.
- This should match the video range you chose in Step 1.
- Click OK to begin greyscale AutoCal.
- When AutoCal is complete, click the Next button to proceed.
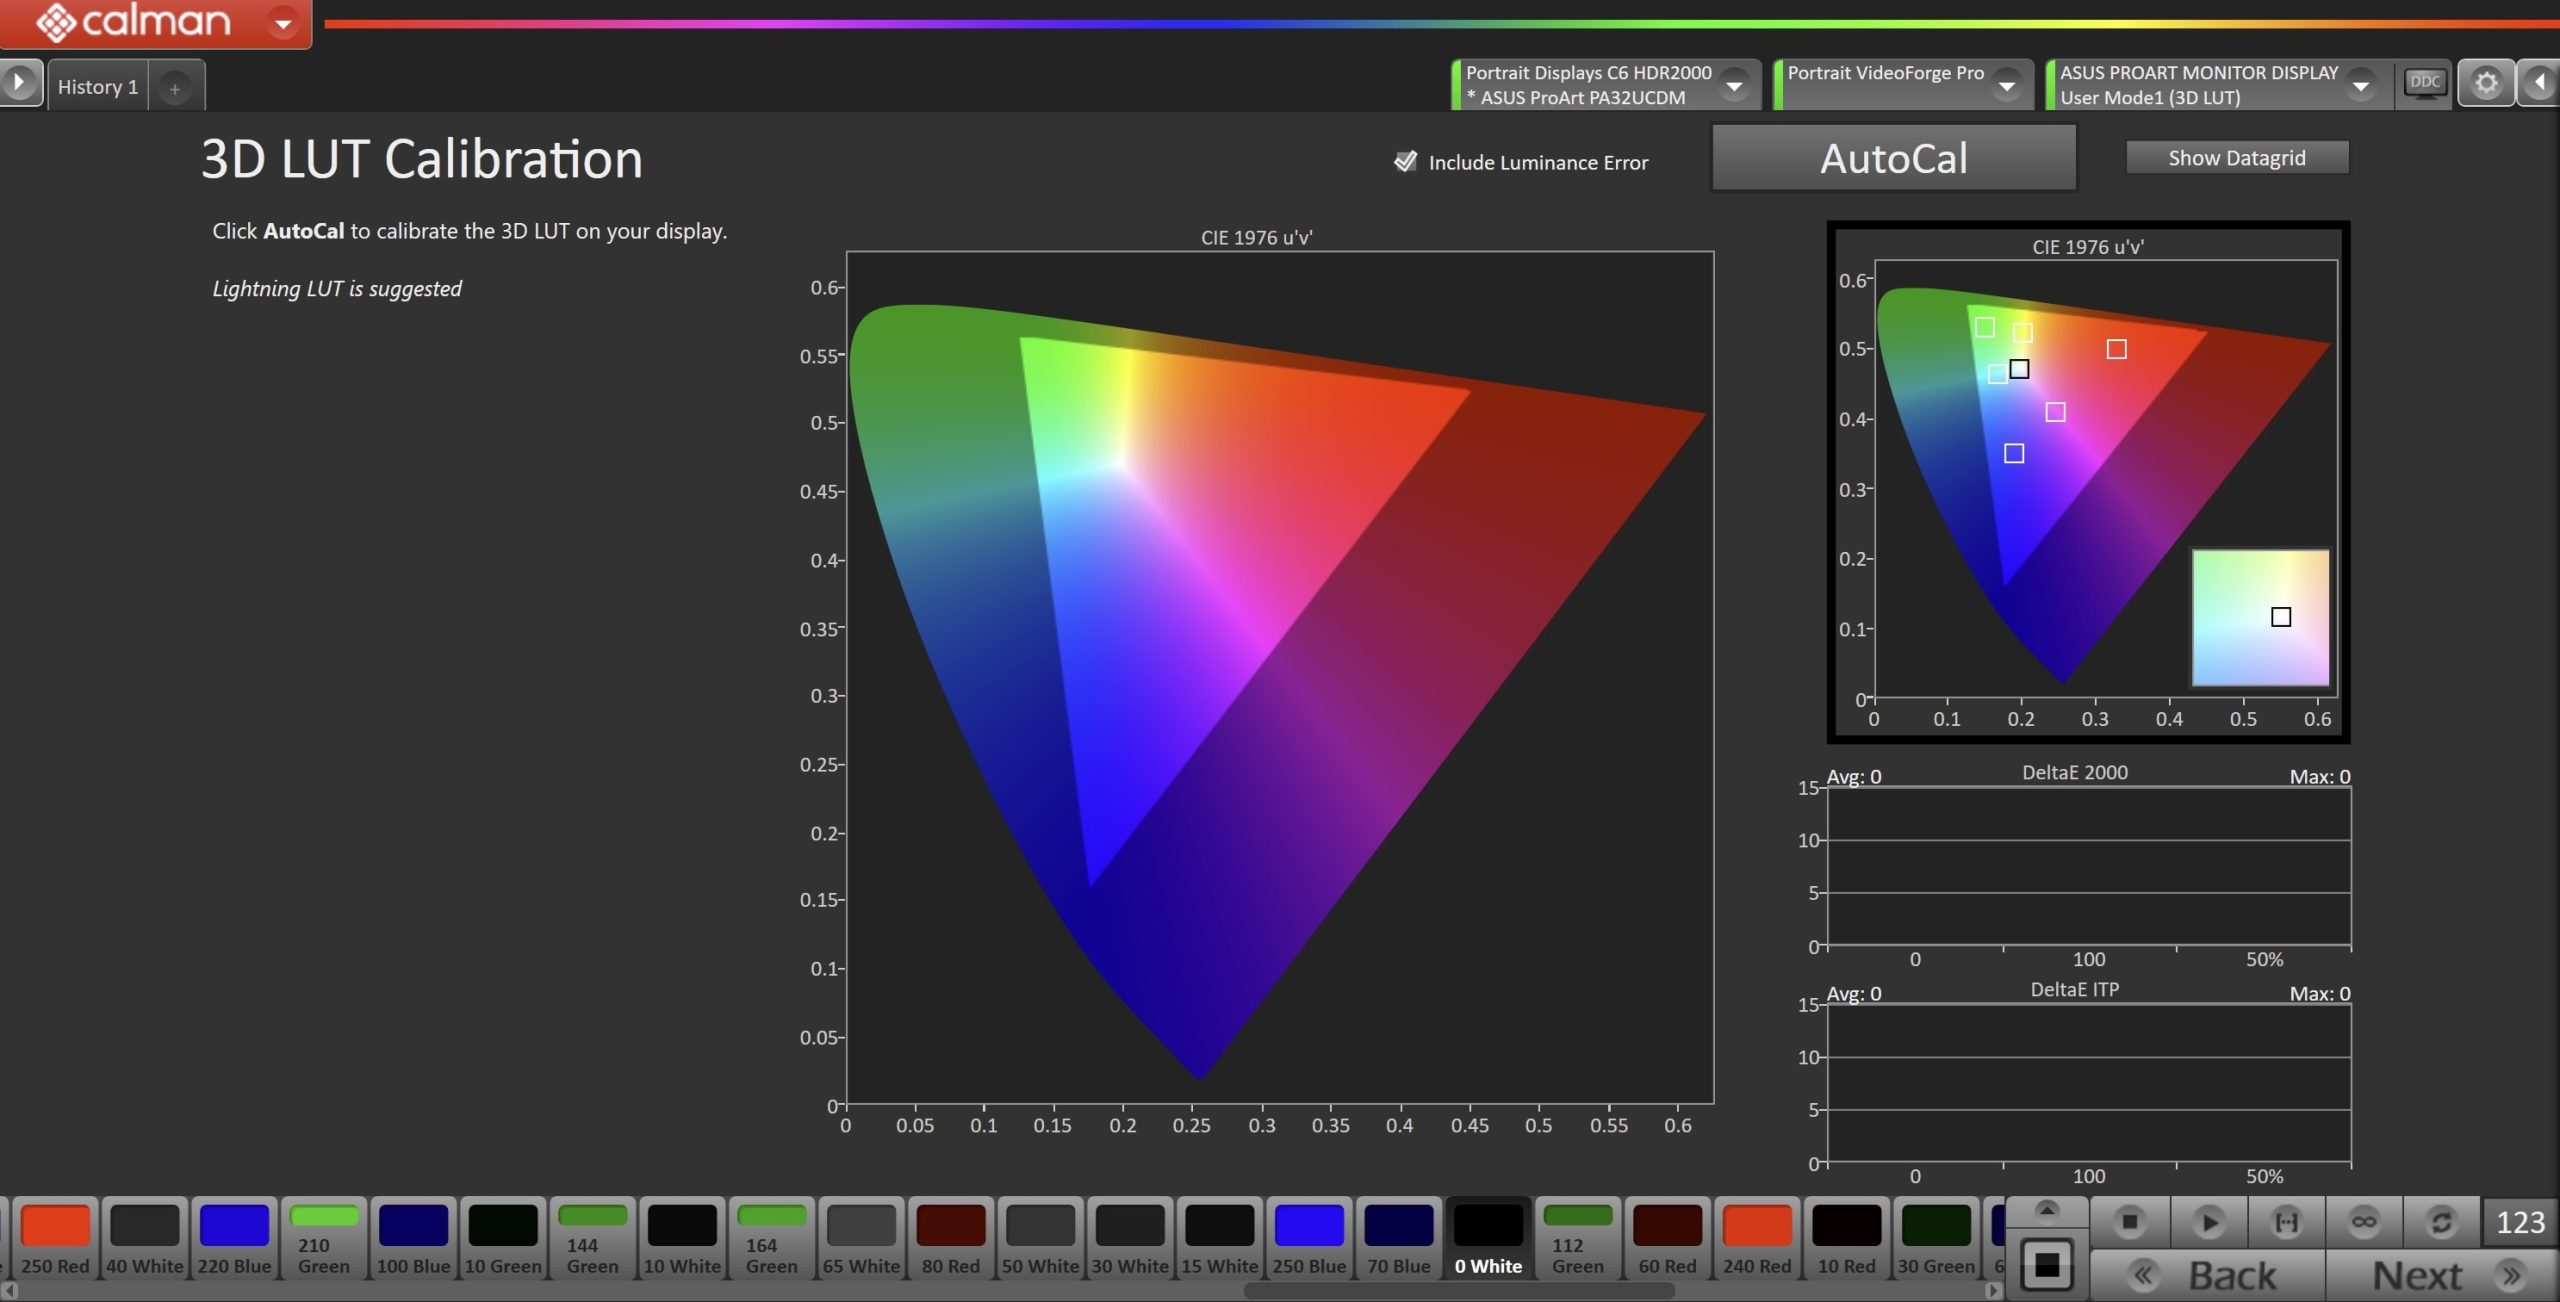
Step 7
- On this page, Calman will calibrate the color gamut using a 3D LUT or Matrix, depending on the mode chosen in step
| 3D LUT | Matrix |
 |
 |
- Click the AutoCal button to open the AutoCal dialog
- Recommended LUT types:
- SDR: Lightning LUT
- HDR: Fixed-Grid LUT
- Recommended LUT types:
- Click OK to begin the colorspace AutoCal process
- When AutoCal is complete, click the Next button to proceed
Step 8
- In this step, you’ll take measurements of the calibration results.
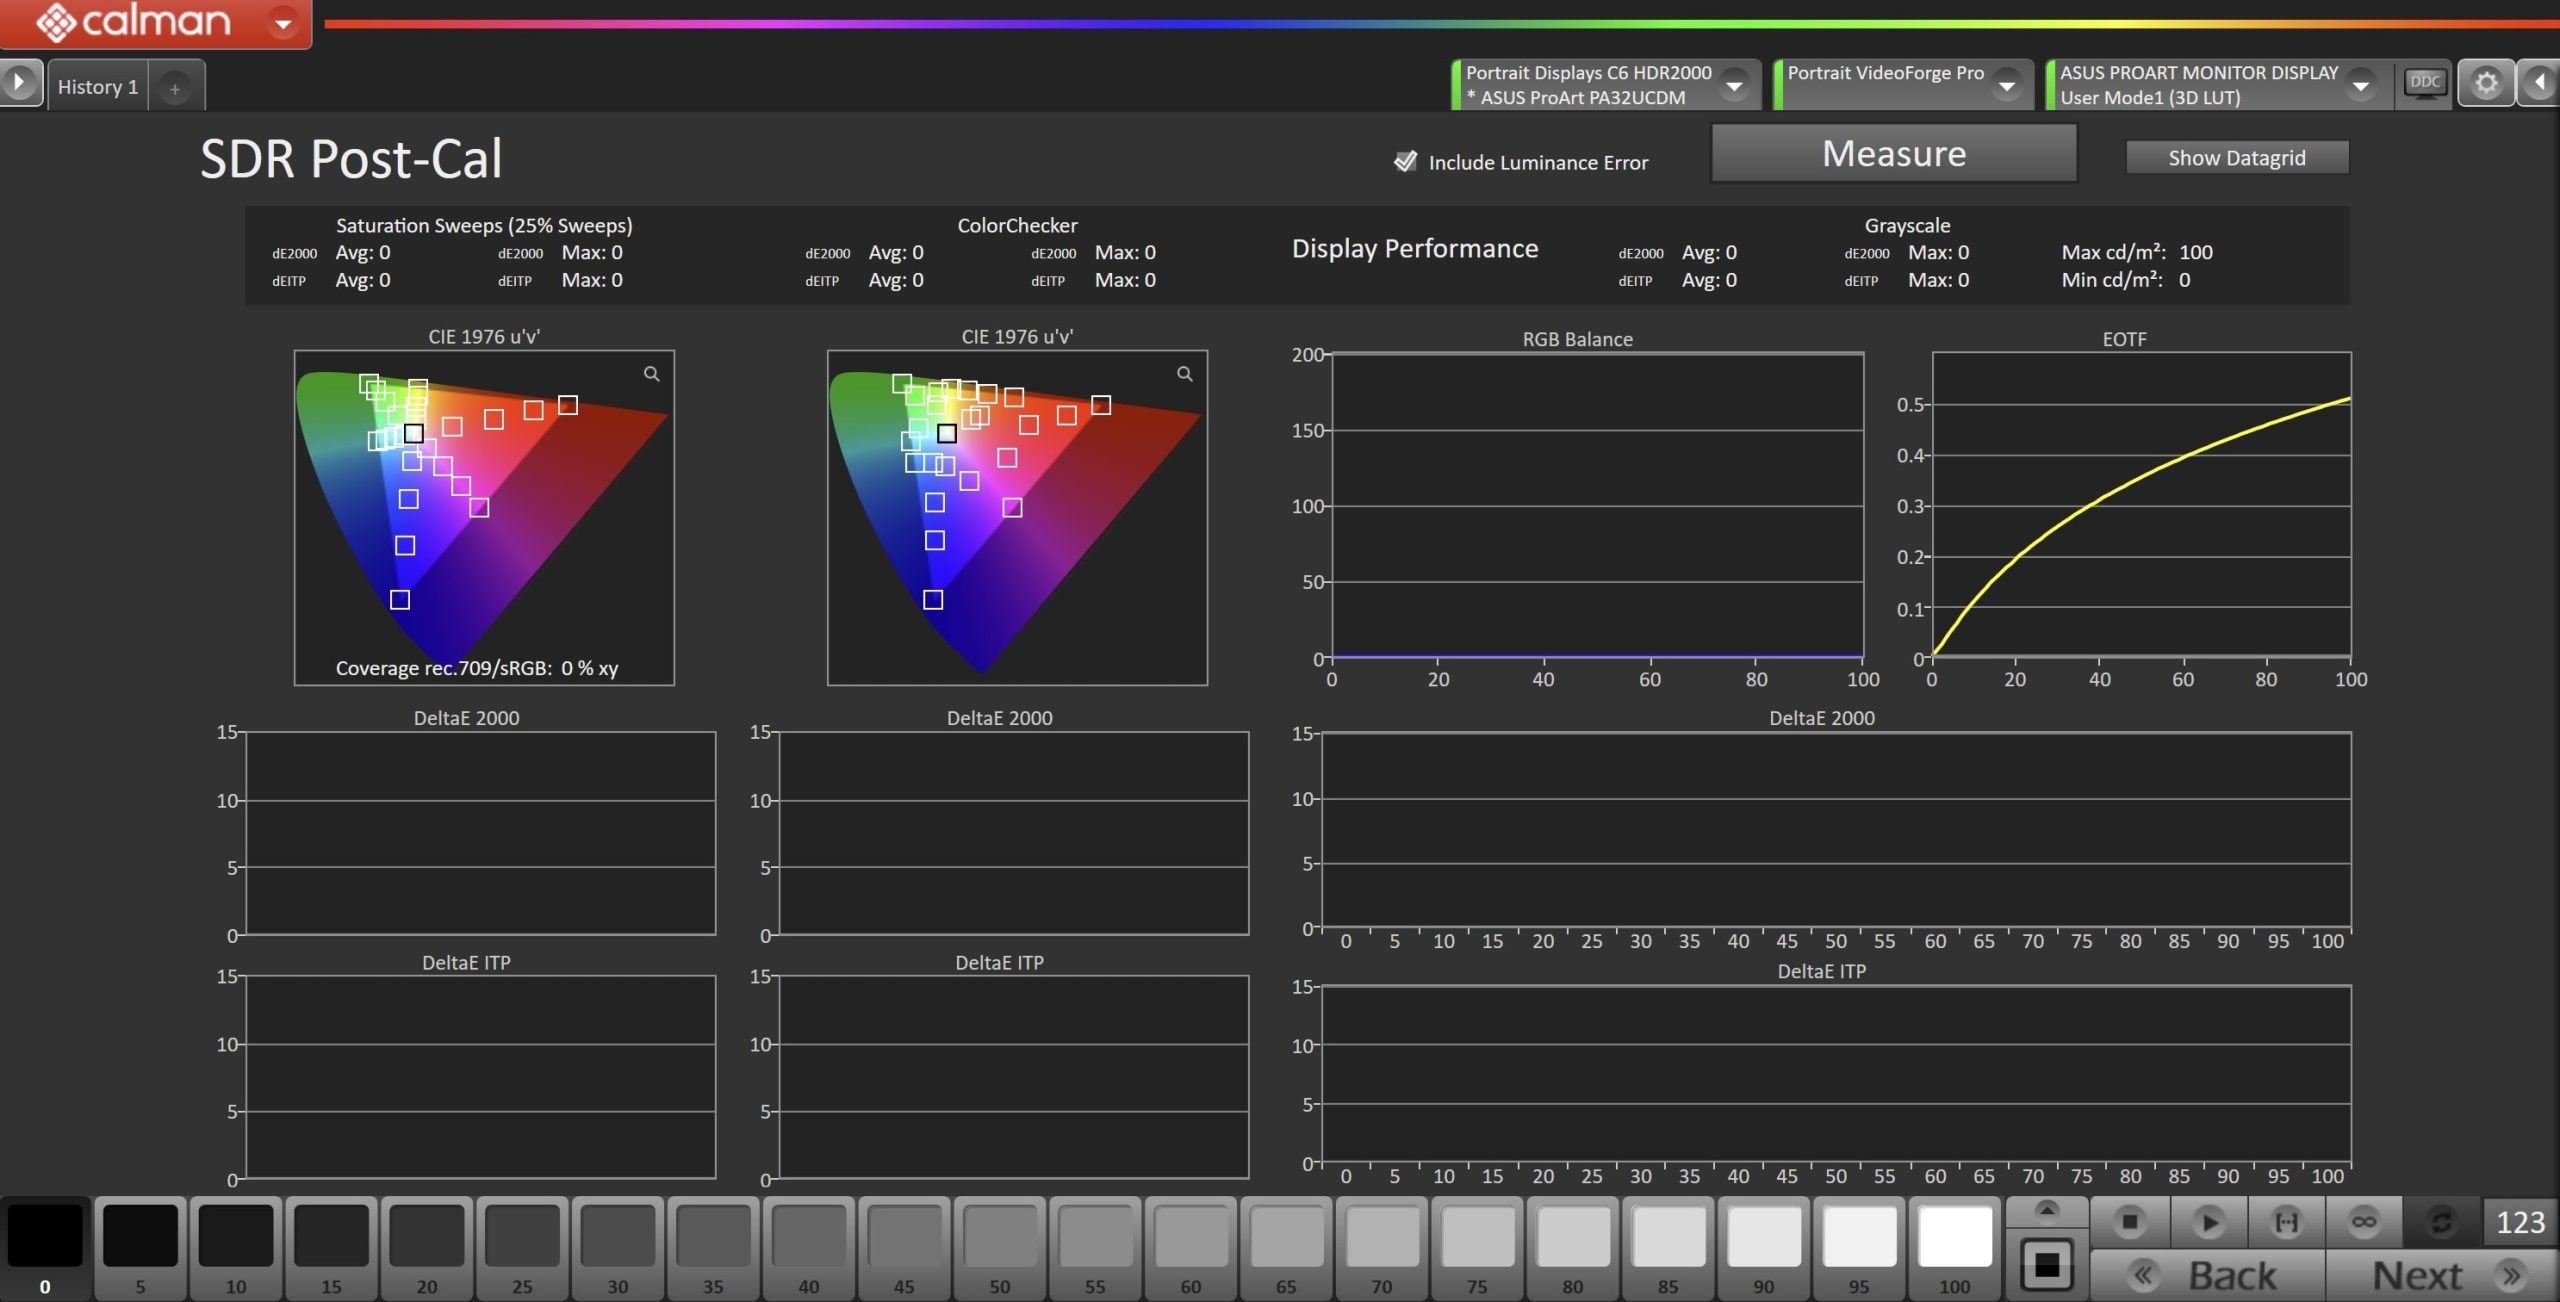
- To take Post-Calibration Measurements, click the Measure button to measure the display’s grayscale and color response.
- Click Next to proceed
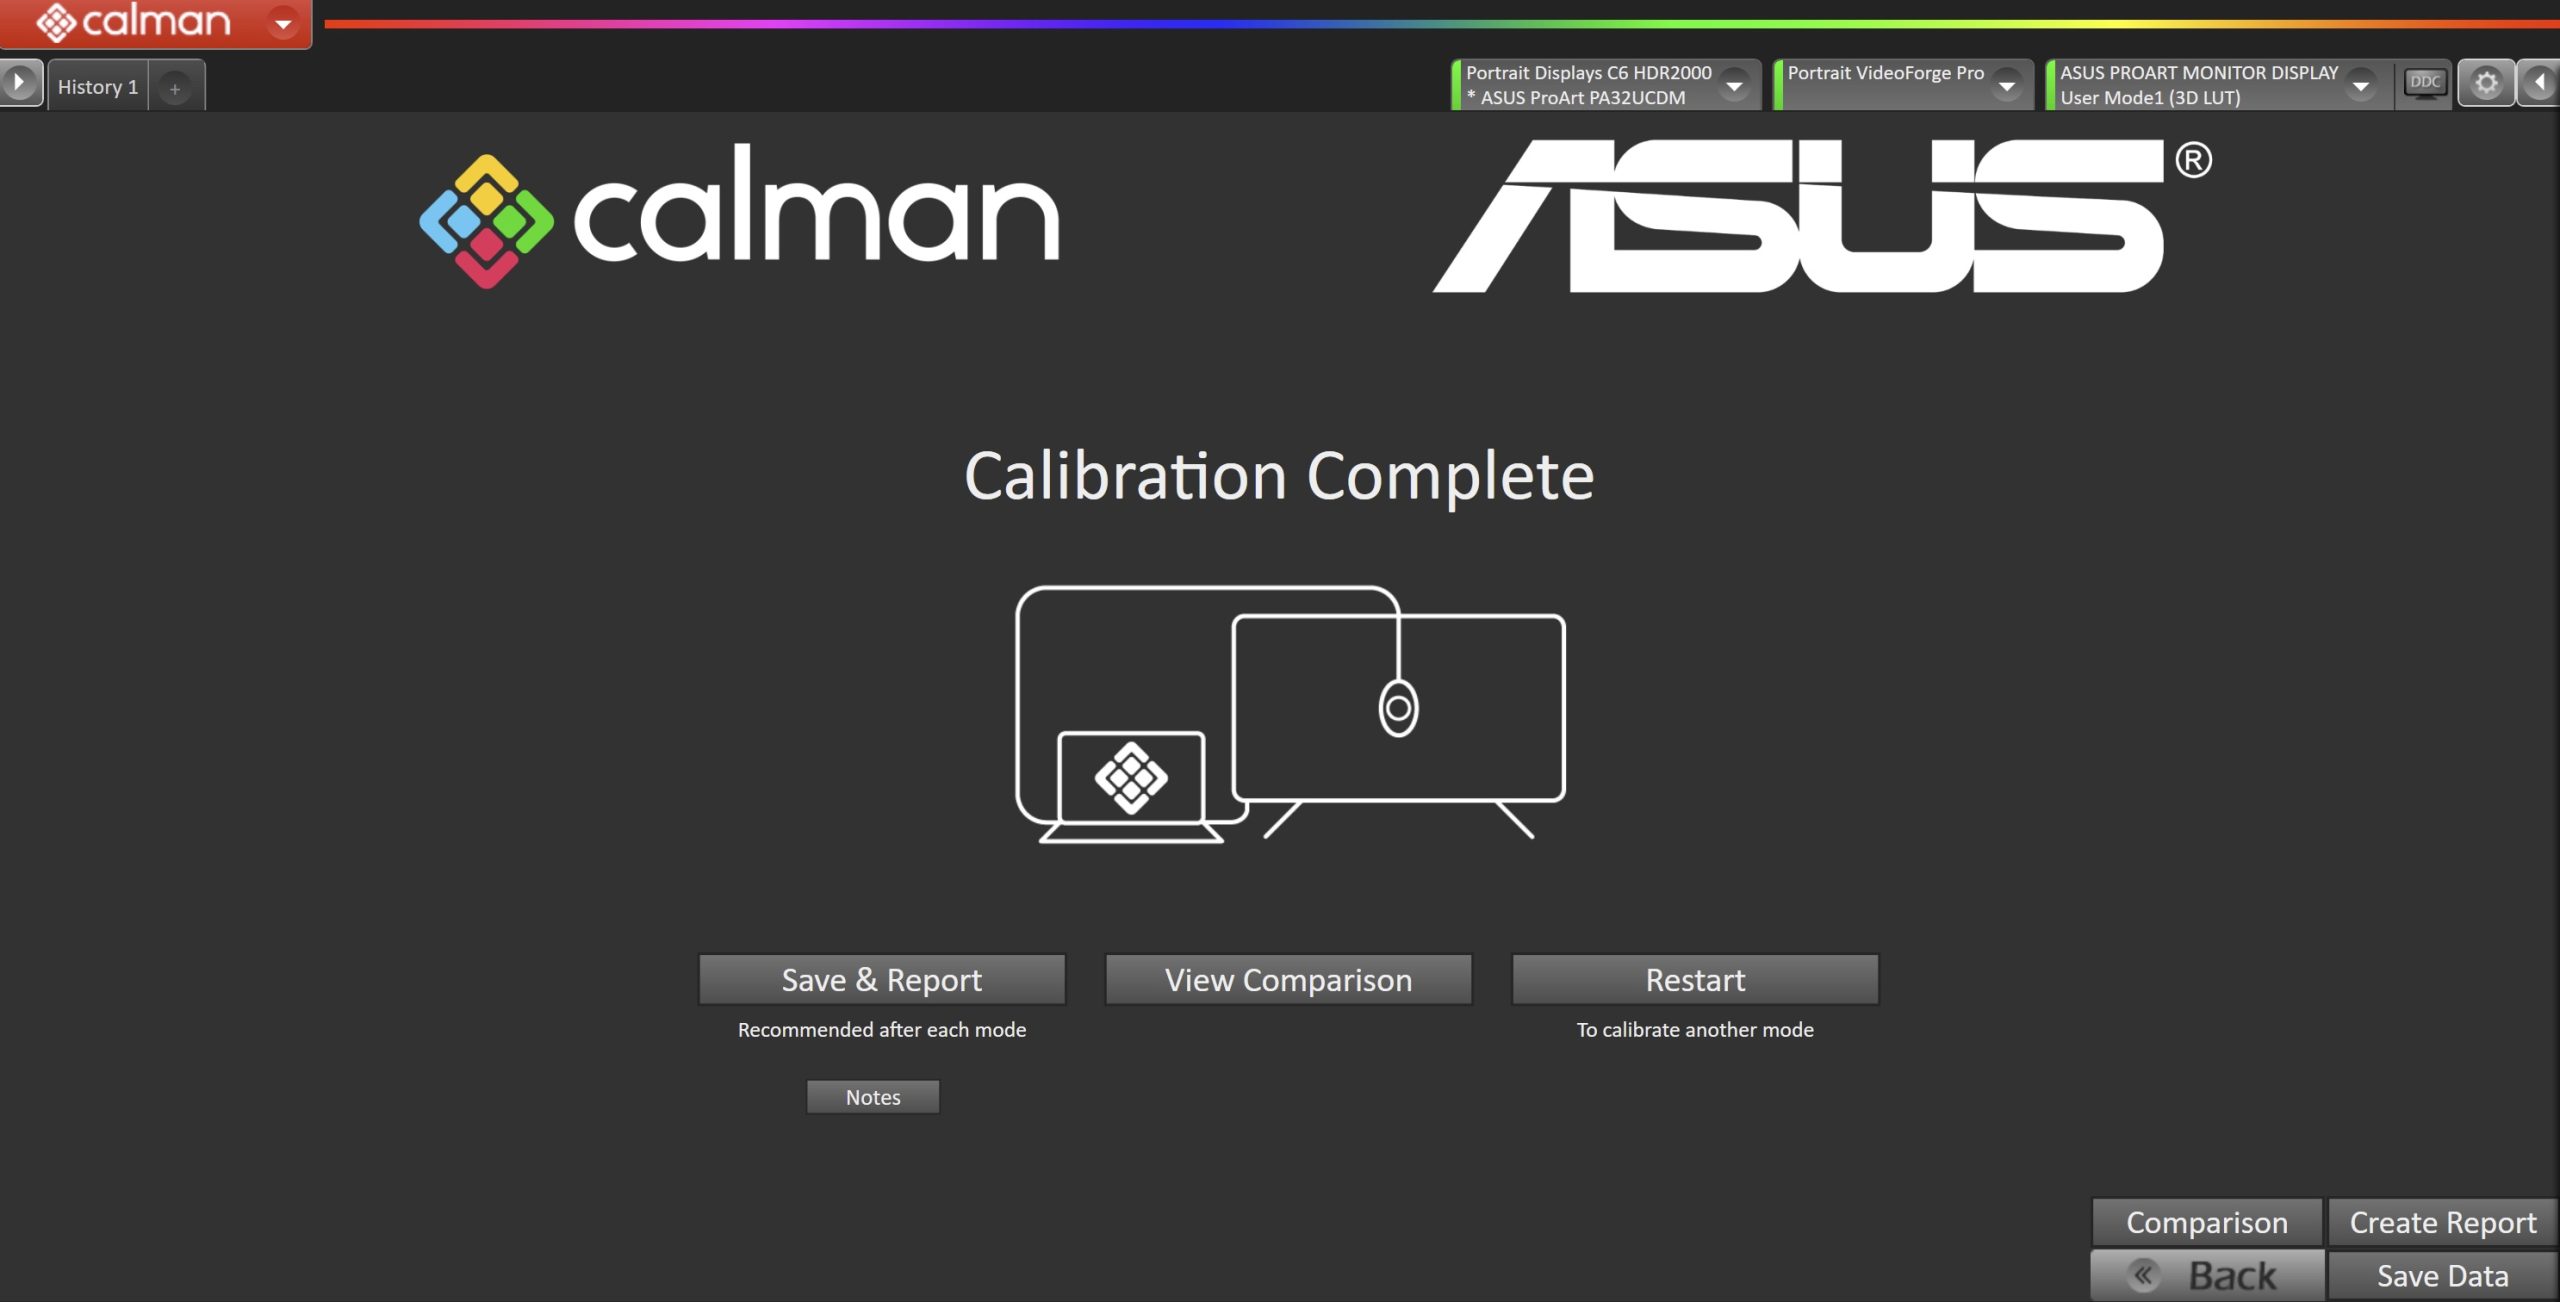
- On the Calibration Complete page, you can choose to…
- Save and Report
- Select Save and Report to generate the calibration report
- View Comparison
- Displays Pre and Post Calibration measurements of the calibrated mode side-by-side
- Restart
- Returns to the beginning of the workflow, where a new mode or colorspace can be selected
- Note: Does not save workflow data
- Save and Report