Calman Eyeglass 3D LUT Visualization Tool
Calman Eyeglass allows you to view still image files on an RGB computer monitor or laptop screen, both with and without the effects of a corrective LUT or look LUT. With the Calman Eyeglass 3D LUT Visualization Tool, you can:
- Visualize the benefits of a corrective 3D LUT that was created for the particular monitor under test.
- View color-corrected images on a laptop screen or connected RGB monitor.
Eyeglass can load a standard .3dl corrective 3D LUT file that was created by any version of Calman. It can also load a .3dx virtual LUT file that was created by Calman ColorMatch. ColorMatch is a free display analysis program that can also create a virtual 3D LUT, to check how well the display would perform with a corrective 3D LUT.
Calman Eyeglass is automatically installed with all Calman calibration software that is capable of creating 3D LUTs for display calibration. Calman Eyeglass runs in the Windows operating system on which the Calman calibration software is installed.
Calman Required Software Version:
- Version 5.4.0 or later
Calman Eyeglass Operation
To open Calman Eyeglass in Windows:
- Go to Start, All Programs, SpectraCal, Calman Eyeglass.
- Open the Calman Eyeglass program.
Or,
- Navigate to the C:Program FilesSpectraCalCalman 5 directory
- Run the Calman Eyeglass.exe file.

Load LUT
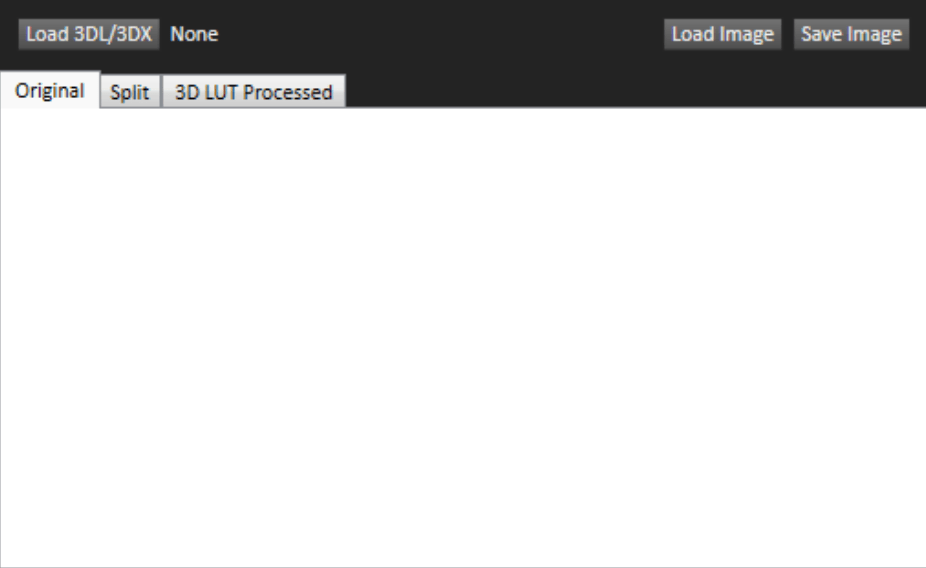
Click the “Load 3DL/3DX” button to load a .3dl or .3dx format 3D LUT file. The LUT file can be a corrective LUT or a creative ‘look’ LUT in the standard .3dl format.
Note: A LUT file with the .3dx format is a virtual LUT file created in Calman ColorMatch. The .3dx file can be used only in Calman Eyeglass to visualize the display correction that would be produced with a standard Calman 3D LUT.
Load Image
Click the Load Image button to load an image file. The image file format can be jpg, bmp, png or gif. You should load image content or family photos that are familiar to you.
View Original Image
Click the Original tab to view the loaded image in its original, unprocessed form.
View LUT Processed Image
Click the 3D LUT Processed tab to view the loaded image, as processed through the loaded LUT.
View Image in Split Screen
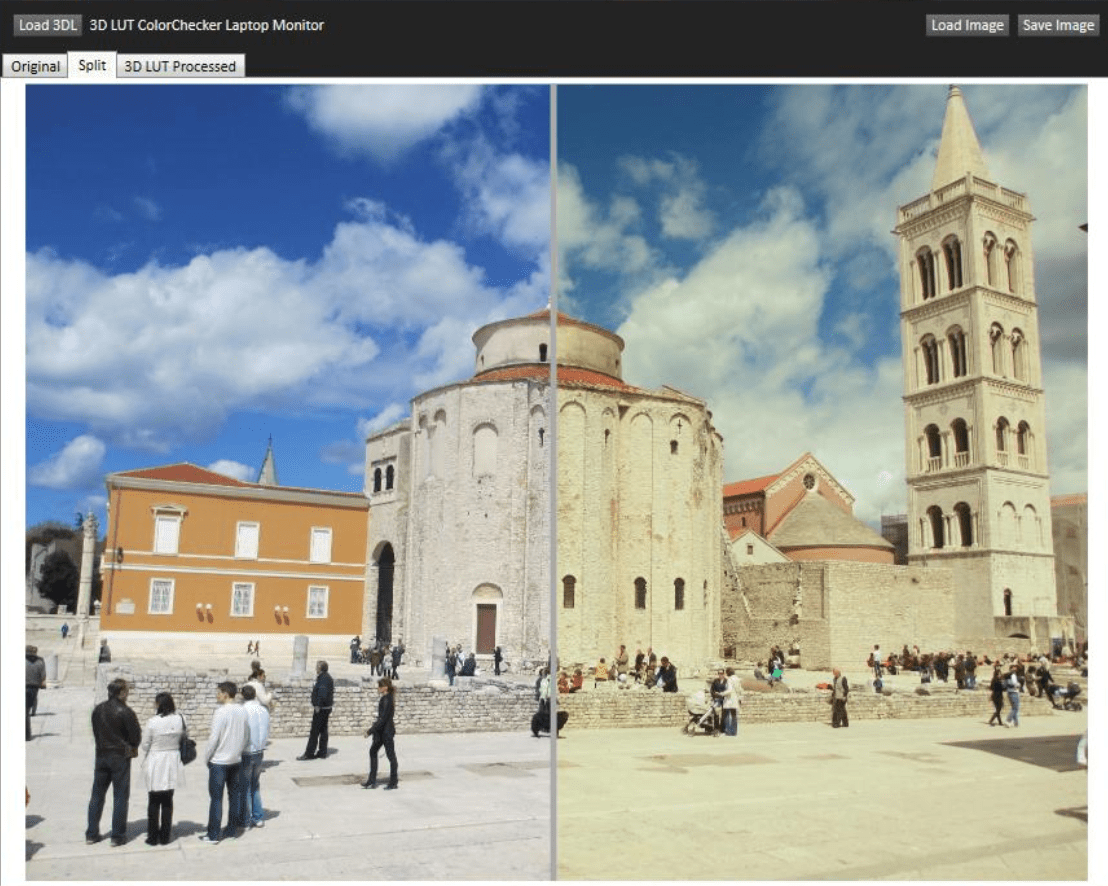
Click the Split tab to view the loaded image in split-screen. The image is rendered in its original form to the left of the swipe bar and is rendered in its LUT processed form to the right of the swipe bar. Swipe the bar to the left or right to apply the LUT to different parts of the loaded image.

Save LUT Processed Image
Click the Save Image button to save a copy of the image file, processed through the loaded LUT. The image file will be saved in the .png format.
Note that the image file will look different when the saved file is viewed on a monitor with different characteristics from the monitor for which the LUT was created.
Evaluating Results
It is important to note that results from Eyeglass will only appear correctly if the application is open on the same monitor the virtual LUT was created for. For example, if you created the virtual LUT in ColorChecker for your secondary computer monitor, make sure you are viewing the Eyeglass application from that same monitor. If viewed on another monitor, like your laptop, the correction data from the virtual LUT will no longer be valid, as it was created for a different monitor’s color output.

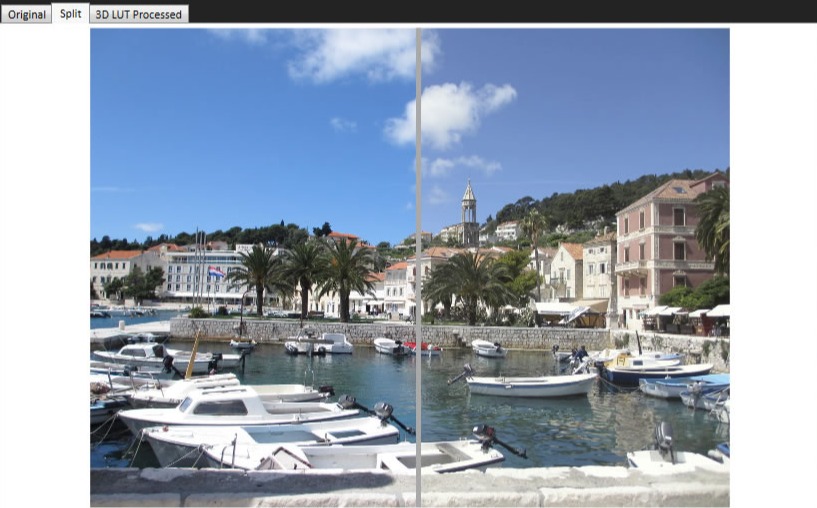
In fact, the image above may not even look correct on your monitor, but for the sake of this walk-through, hopefully, the following is noticeable:
- On most monitors, the original image in Eyeglass will look overly blue and highly saturated when compared with the 3D LUT processed image. This difference is most apparent in whites, grays and blues. In the image above, note the difference on each side of the stone wall in the forefront of the picture. The left side looks tinted pinkish/purple when compared with the right.
- For another clue, look at the red boat in the center of the photograph. Note that the left side is over saturated, whereas the right is more true to real life.
- Finally, look at the overall feel. While the left-hand side has brighter colors, the right-hand side actually looks sunnier and more lifelike.