Introduction
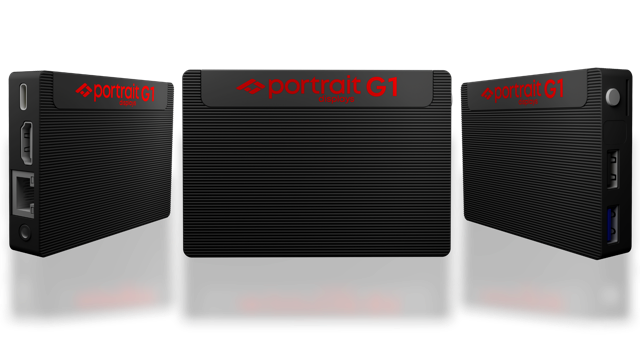
Portrait Displays G1 is an affordable easy-to-use pattern generator that pairs perfectly with all licenses of Calman.
The compact, hand-held G1 generates bit-accurate, reference-level 4K video test patterns via HDMI. It dynamically generates any color patch Calman requests, making calibration a breeze. The G1 supports HDR10, HLG, and Dolby Vision, ensuring compatibility with the latest display technologies.
Key Features of the G1:
- Calman Integration: Seamlessly integrates with Calman, ensuring compatibility and support with every Calman license from version 5.14 onwards.
- Calibrate All Major Formats: Supports multiple calibration types, including HDR10, Dolby Vision, and HLG, providing users with the flexibility to optimize viewing experiences across various formats.
- Field Upgradable: Stay ahead of industry changes with regular updates through Calman 5, based on user feedback and emerging protocols.
- Compact and Reliable: G1’s small form factor, about the size of a business card, allows users to take accuracy with them anywhere, making calibration on the go effortless.
- Comprehensive Test Patterns: Loaded with 21 rendered test patterns, including a warm-up pattern with a counter and a screensaver pattern to mitigate static burn-in.
- RGB Output in Full or Narrow Range: Ensures bit-level correctness, allowing users to trust the accuracy of their video signal during calibrations.
Requirements
- Calman Version 5.15.0 or later
- Wired network for Calman connection
- 5V 2A USB power source
Ports and Buttons
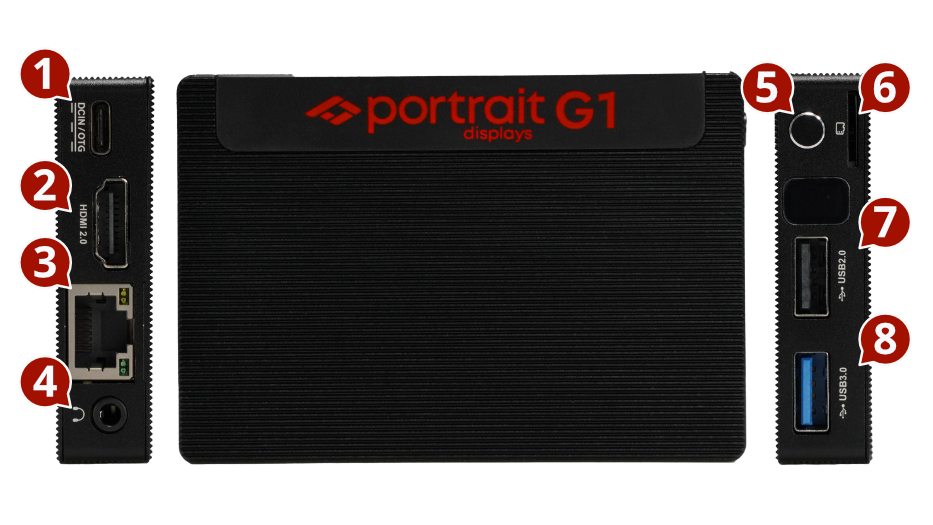
Following is a description of the Ports and Buttons provided on the G1.

- USB-C Port
- Connection for 5V 2A power source (e.g. through a USB-C port on your computer. Power adapter not included)
- HDMI Port
- Video output connection for test pattern generation.
- Wired Ethernet Port
- Used to connect to wired networks
- 3.5mm Audio
- Currently Unused
- Power Button
- Double press to shut down the device
- When connected to Calman this will not shut the device down. If you want to force a shutdown, hold in the power button until the LED light turns off or remove the USB-C cable powering the device.
- Double press to shut down the device
- USB 3.0 Port
- Can be used to manually update the G1 software if needed
- USB 2.0 Port
- Can be used to manually update the G1 software if needed
- TF Card Slot
- Currently Unused
Operation
Start-up
To power up the unit for the first time simply plug in a USB-C cable and connect it to a power source that meets the specifications such as the provided one. If the unit is shut down with the power button, start the unit back up again by holding the circular button until you see a blue light.
Shut-down
To shut the unit down completely press the power button and hold it in until the LED light turns off. (The unit may then be restarted by removing and re-inserting the USB-C cable again.)
Connectivity
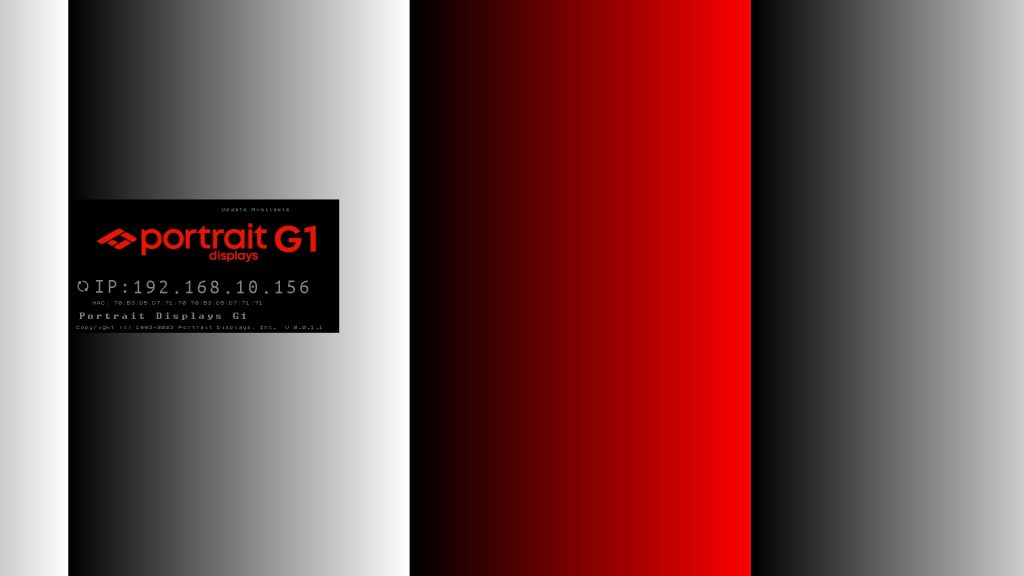
After power up when an HDMI cable such as the provided one is connected from the video output to a display, moving color bars are shown to avoid screen burn-in and also to warm up the panel to prepare the screen for calibration before you connect to G1 in Calman.

Network Configuration
For details see: Portrait Displays G1 – Network Setup
Calman Connection to G1
When the G1 is properly connected to the same network as the computer by following the steps as outlined in Portrait Displays G1 – Network Setup, launch Calman.
-
-
- Click on Find Source from the Source tab or Calman Workflow
- Select Portrait Displays
- Select G1
- Type in the IP address as shown on the video output of G1
- Click on Connect – Calman will detect the G1 and confirm the generator is connected. When successful the Alignment pattern will be rendered and Calman will display the G1 in the Source tab with a green light.
- You are now connected to your Portrait Displays G1 and ready to proceed.
-
See Also
- Portrait Displays G1 – Quick Start Guide
- Portrait Displays G1 – Specifications
- Portrait Displays G1 – Connecting to Calman
- Portrait Displays G1 – Specialty Pattern Descriptions
- Portrait Displays G1 – Network Setup
