![]()
Brightness
Black pluge pattern for setting TV brightness control (black level).
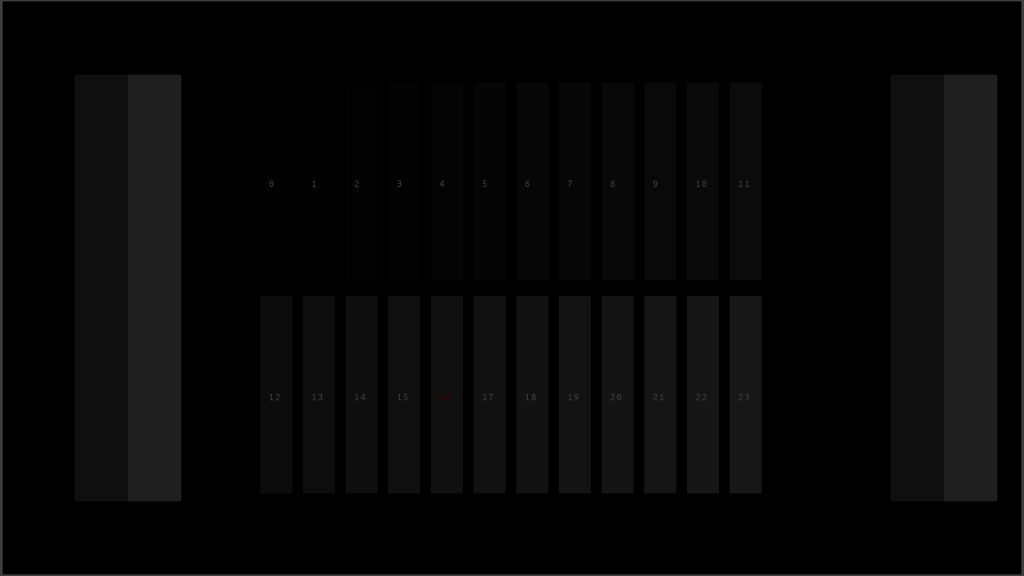
How to use:
- Classic style visual brightness pattern with values ranging from 0-23-bit (0-95-bit when using 10-bit output)
- 8-bit: If brightness (black level) is set correctly you should only be able to see 7 distinct steps starting from Level 16 marked red. If you see more or less the brightness (black level) is set incorrectly.
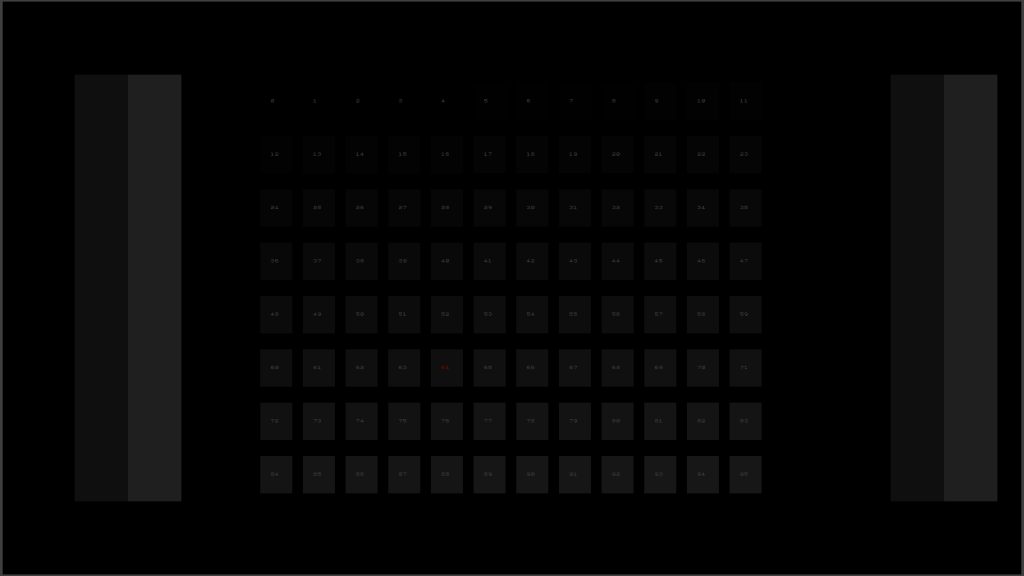
- 10-bit: If brightness (black level) is set correctly you should only be able to see steps starting from Level 64 marked red. If you see more or less the brightness (black level) is set incorrectly.
- The Brightness pattern is rendered differently in 10-bit to show the same information but at greater precision with four times as many steps
Contrast
White pluge pattern for setting TV contrast control (white level).
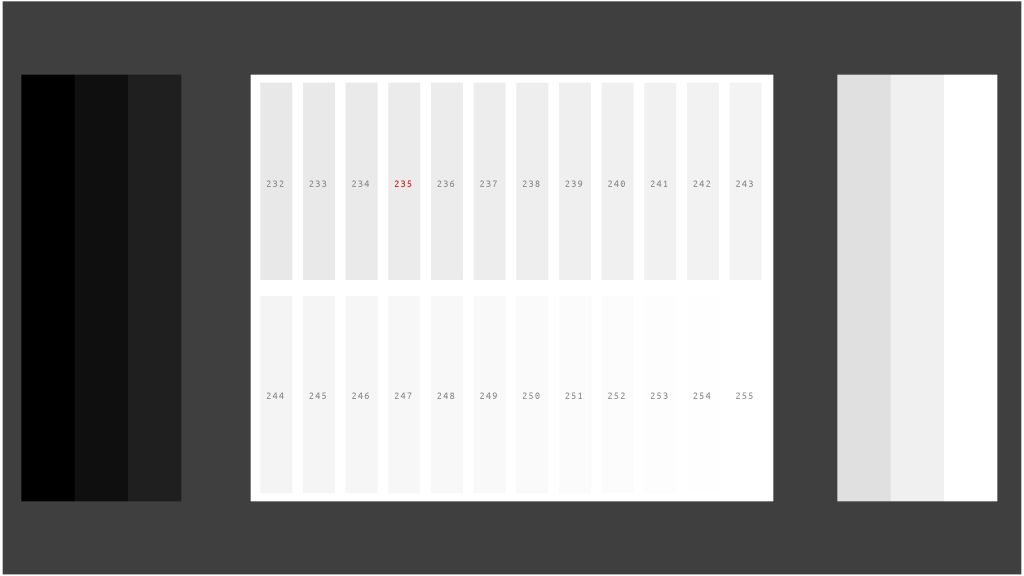
How to use:
- Pattern contains RGB values ranging from 232-255 (928-1023 when operating in 10-bit output) and dark and bright bars to the left and right of the main area to show discoloration and black-level interactivity when changing contrast
- 8-bit
- If the contrast (white level) is set correctly on a display that is set to show extended-range video signals you should see all 23 steps (232-254) of the contrast pattern without any clipping or discoloration when the G1 Range setting is set to Limited (SMPTE video range)
- If the contrast (white level) is set correctly on a display that is set to show legal range video signals you should see all 3 steps (232-234) of the contrast pattern without any clipping or discoloration when the G1 Range setting is set to Limited (SMPTE video range)
- If the contrast (white level) is set correctly on a display that is set to show full range pc signals you should see all 23 steps (232-254) of the contrast pattern without any clipping or discoloration when the G1 Range setting is set to Full
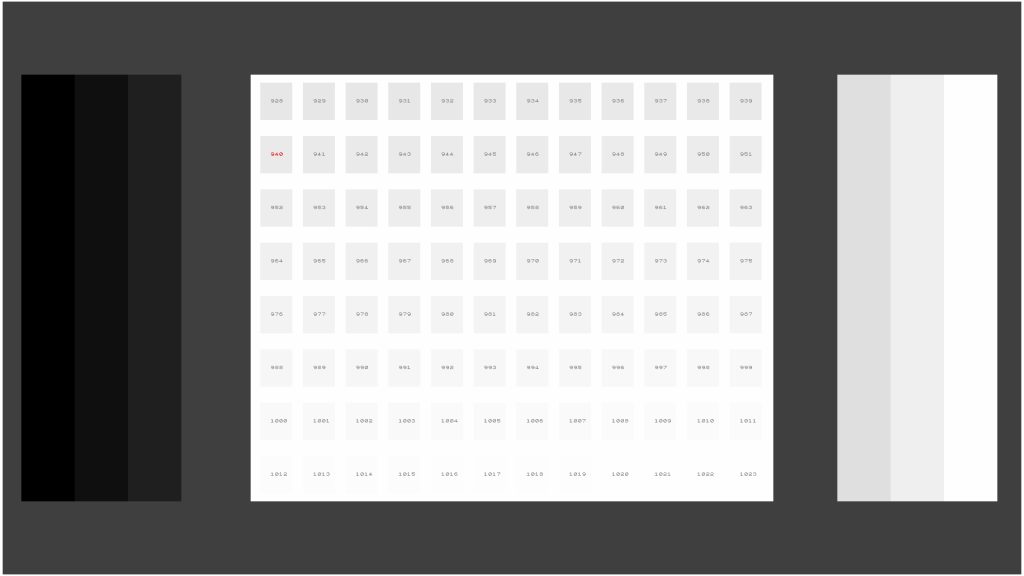
- 10-bit
- The Contrast pattern is rendered differently in 10-bit to show the same information but at greater precision with four times as many steps
- If the contrast (white level) is set correctly on a display that is set to show extended-range video signals you should see all steps (928-1022) of the contrast pattern without any clipping or discoloration when the G1 Range setting is set to Limited (SMPTE video range)
- If the contrast (white level) is set correctly on a display that is set to show legal range video signals you should see steps 928-39 of the contrast pattern without any clipping or discoloration when the G1 Range setting is set to Limited (SMPTE video range)
- If the contrast (white level) is set correctly on a display that is set to show full-range video signals you should see all steps (928-1022) of the contrast pattern without any clipping or discoloration when the G1 Range setting is set to Full
Color Bars
Color bars pattern for evaluating 100% brightness, saturation, and gradients of colors.
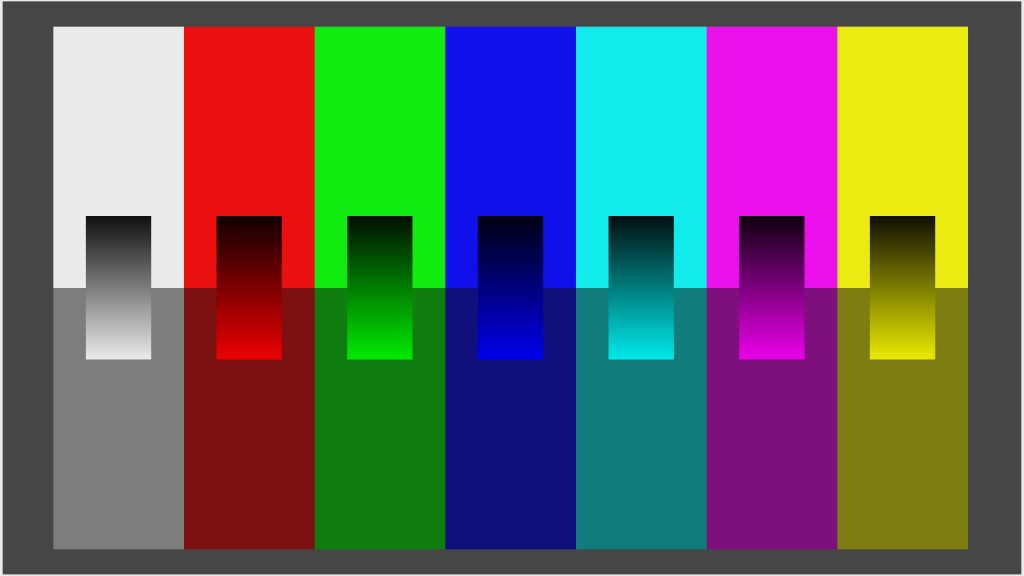
How to use:
- Use the top and bottom portion of the vertical color bars to evaluate color brightness and saturation
- Use small gradient bars to evaluate the color gradient from black to full saturation and to look for any artifacts
- Use the white border around the pattern to adjust for overscan
Tint
Sharpness
Black lines on a gray background for setting TV sharpness control.
How to use:
- If the sharpness setting on your display is set too high, you will see a white halo or the boundary of where the black lines meet the gray background.
- Reduce your display’s sharpness setting until there is no white border between the grey and black areas.
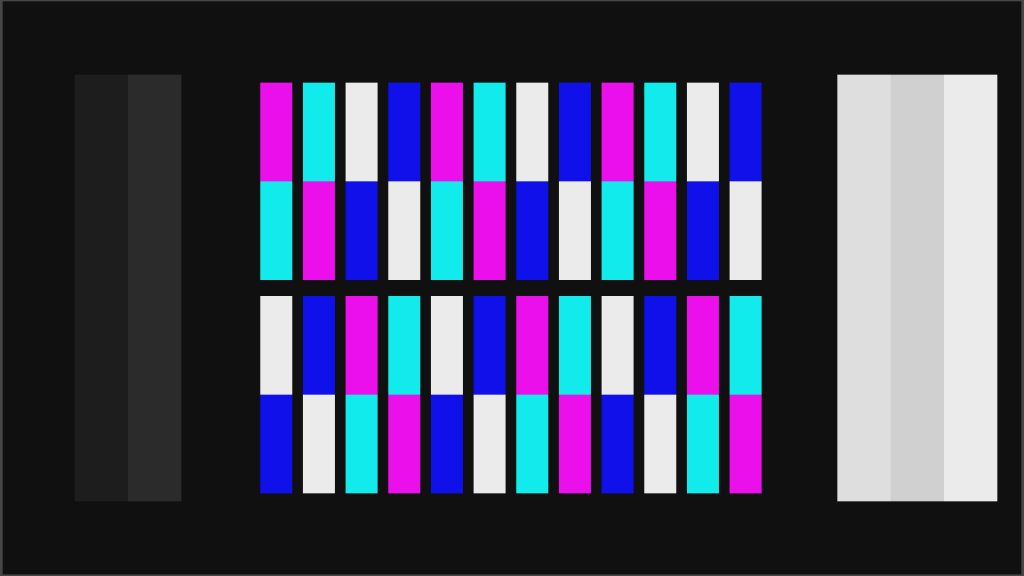
SMPTE
SMPTE standard color bars for evaluating TV color and tint controls.

The SMPTE color bars are a standard tool for calibrating color and tint controls on a display, essential for ensuring the accuracy of the color gamut. Additionally, the SMPTE color bars feature a black PLUGE pattern in the lower right corner, which is crucial for verifying black levels. Historically, calibration involved using a blue gel filter to view the SMPTE bars. However, with advancements in display technology, the recommended approach for the latest generation displays is to utilize the display’s “Blue Only Mode.” It’s important to note that not every display comes equipped with this mode. In such cases, color and tint adjustments can be made by referencing a standard test image, such as the skintones pattern.
How to use:
- Activate “Blue Only Mode” for displays that support this feature while observing the SMPTE bars.
- Adjust Color Saturation, by ensuring that the blue and white segments of the pattern are visually consistent.
- Adjust Tint/Hue adjustments by ensuring that the cyan and magenta segments align in appearance.
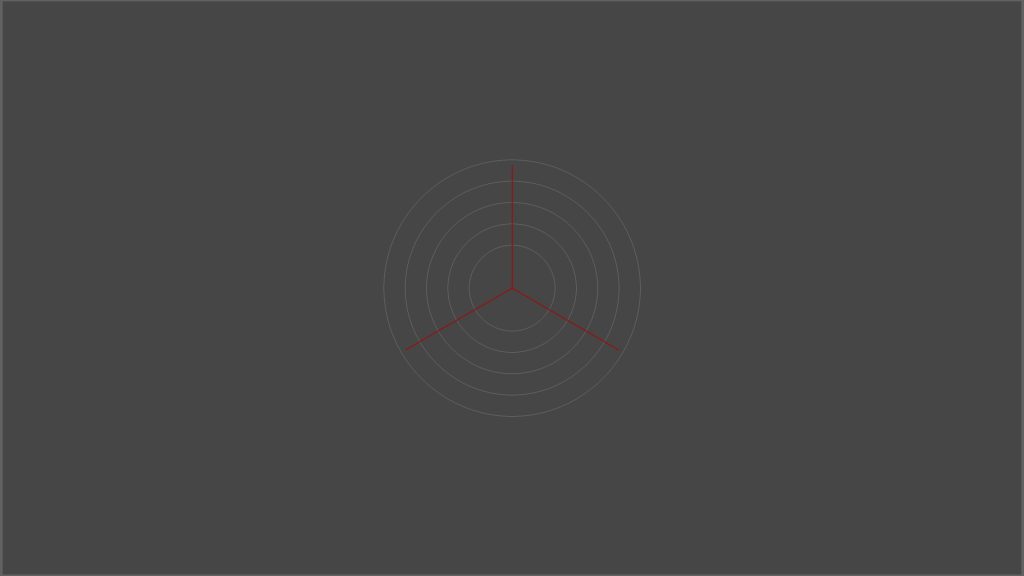
Alignment
For placement of a meter like C6 HDR2000 on-screen and checking for overscan by monitoring the white border around the pattern.
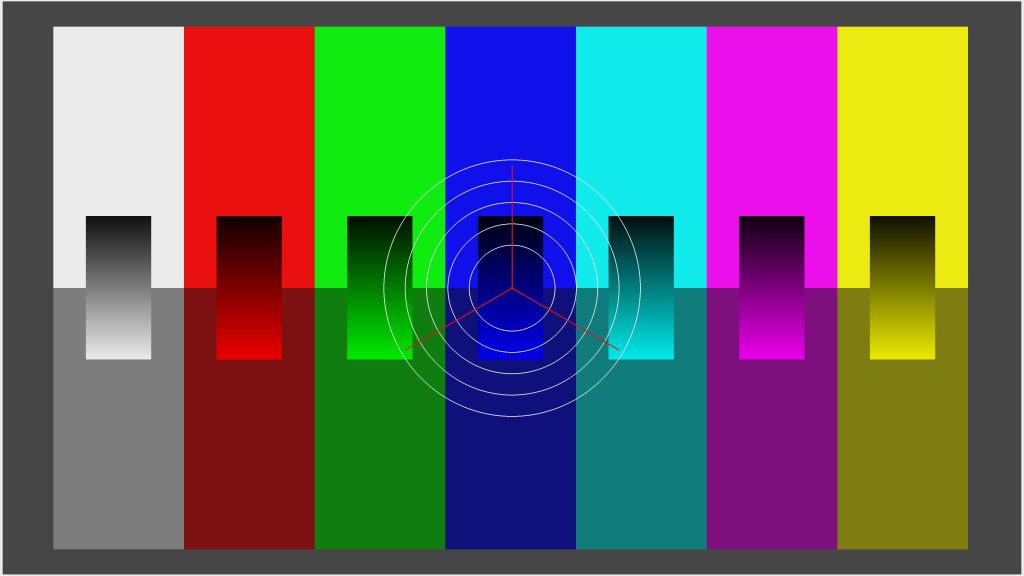
How to use:
- Place the meter on the center of the display by lining it up with the triad
- Check for overscan by monitoring the white border around the pattern
- Look for any color artifacts in the color bars background
Basic Alignment
For placement of a meter like C6 HDR2000 on-screen
How to use:
- Basic Alignment pattern has lower APL and is meant to be used when calibrating or measuring in high dynamic range
- Place the meter on the center of the display by lining it up with the triad
- Check for overscan by monitoring the white border around the pattern
Screensaver
Screensaver pattern to prevent burn-in

How to use:
- Activate Screensaver manually before you go away for an extended period to keep everything on stand-by
- Screensaver pattern automatically gets rendered if a static pattern is kept on the screen for too long to mitigate burn-in risk
Warm-up
For warming up a display for calibration, and connecting to the IP address given to the G1
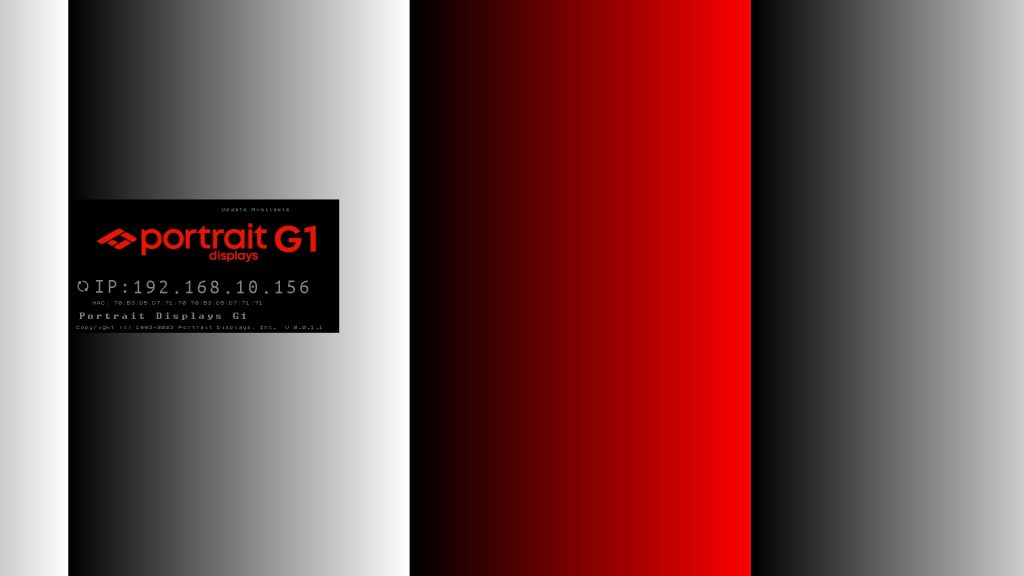
How to use:
- When connected to Calman and selecting Warm-Up a timer will be rendered on the moving box. Use this timer to determine when the display is ready for calibration. Evaluate display handling of text and logo elements on the moving box.
- A right-to-left scrolling series of grayscale ramps, color ramps, and solid bars will be intermixed and succeeded by a top-to-down scrolling series. Use the moving gradients for looking for artifacts in the grayscale/colors, or to determine gradient handling.
Grayscale Stair 21-Step
For evaluating grayscale linearity and accuracy, discoloration of white, and manual display point adjustment alignments.

Grayscale Stair 51-Step

For evaluating:
- Grayscale linearity
- Grayscale accuracy
- Discoloration
- Manual display point adjustment alignments
Grayscale Ramp
Use this to verify grayscale and dynamic range. Should show as a smooth transition from black to white with no hints of R, G, or B

Full White
For quickly evaluating white screen uniformity or auto brightness limiting features in SDR/HDR (ABL / ABSL).

How to use
- To evaluate brightness uniformity, start by placing a meter on the center of the display. Take a measurement and make a luminance comparison against other areas of the display
- Evalute screen stability at full white by manually taking continuous readings or single readings at time intervals and comparing the measurements, or by using the SDR/HDR Toolkit workflow’s Screen Stability layout
- Look for discoloration in White by comparing the color of white at the center of the display to the area around. Get exact dE numbers by using the SDR/HDR Toolkit workflow’s Screen Uniformity automated layout.
Full Black
For quickly evaluating black screen uniformity on a LCD panel and taking a black level reading.

Skintones

Granger
Granger pattern to evaluate color gamut
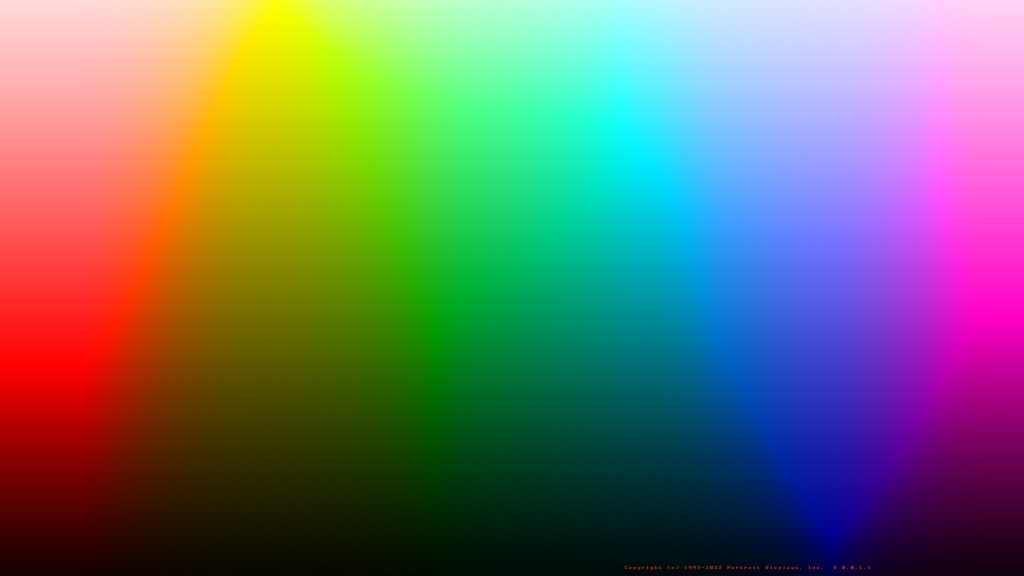
This pattern transitions by color hue from left to right and by brightness from bottom to top. The bendy line that goes across the pattern roughly corresponds to the most saturated colors for the hues.
How to use:
- Look at the visibility of the zig-zag line that goes across the pattern to make a judgment of the wideness of the color gamut
- Evaluate a display’s color gradation handling by looking at the transitions between colors from left-right/top-bottom
- Look for artifacts in the color gamut before/after adjusting color settings on a display, or when doing a calibration such as by comparing unity vs non-unity LUTs
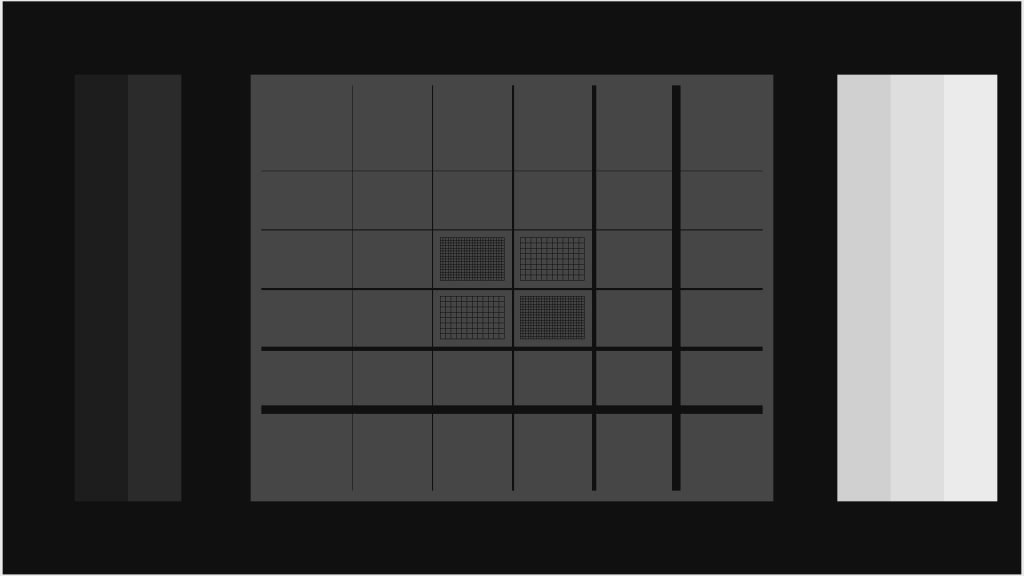
4×4 (ANSI) Checkerboard
Regular or inverted. White/black blocks for measuring in-plane ANSI contrast.

How to use:
- Make note of the average luminance of white and black squares
- Divide the average luminance of white squares by the average luminance of black squares
NOTE: Projector contrast will be less than the full ON/OFF contrast as the procedure considers the increase in black levels due to light scattering from white to black areas, leading to a decrease in contrast.
5×5 Checkerboard
Regular or inverted.
White/black blocks for measuring in-plane contrast.

How to use:
- Place a meter at the center of the screen
- measure black and white by alternating between the 5×5 Checkerboard and 5×5 Checkerboard Inverted patterns
- Calculate the contrast ratio by dividing the white luminance by the black luminance reading. You should now have a good number for how many times brighter white is than black at various intensities of white, display modes, and display settings affecting black level such as local dimming.