
Properly calibrating your Konvision monitor ensures accurate color reproduction and consistency across your workflow. This guide walks you through the process of creating and applying a 3D LUT (Look-Up Table) using Calman software.
Step 1
- From the Calman Menu in the top left, choose Open Workflow Template → Calibration and then open the 3D LUT workflow.
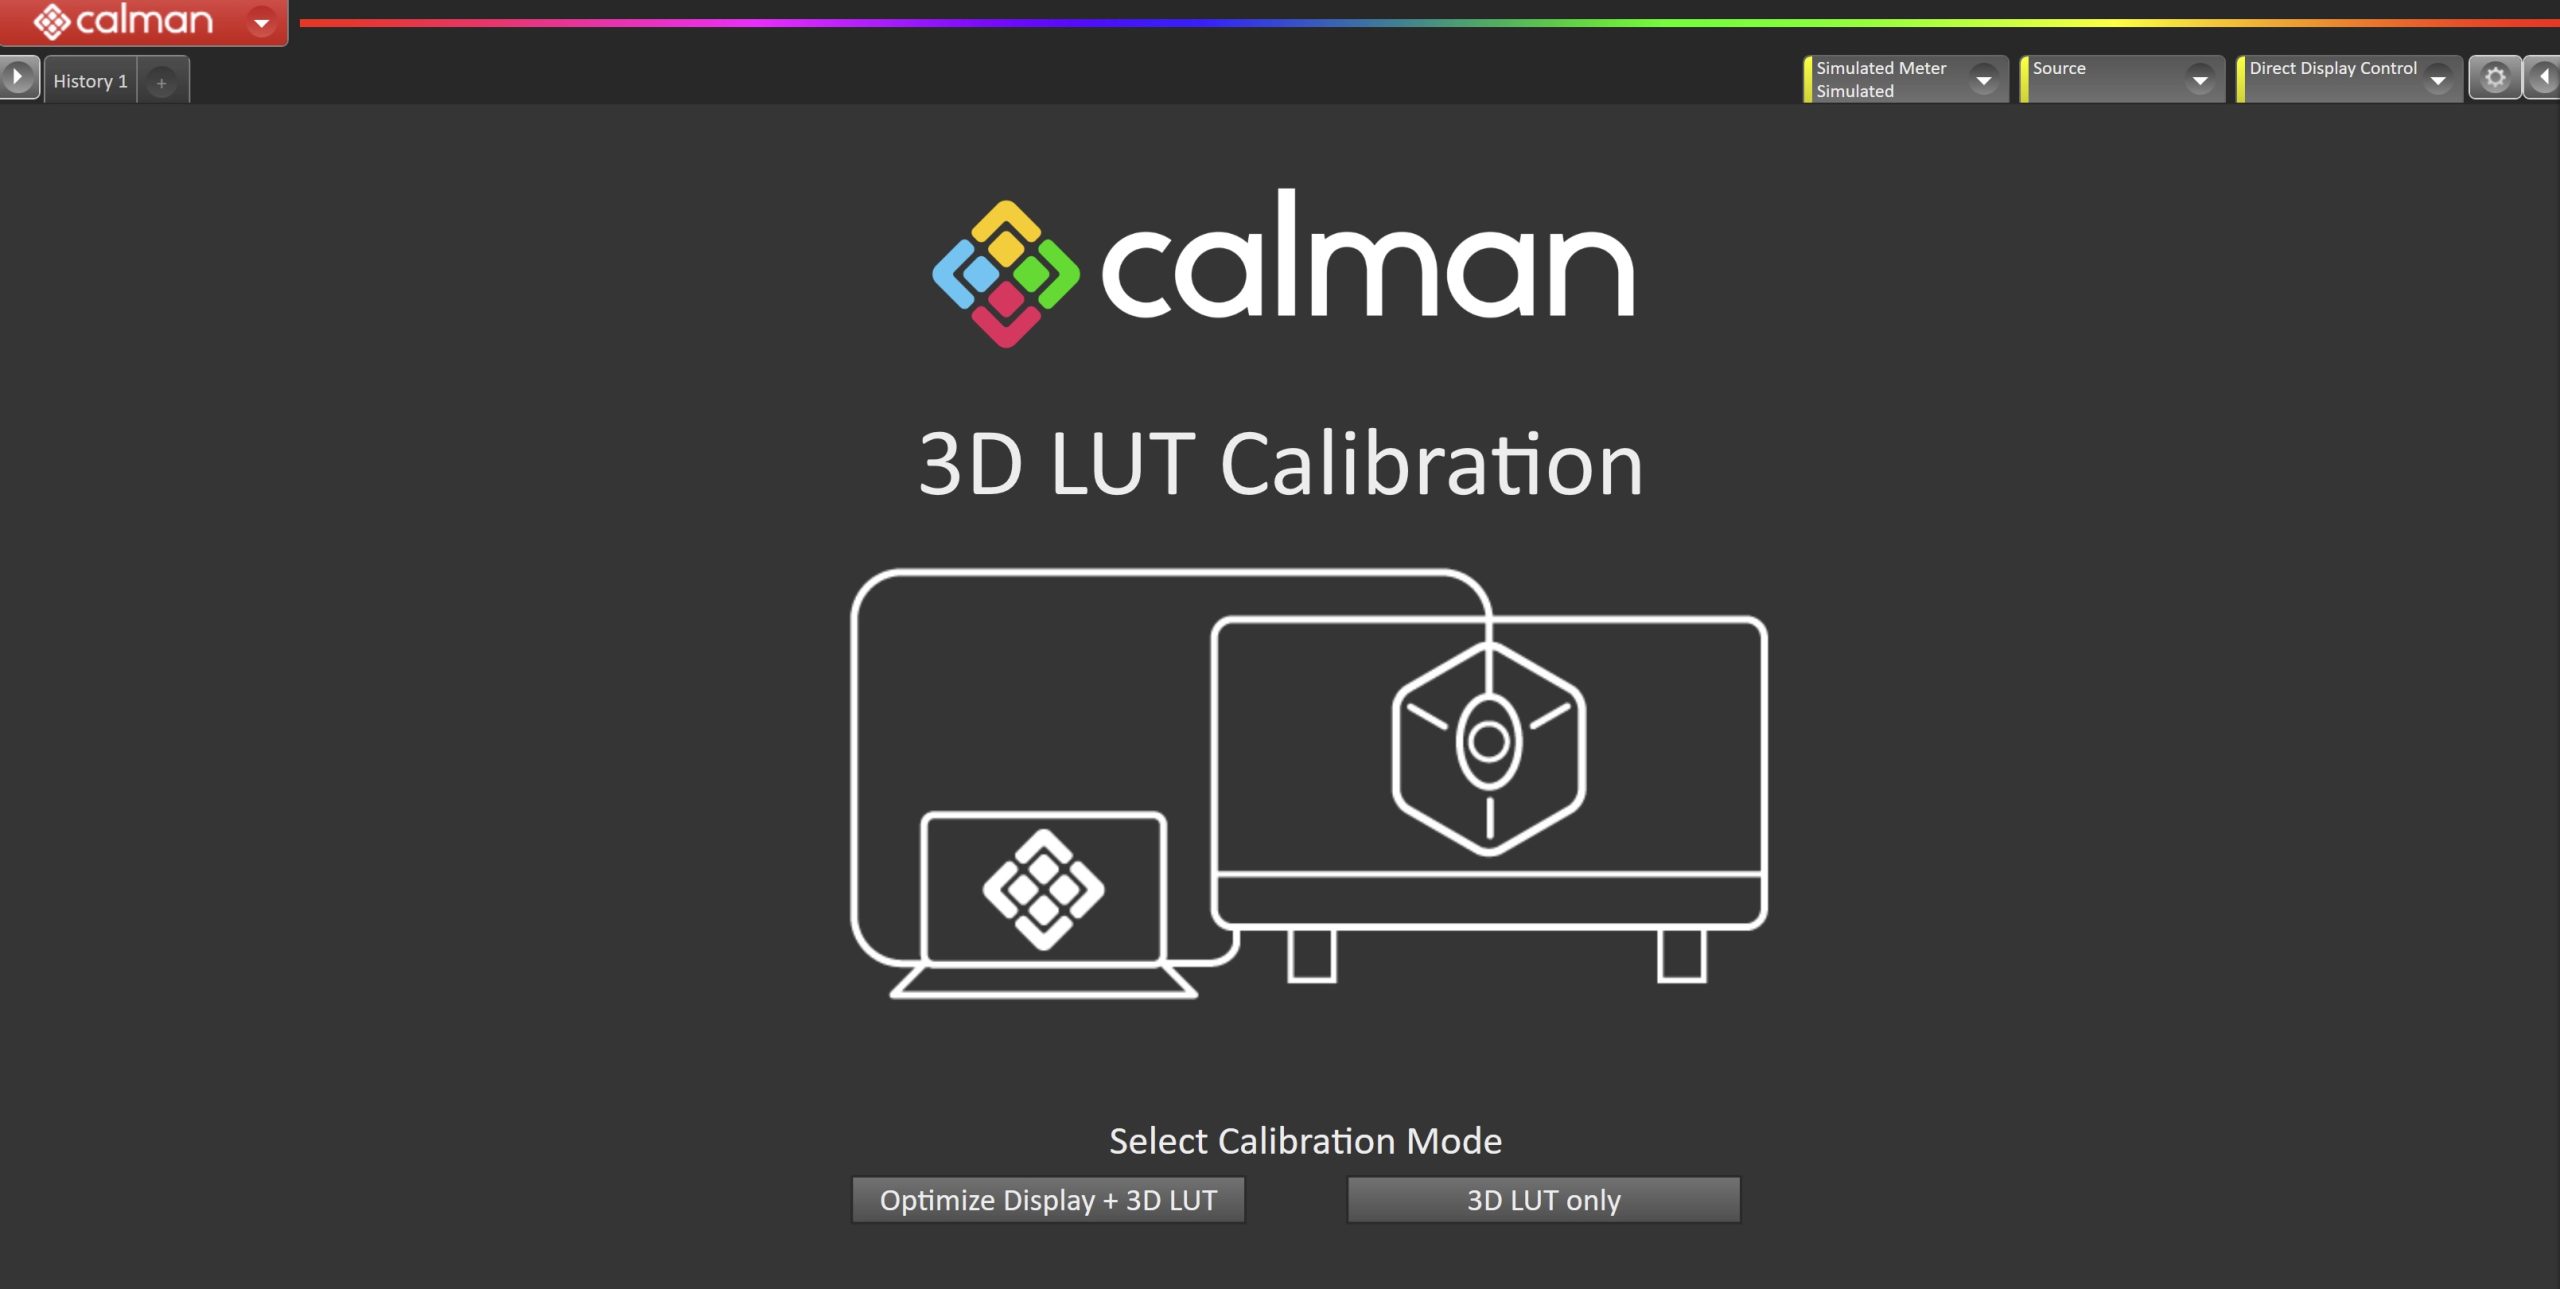
- To begin the calibration process, select one of the two options
- Optimize Display + 3D LUT
- This will guide you through optimizing the luminance and white balance of the display. For best results, its recommended to optimize the display prior to calibration.
- 3D LUT only
- This will skip the optimization steps. May cause less accurate calibration results
- Note: This will include a 1D LUT calibration step for multipoint greyscale. Konvision hardware does not support 1D LUT calibration, so this step can be skipped
- Optimize Display + 3D LUT
Step 2
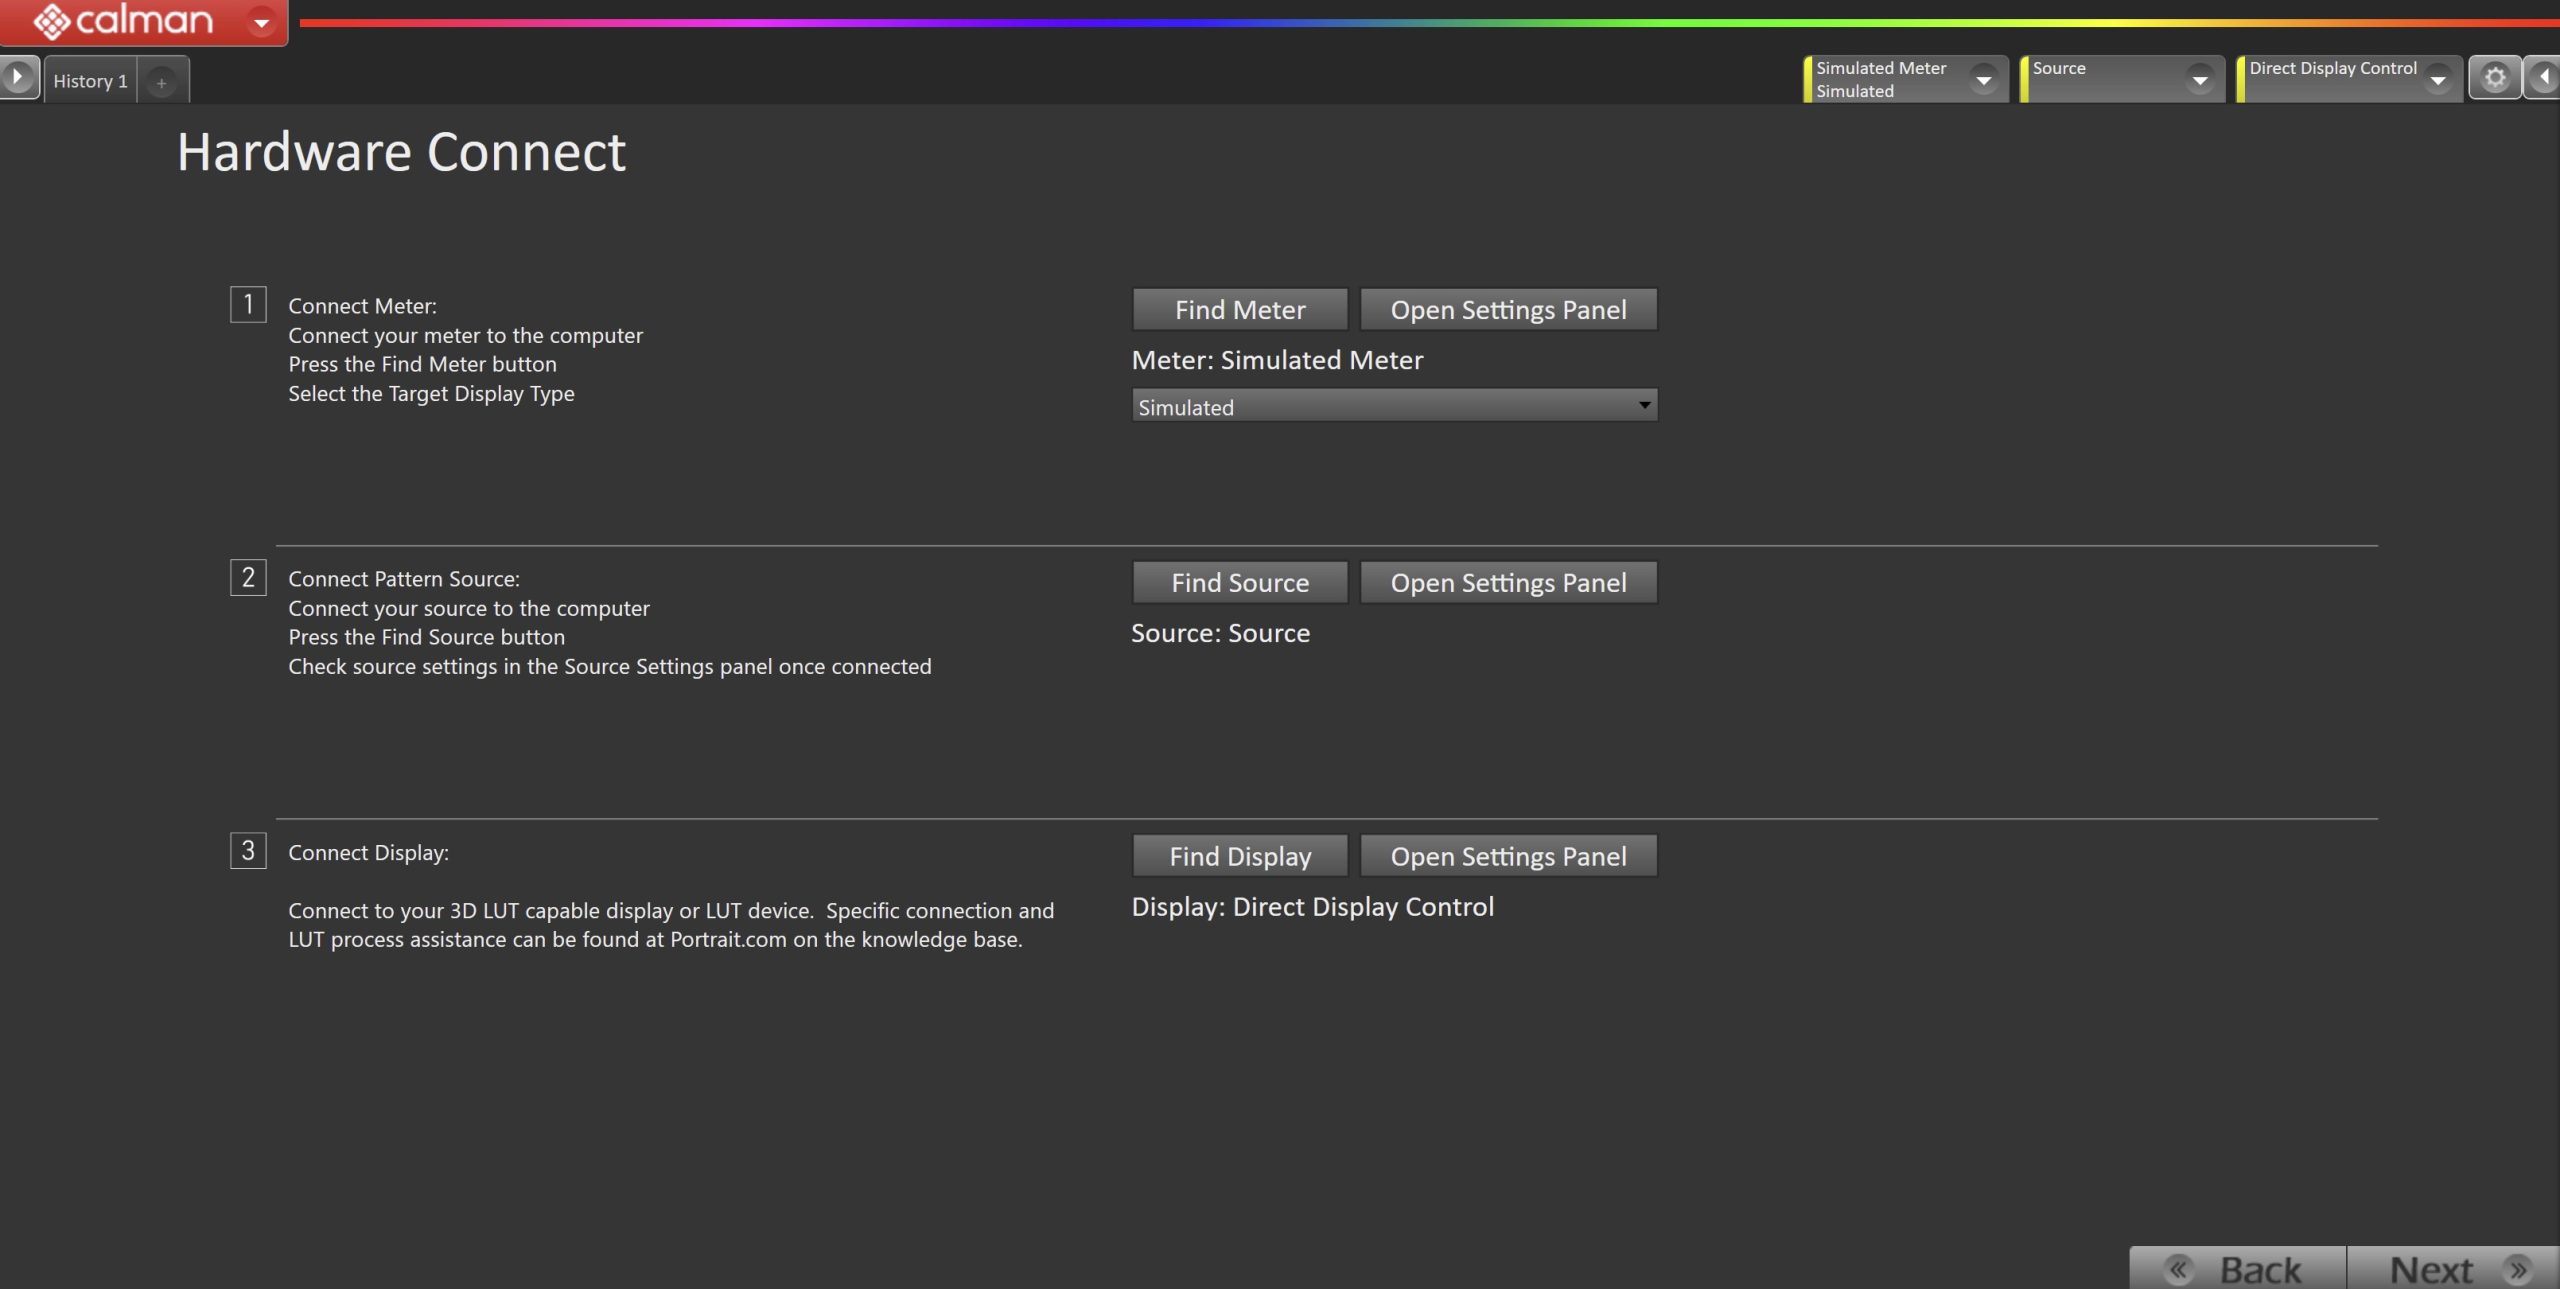
- Plug your meter into a USB port on the computer and click the Find Meter button on the left.
- When your meter is connected, select your display type from the dropdown
- Connect Pattern Source to your computer.
- Click the Find Source button, then select your source.
- Connect Konvision Display
- On your Konvision monitor:
- Press the Menu button.
- Navigate to Color Settings > Color Space.
- Select the Bypass mode.
- Via Calman:
- Click the Find Display button.
- On the Find Display dialog, under Manufacturer, select Konvision, and under Model, select Kmonitor
- Enter the Konvision monitor’s IP address. (The default monitor IP address is 192.168.1.155)
- The static IP address configuration for Konvision displays can be challenging. If you have issues configuring the Konvision network settings, please contact Konvision Support
- Click Connect
- On your Konvision monitor:
Step 3
Confirm the calibration targets.

- Select your desired Whitepiont, Colorspace, and Gamma/EOTF and press Next to continue
Step 4
In this step, you’ll take readings of the display before the calibration. These will be used to compare the calibration results.
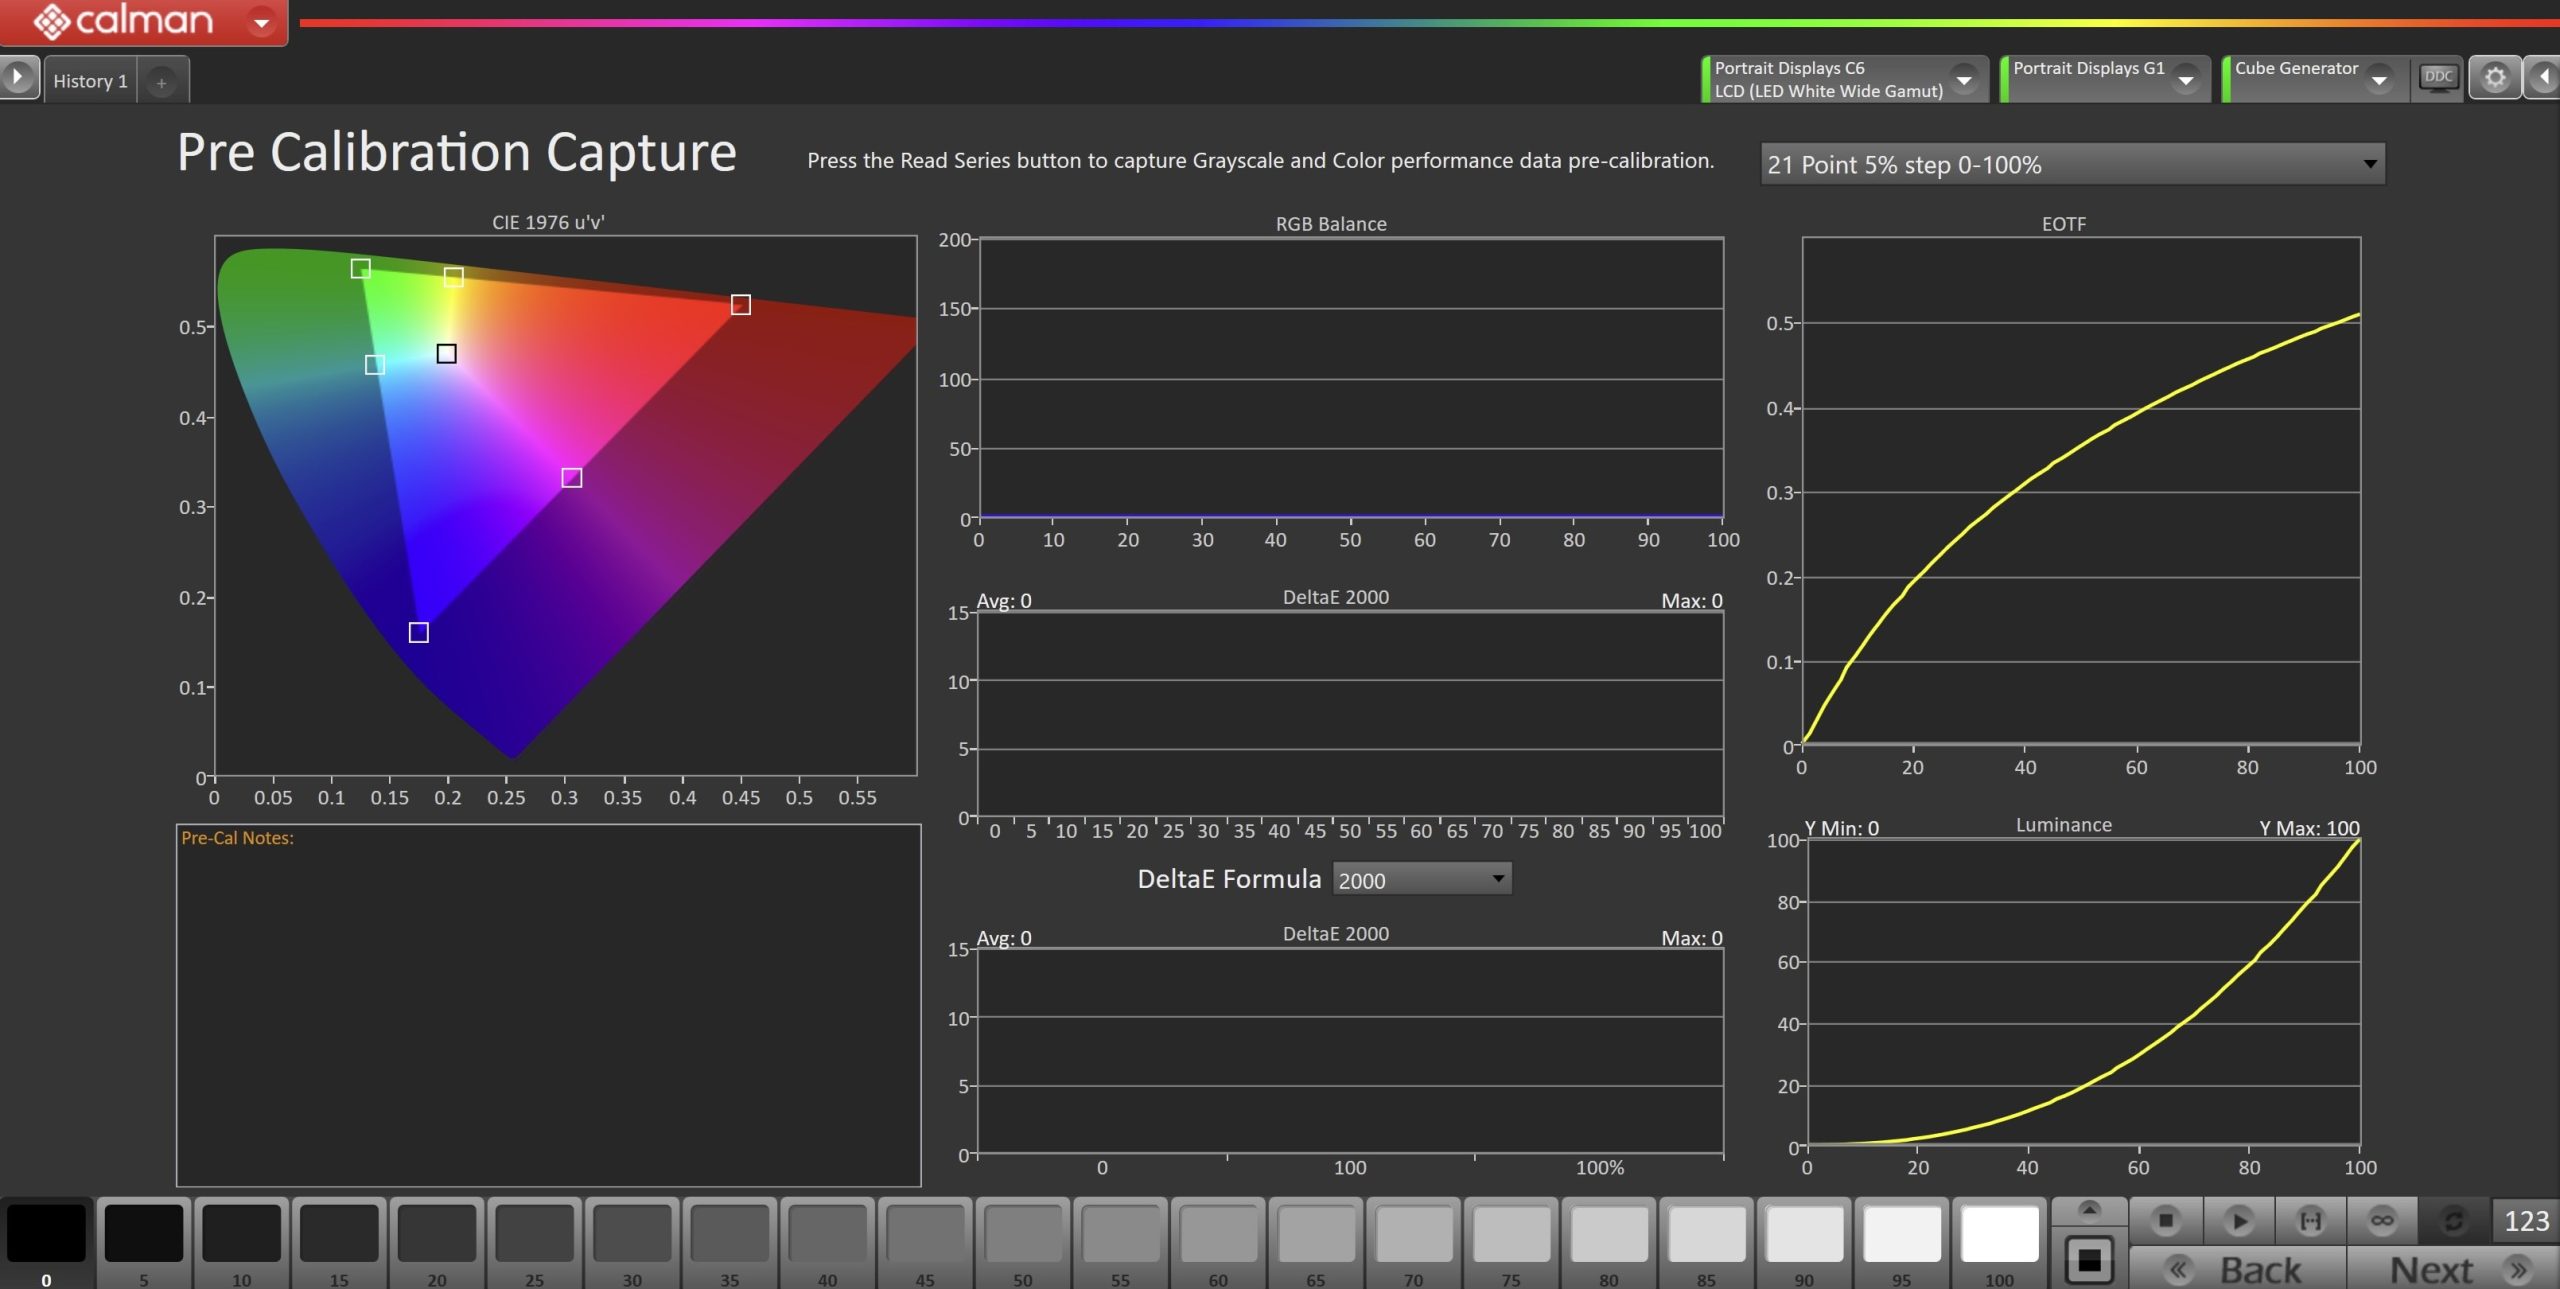
- To take Pre-Calibration Measurements click the Read Series […] button to measure the display’s grayscale and ColorChecker response
- This will provide a point of reference to compare the calibration results
Step 5
- Note: These steps will only be present if “Optimize Display” was chosen in Step 1
Optimize Luminance
- In this step, you will be able to adjust the Luminance of the display to match your desired target. Luminance is a subjective target. SDR reference luminance is 100cd/m2, but you may need to target higher to account for the ambient light in your environment.
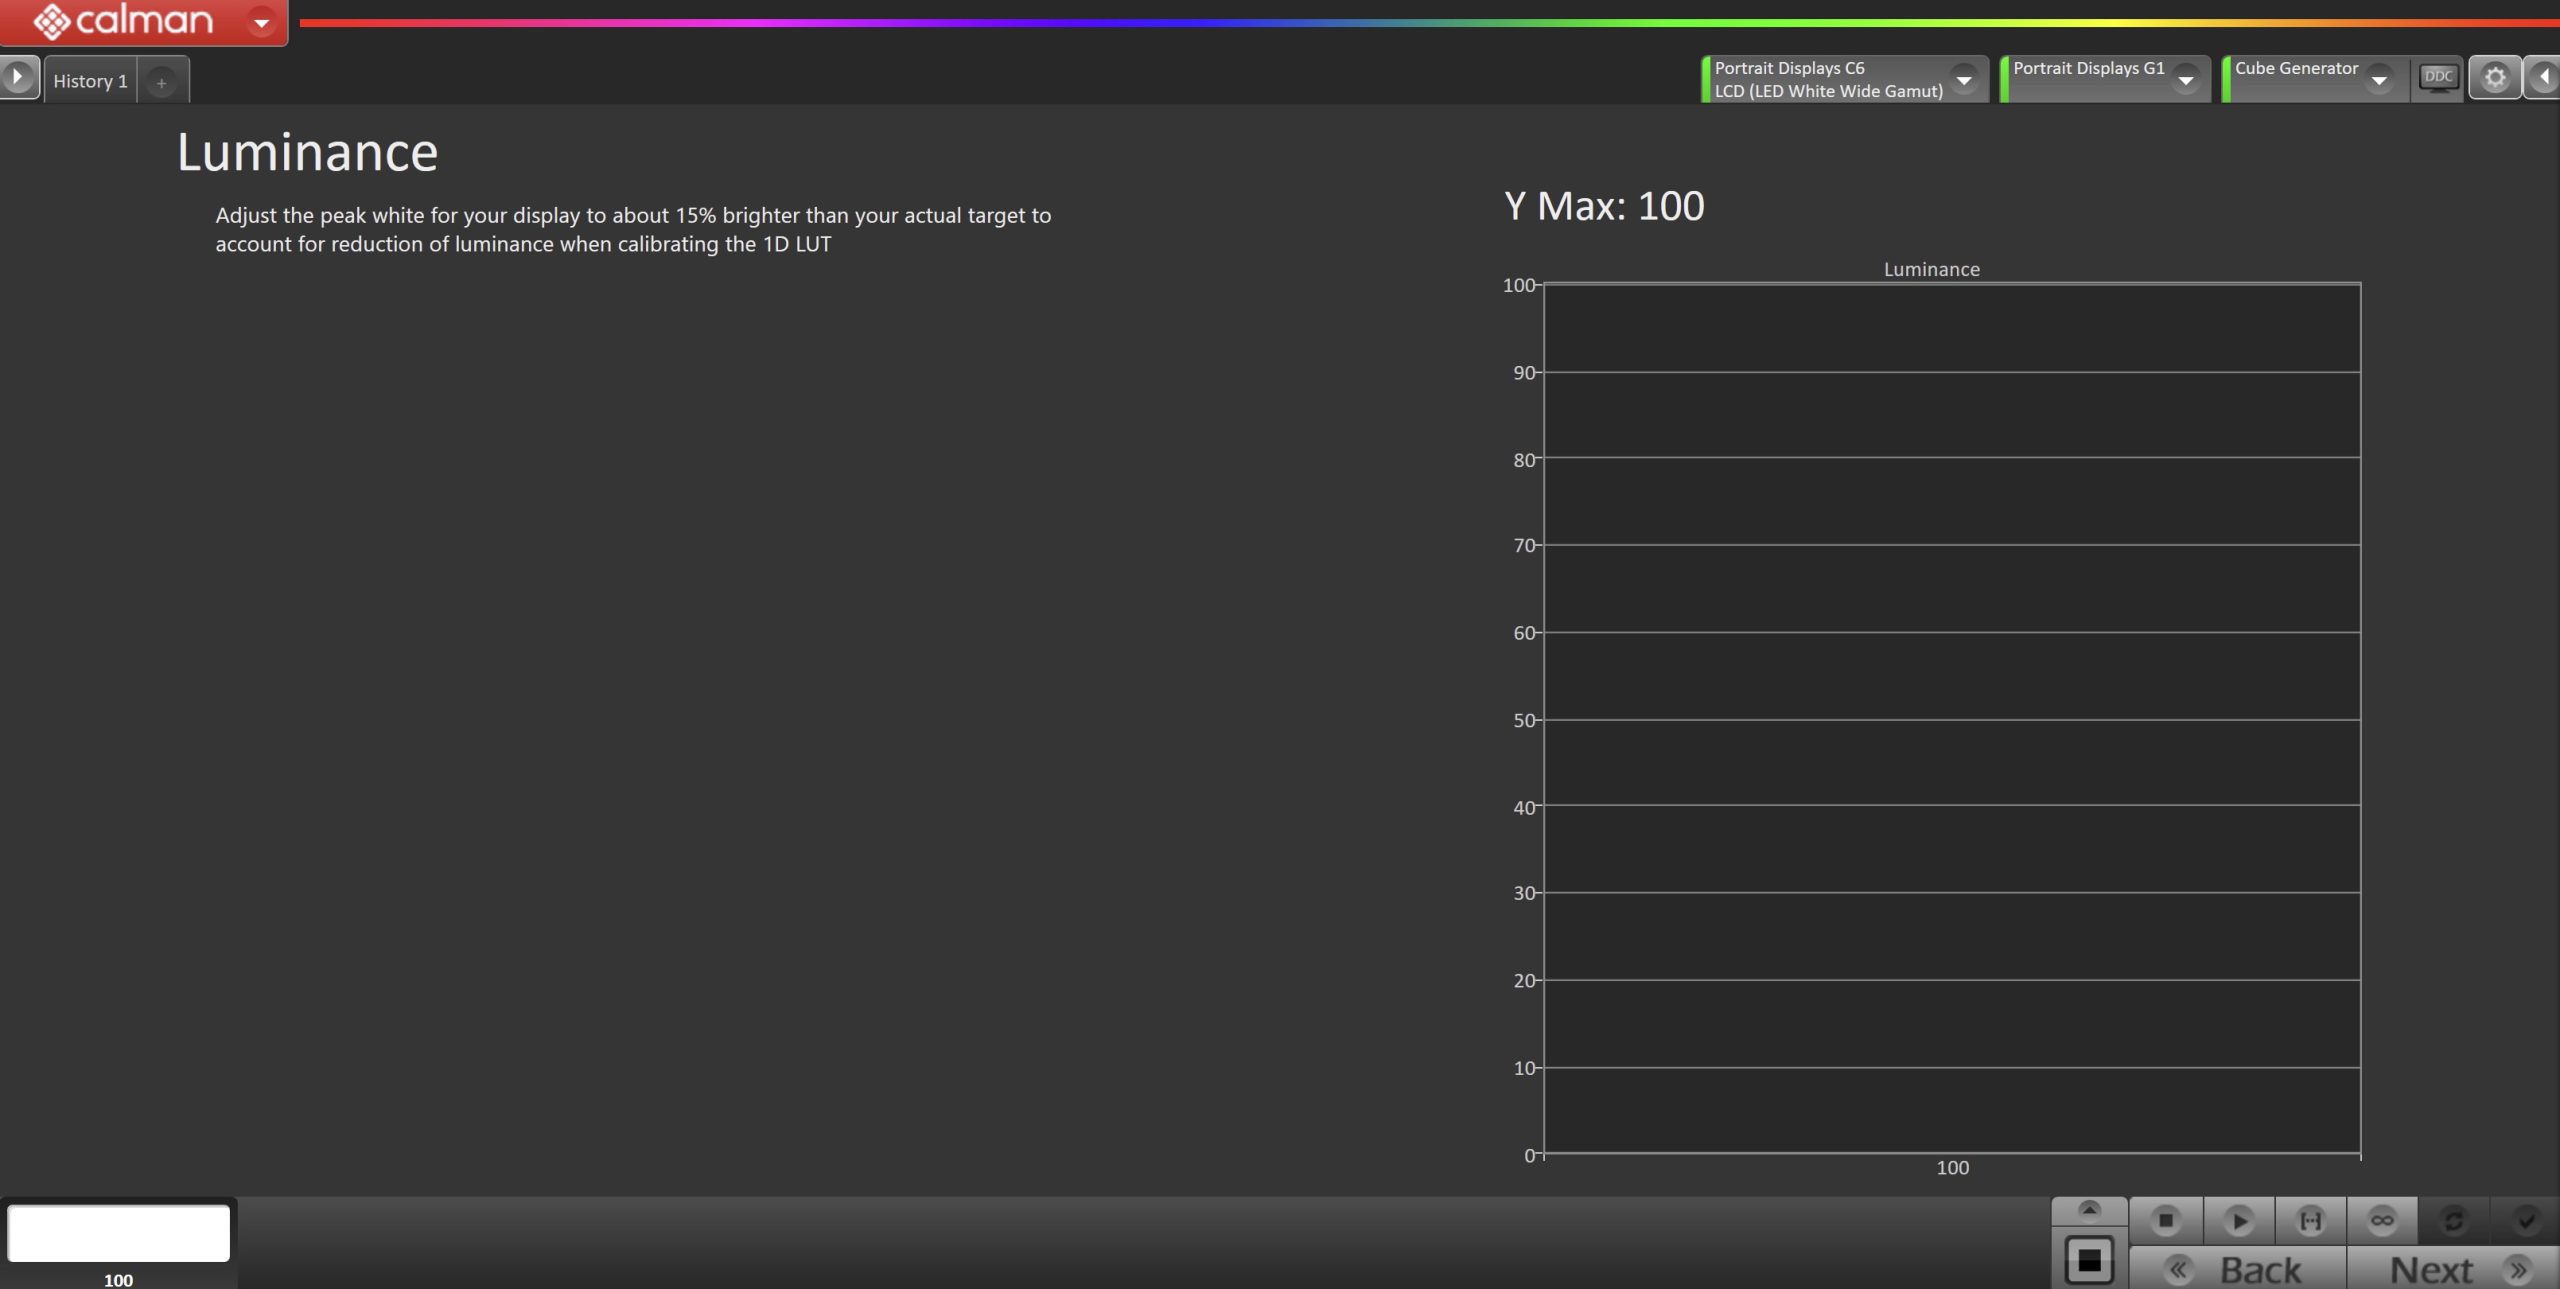
- Click the Read Continuous button to measure your display’s light output at 100% white and adjust the display’s peak white to the desired luminance.
- Adjust your display’s backlight/OLED light control so your display is about 15% brighter than your final target to account for a reduction in luminance when calibrating.
- Press Stop when the luminance adjustment is complete
Optimize White Balance
- Here, you’ll be able to adjust your display’s White Balance or 2-point greyscale. The default points (30/100) are appropriate for most displays, but you can choose alternate points if your display adjusts grayscale at different points.
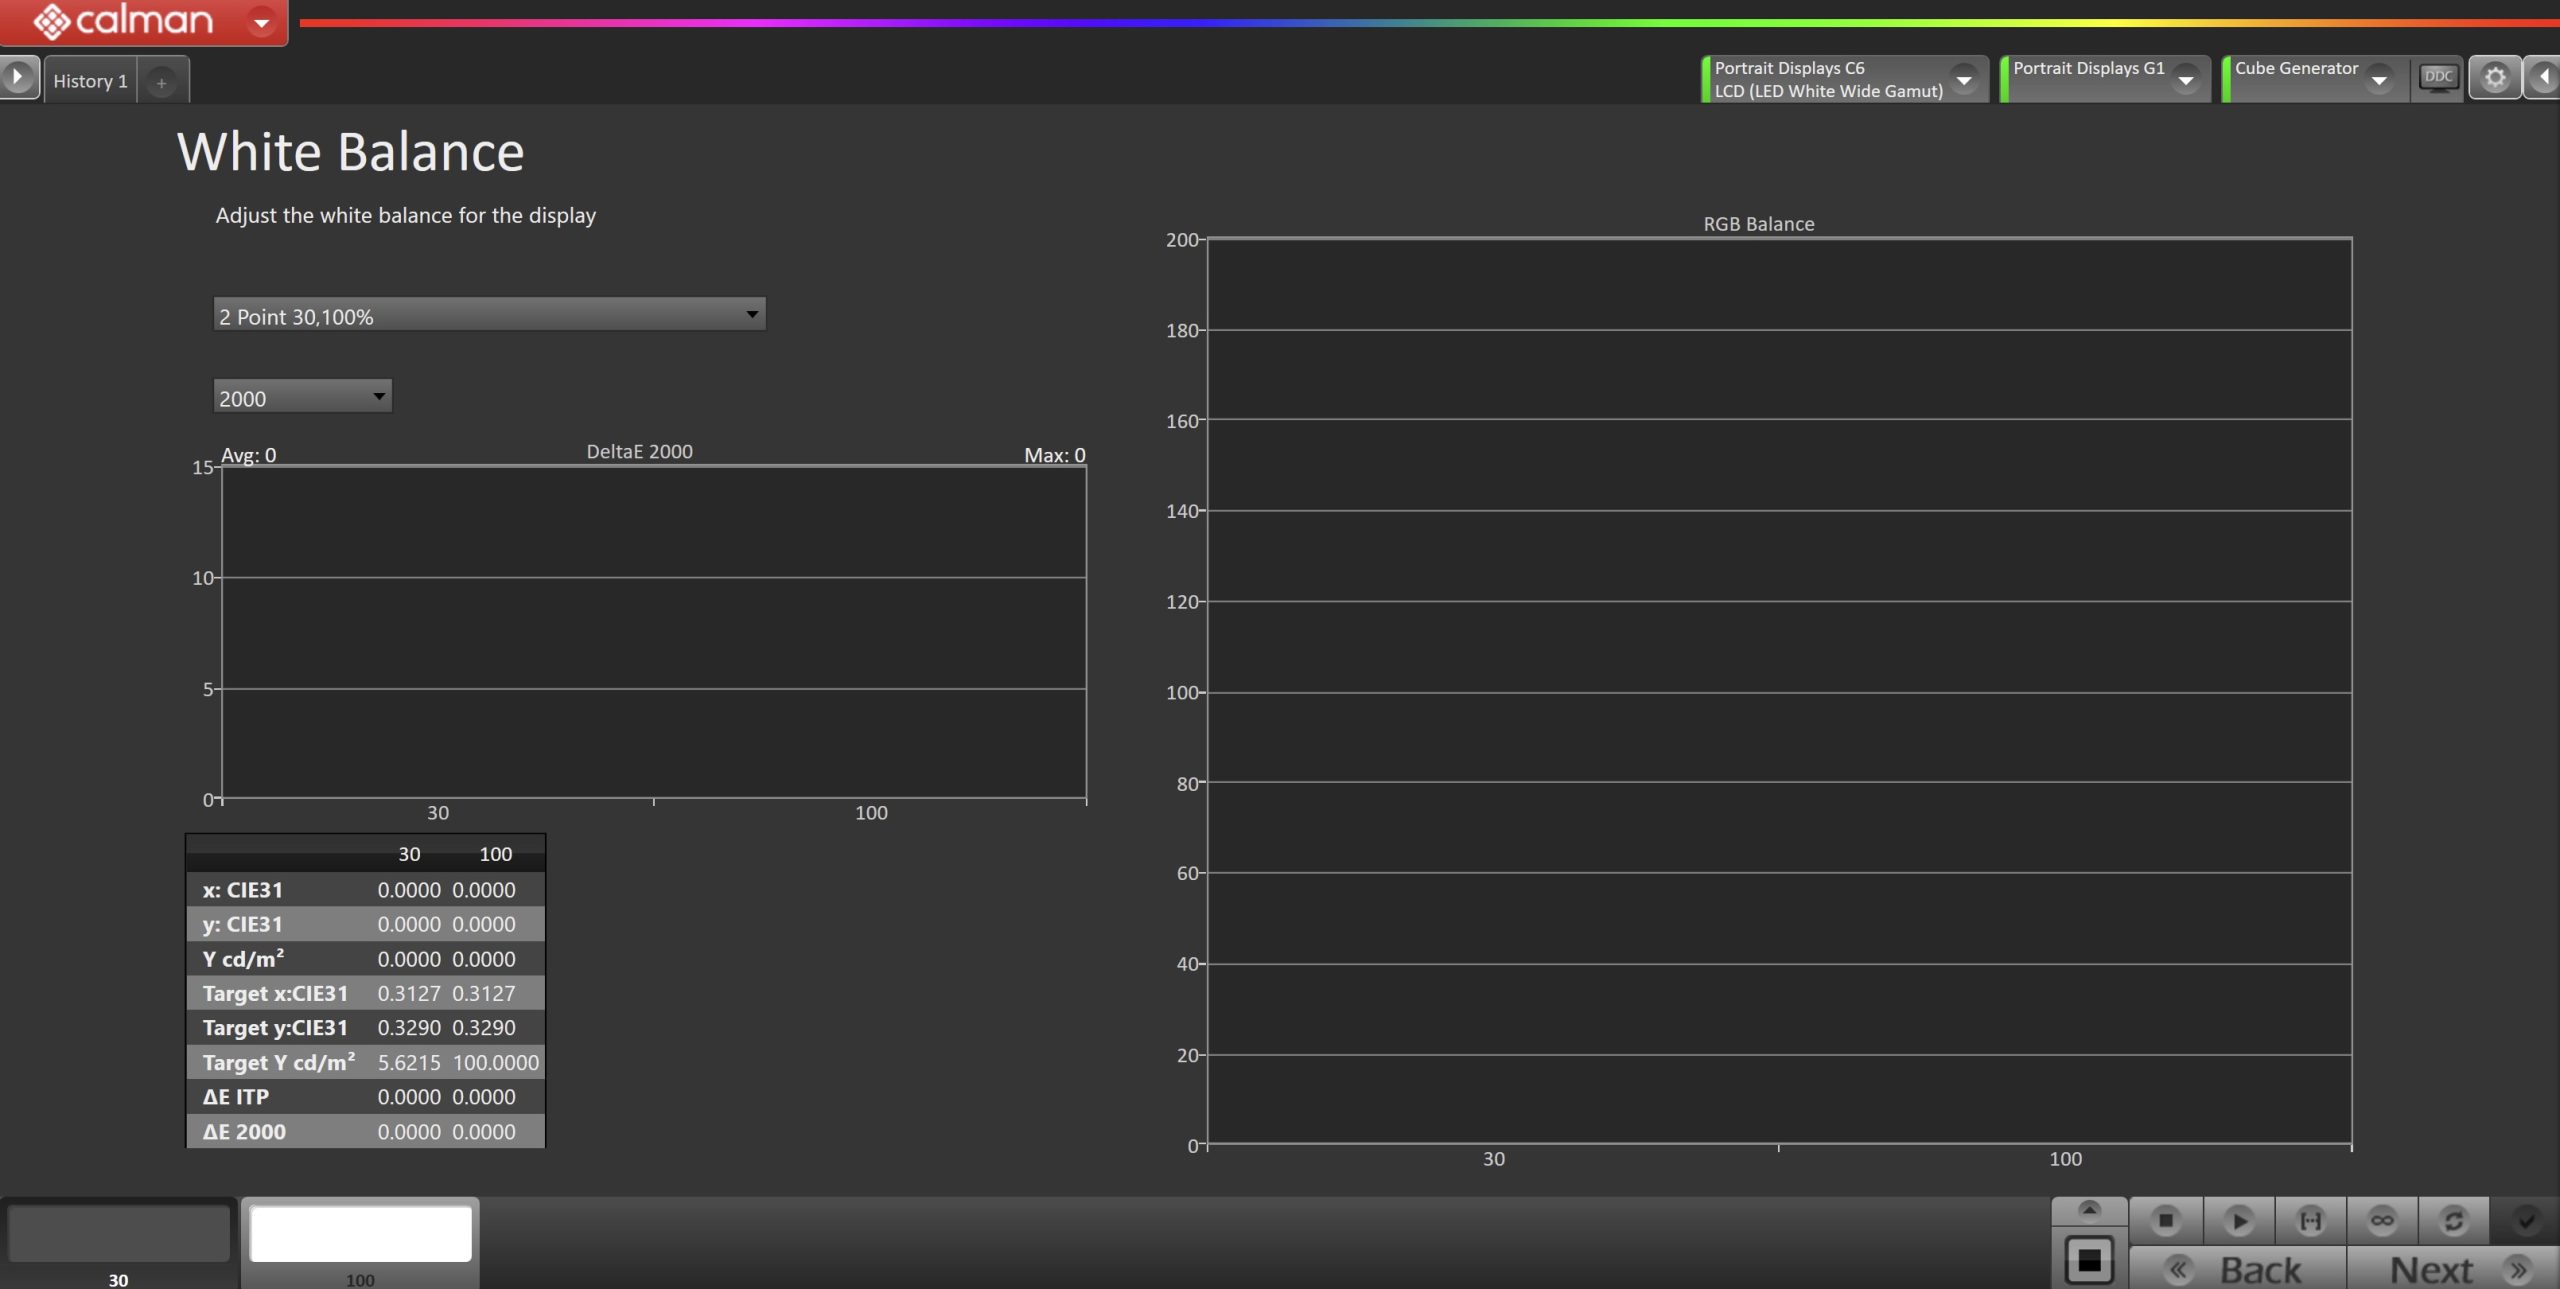
- Use the Read Continuous button to measure the higher of the two greyscale patches shown. This can be modified with the dropdown on the right
- Adjust the RGB Gain/High controls to achieve the lowest DeltaE 2000 possible (far right chart).
- If RGB Offset/Low controls are available, use the Read Continuous button to measure the 30% grayscale pattern (bit level 82) then adjust RGB low controls to achieve the lowest DeltaE 2000 possible (far right chart).
Click Next to complete display optimization and proceed to the 3D LUT page
Step 6
On this page, Calman will calibrate the Color Management using a 3D LUT
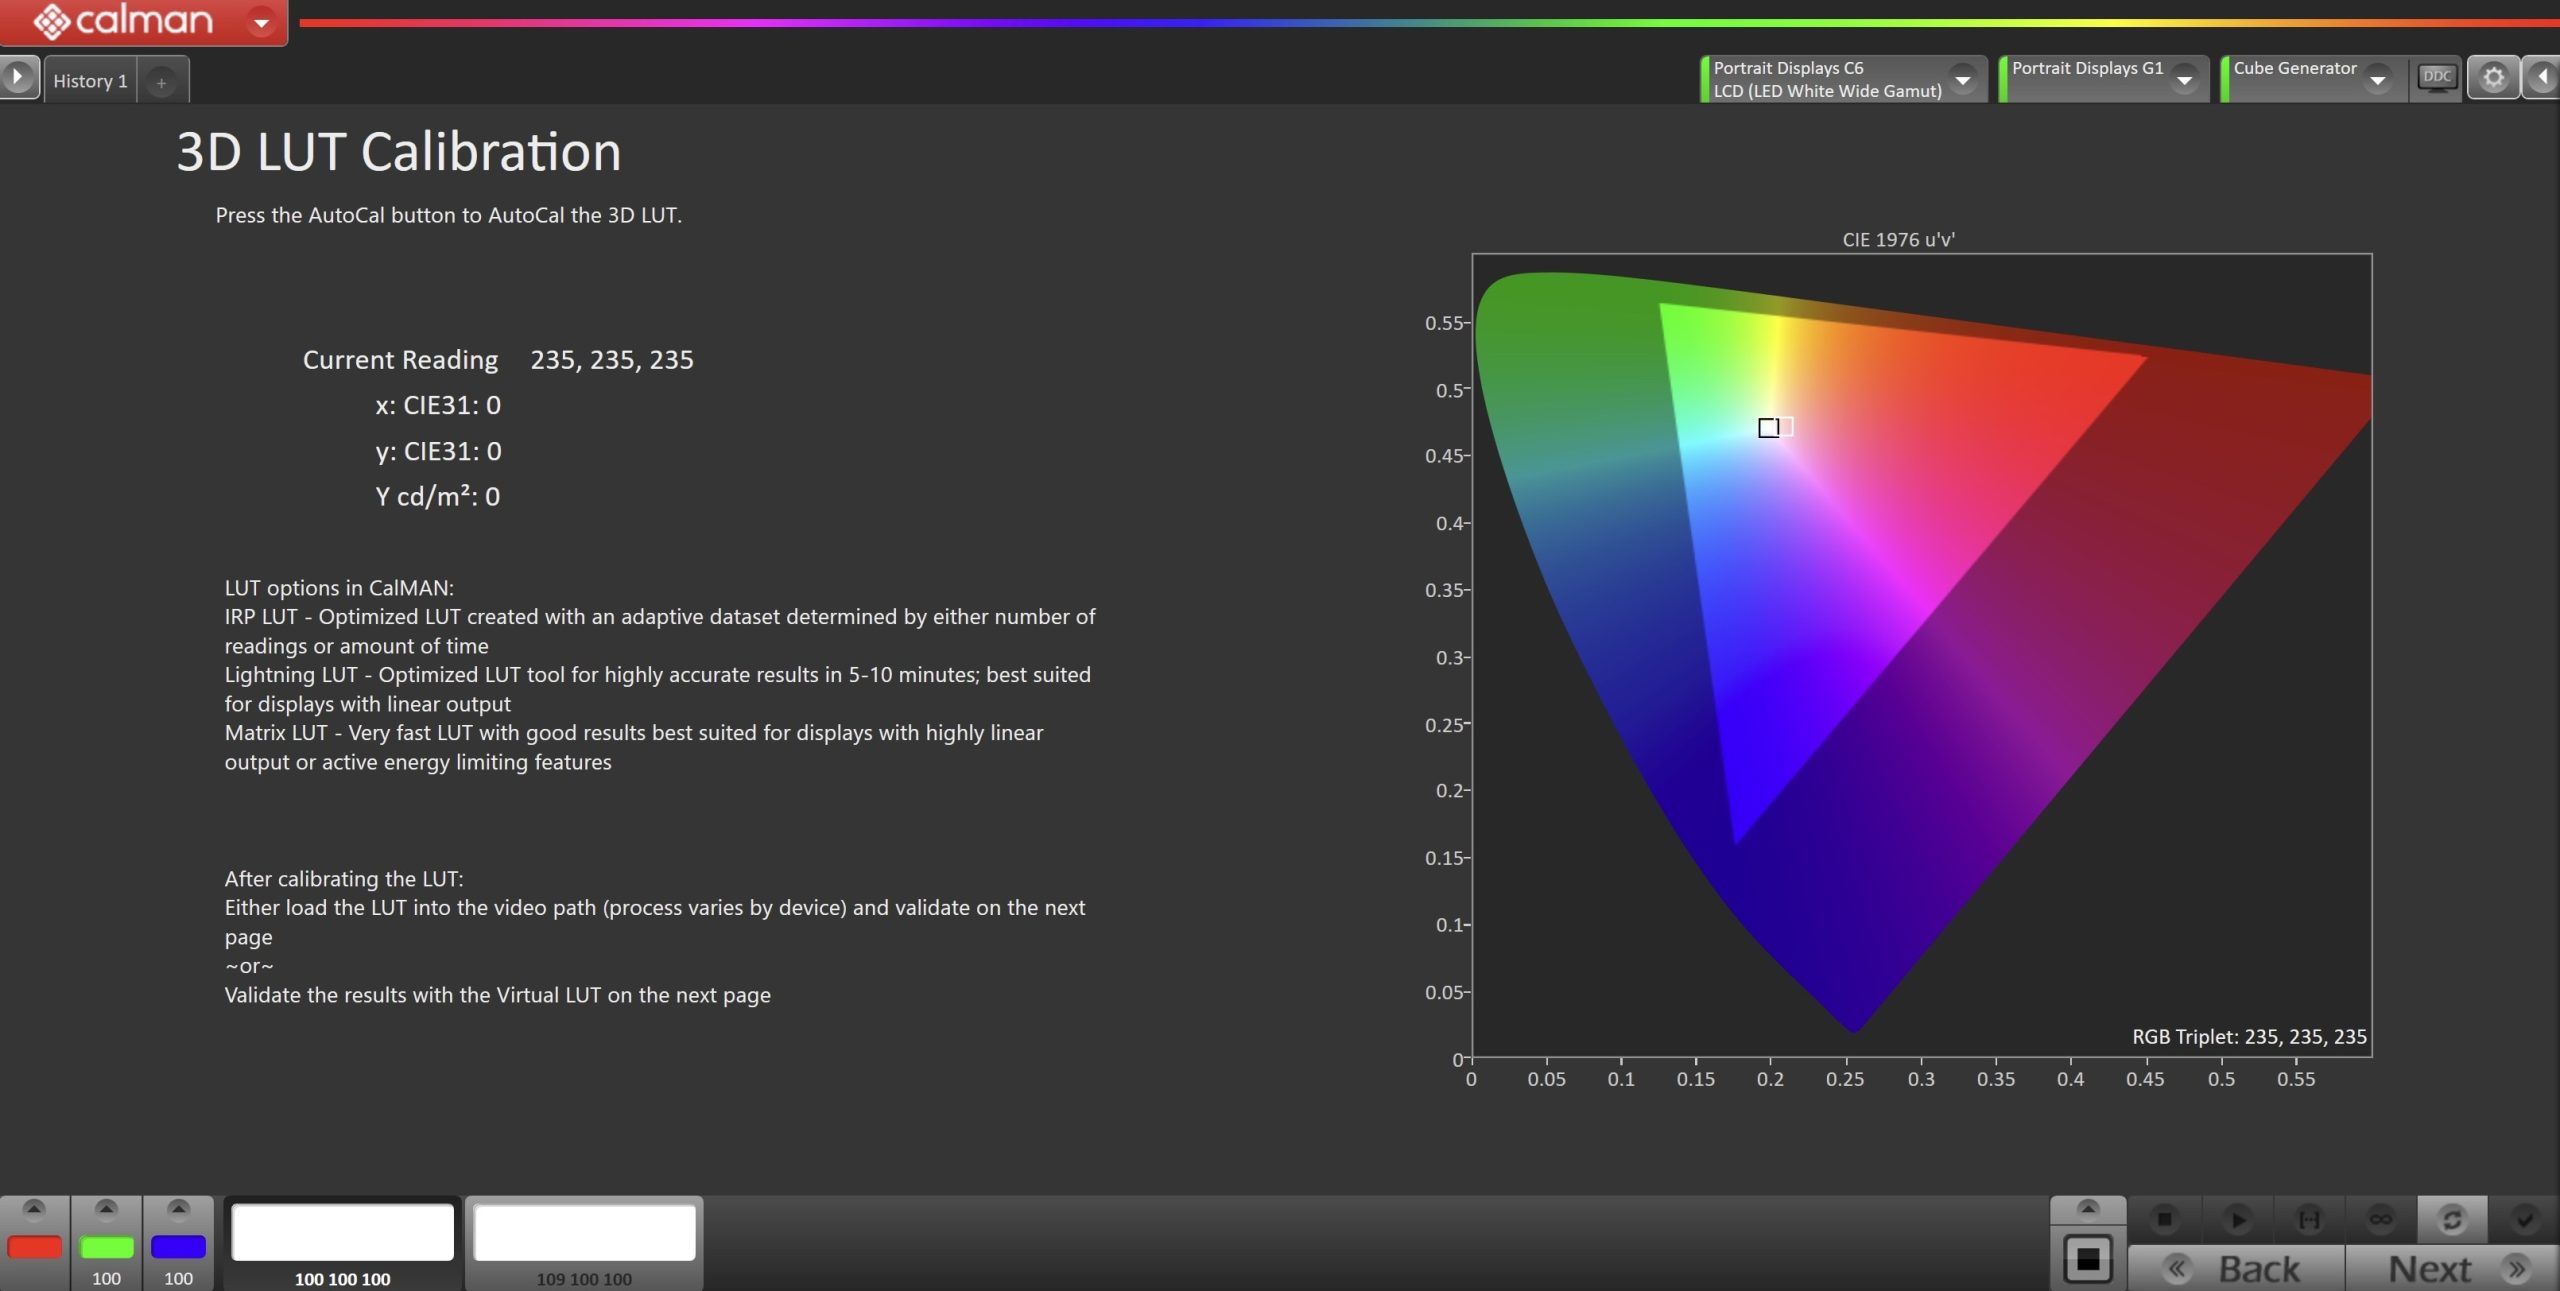
- Click on the Display tab in the upper-right of Calmanselect your desired colorspace. This will be the colorspace slot on the Konvision where Calman uploads the LUT.
- The target colorspace and Gamma should match your settings from Step 3
- On your Konvision monitor, press the Menu button.
- Navigate to Color Settings > Color Space.
- Select the Bypass mode.
- Click the AutoCal button to open the AutoCal dialog
- Calman has multiple methods for creating a 3D LUT. For information about these LUTs see THIS ARTICLE.
- Choose the video range that matches your target and pattern generator settings.
- Click OK to begin the colorspace AutoCal process
- Following the creation of the 3D LUT, it will be automatically uploaded to the monitor by Calman.
Click Next to proceed to post-calibration measurements
Step 7
In this step, you’ll take readings of the display after the calibration.
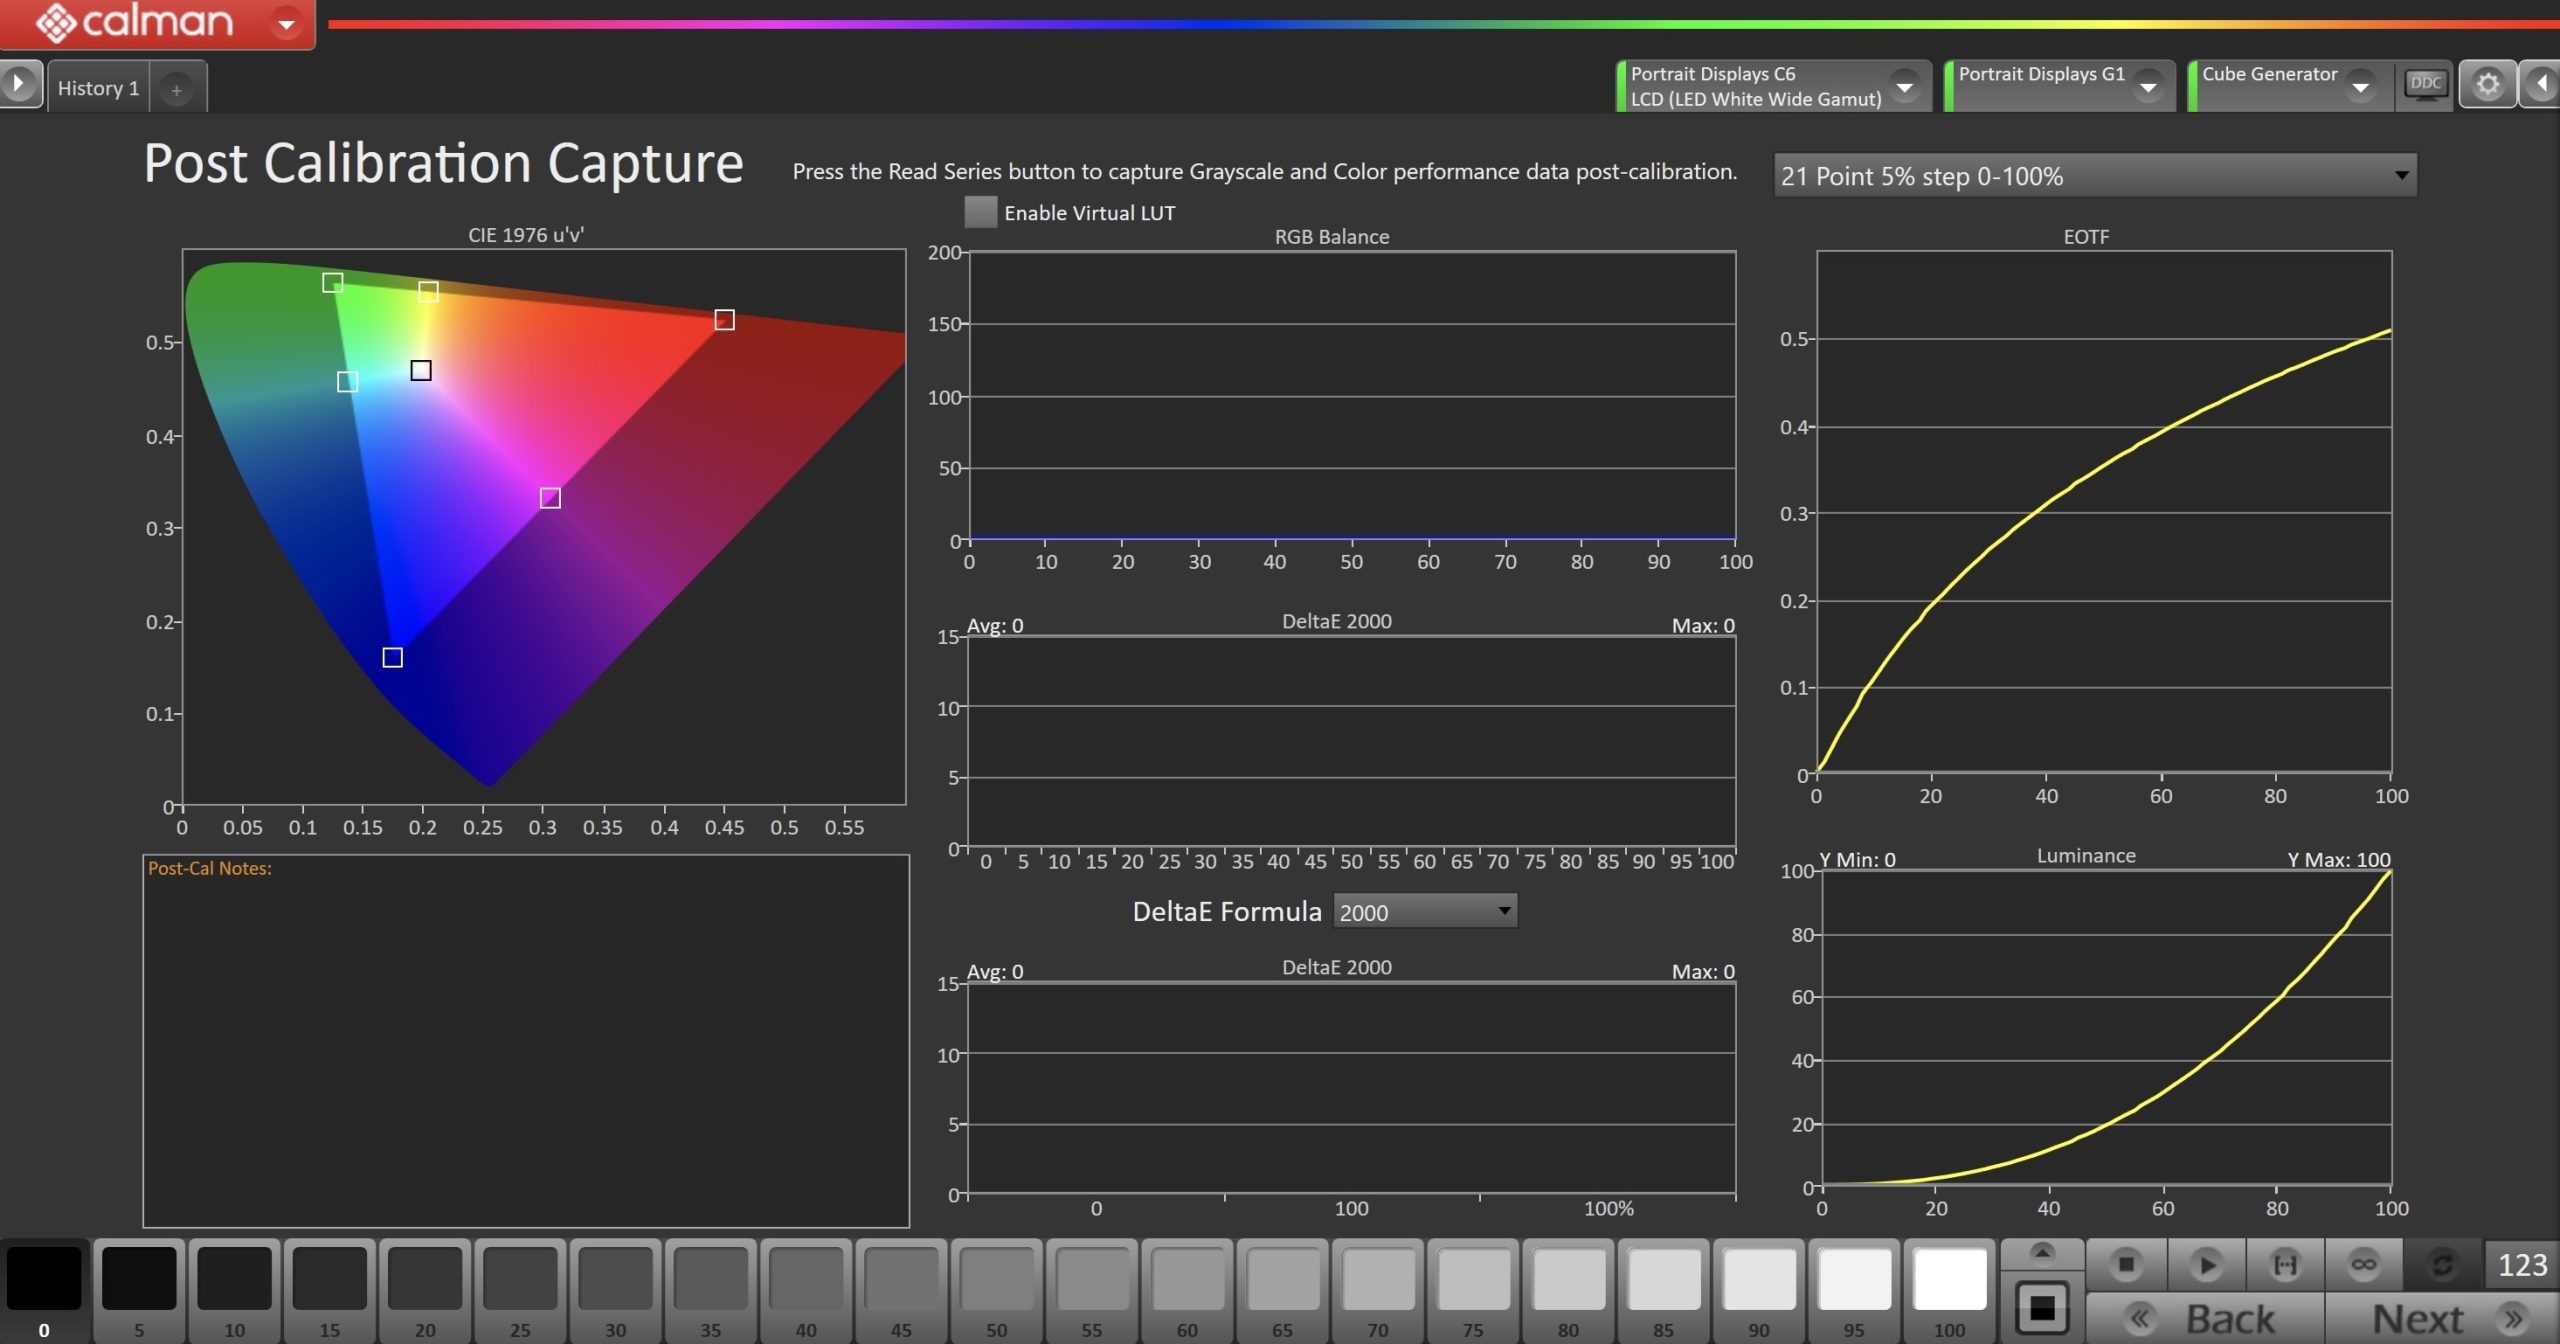
- Prior to post-calibration measurement on your Konvision monitor, press the Menu button.
- Navigate to Color Settings > Color Space.
- Select the colorspace target you chose in Step 6
- Click the Read Series […] button to measure the display’s grayscale and color gamut response.
- Click Next.

- On the Calibration Complete page, you can choose to…
- Save and Report
- Select Save and Report to generate the calibration report
- Additional Validation
- Allows measurement of the display using more thorough Saturation Sweeps and ColorChecker® patch sets
- Save and Report