Back to Resource Center

Philips AutoCal Walkthrough

Calman can guide the calibration of compatible 2021 and 2022 Philips TVs in SDR, and HDR10 modes. This assures the most accurate rendering of both SDR and HDR picture content.


Calman Required Version

  • Calman Studio, Video Pro, or Ultimate
    • Calman 2021 v5.12.3 or newer for 2021 Philips models
    • Calman 2024 v5.15.2 or newer for 2024 Philips models
Calman Required Workflows
  • Philips AutoCal Workflow
Required Hardware
  • HDR Compatible Pattern Generator
  • HDR Compatible Meter
  • Calman Compatible Philips TV
    • 2021
      • OLED: 9×6/8×6/7×6
      • miniLED/LCD: 95×6/9636/9xx6
      • TV software version: TPM211EA_R.001.001.233.026 or newer
    • 2022
      • OLED: 9×7/8×7/7×7
      • miniLED/LCD: 95×7/88×7/85×7.
        • Only SDR calibration is supported in 85×7.
      • TV software version: TPM211EA_R.101.000.178.206 or newer
    • 2023 Google TV
      • OLED: 9×8/8×8/7×8
      • miniLED/LCD: 91×8/88×8/85×8.
      • TV software version: TPM231WW_R.001.001.032.028 or newer
    • 2023 TitanOS TV
      • miniLED: 93×8/90×8
      • TV software version: TPN238E.238.002.142.131 or newer
    • 2024 Google TV
      • OLED: 9×9/8×9
      • miniLED/LCD: 91×9/88×9.
      • TV software version: TPM231WW_R.101.001.148.226 or newer
  • TV setup:
    • Complete TV network setup and ensure TV connected to the same local area network (e.g. router) as the computer running Calman software
    • Connect the Calman-supported pattern generator to TV’s HDMI port 1 with a certified (at least HDMI 2.0 grade) cable.

SDR Calibration

Open SDR Calibration Steps
  • From the Calman Menu in the top-left, choose Open Workflow Template -> Display Specific and then AutoCal – Philips
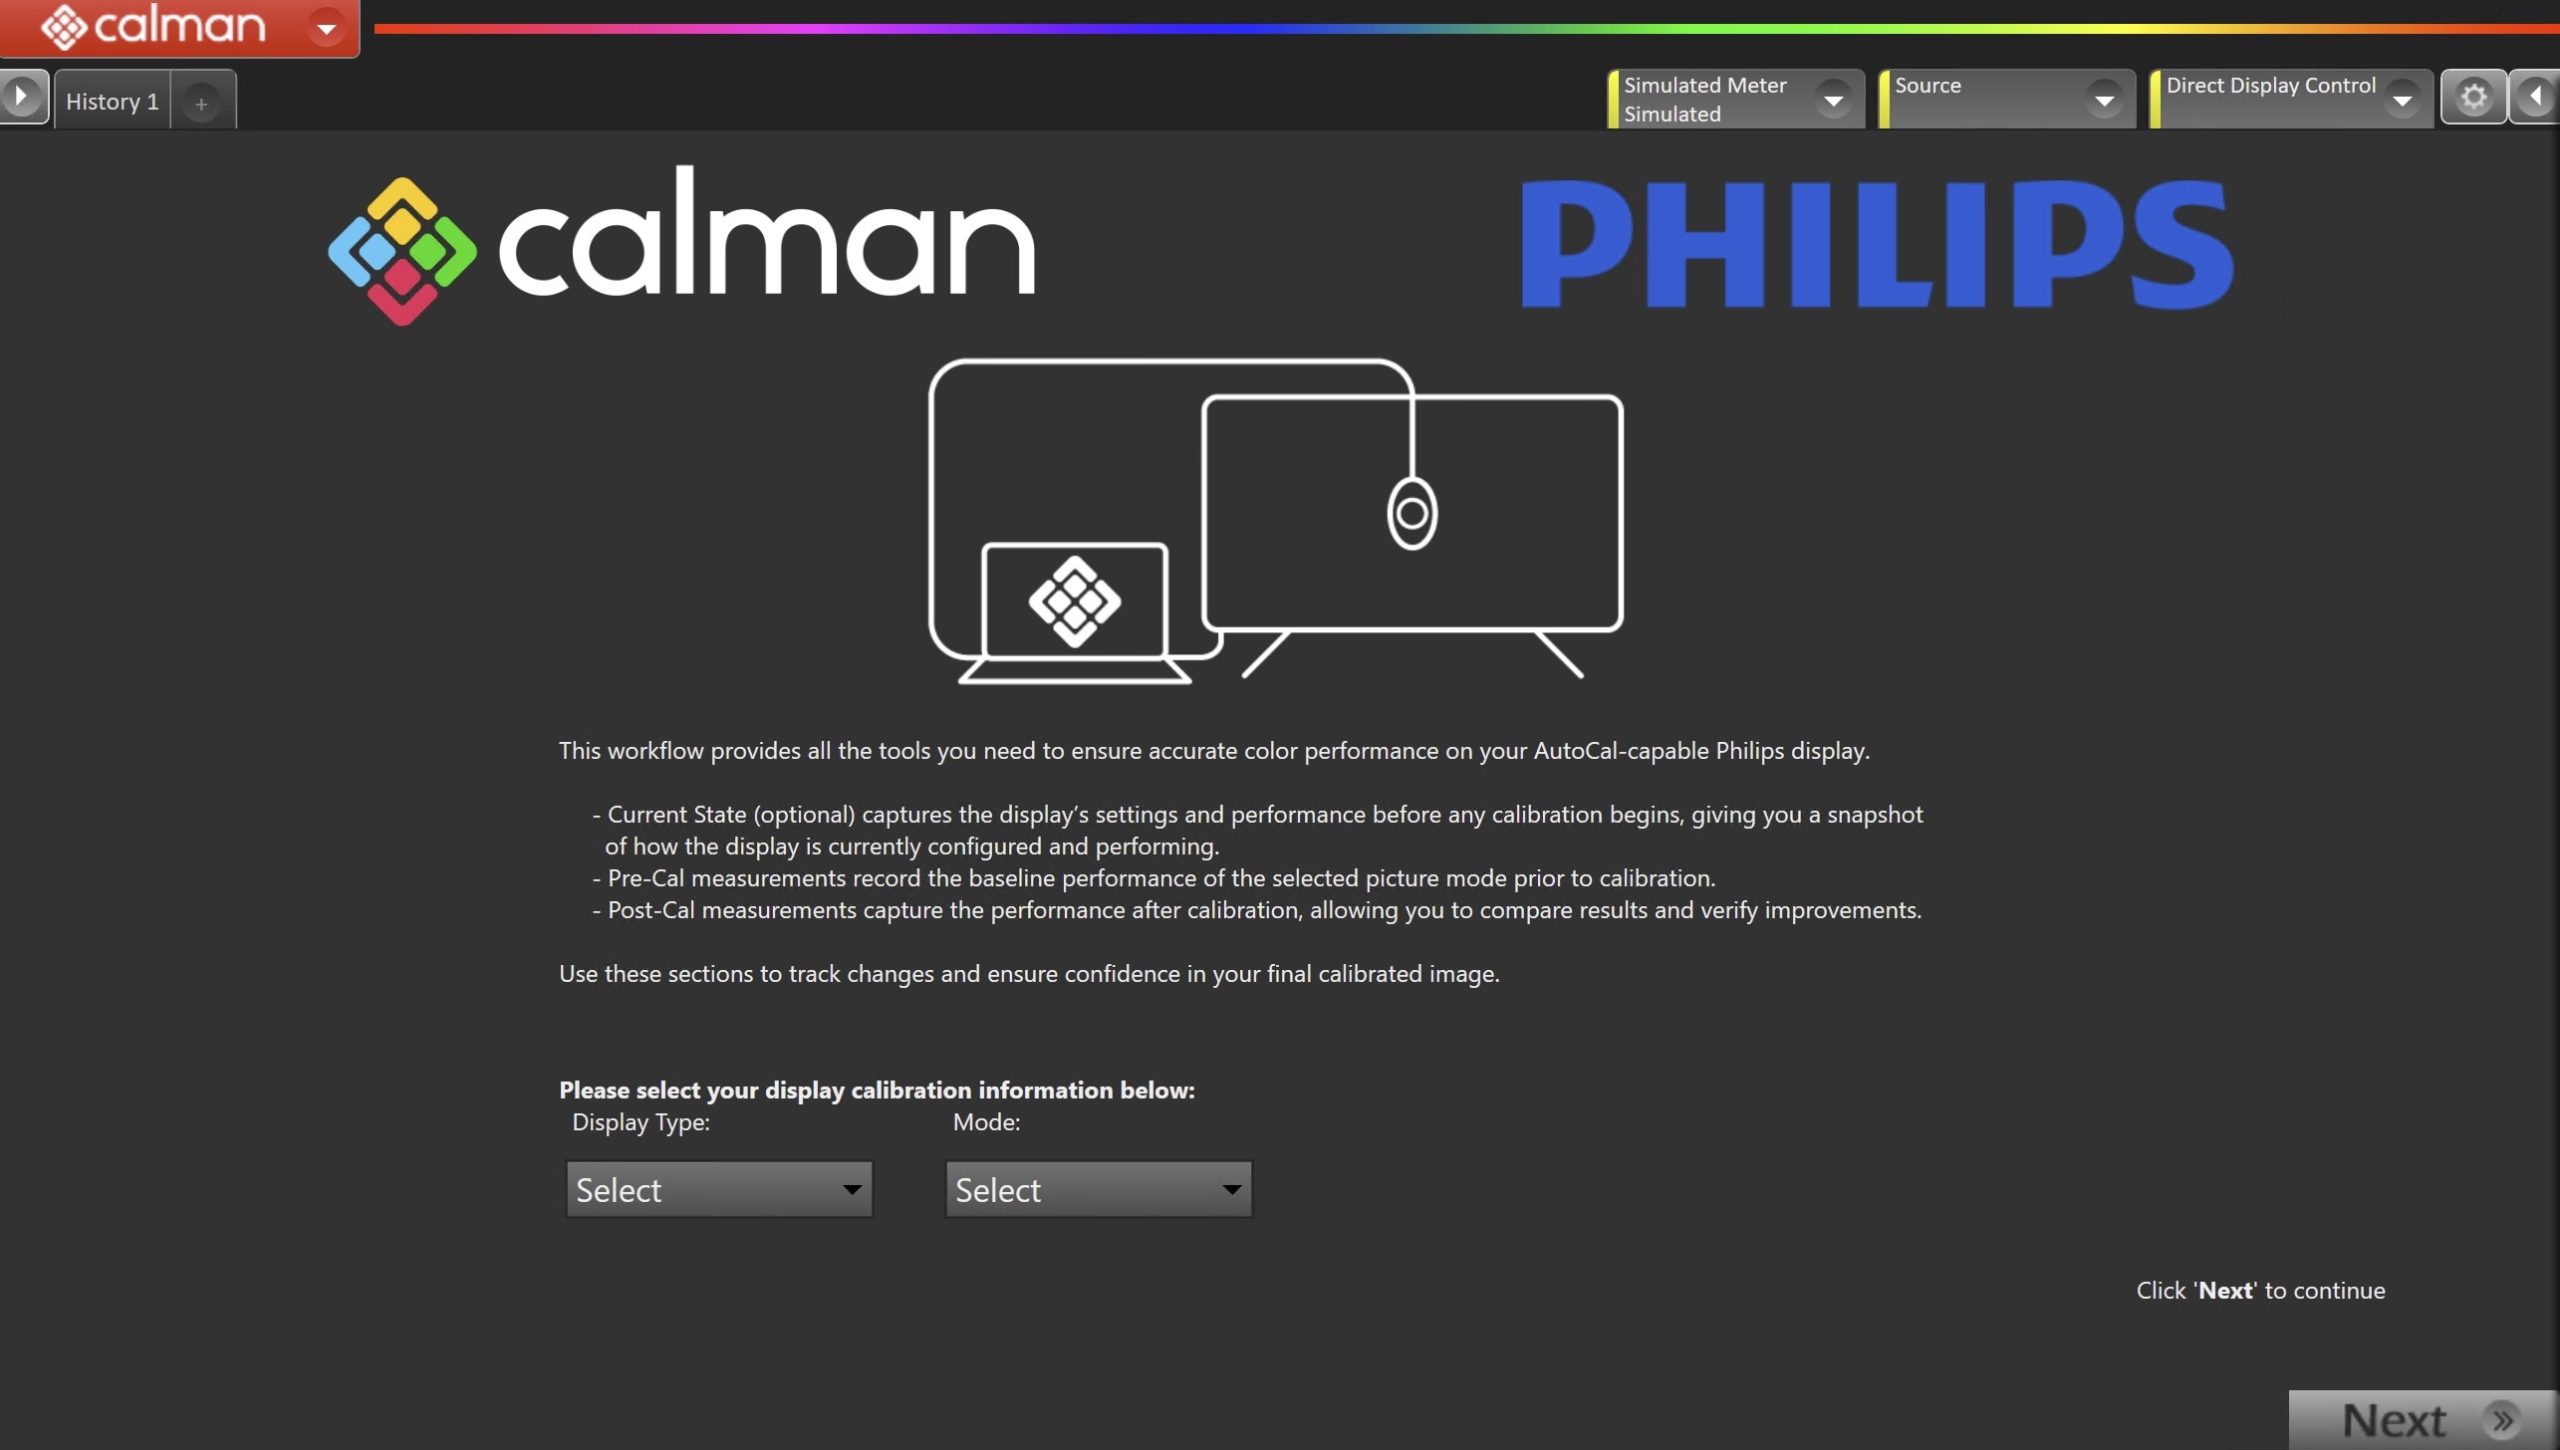
  • On the introduction screen, click SDR Calibration to proceed to the hardware connect page

Step 1 – Hardware Connection

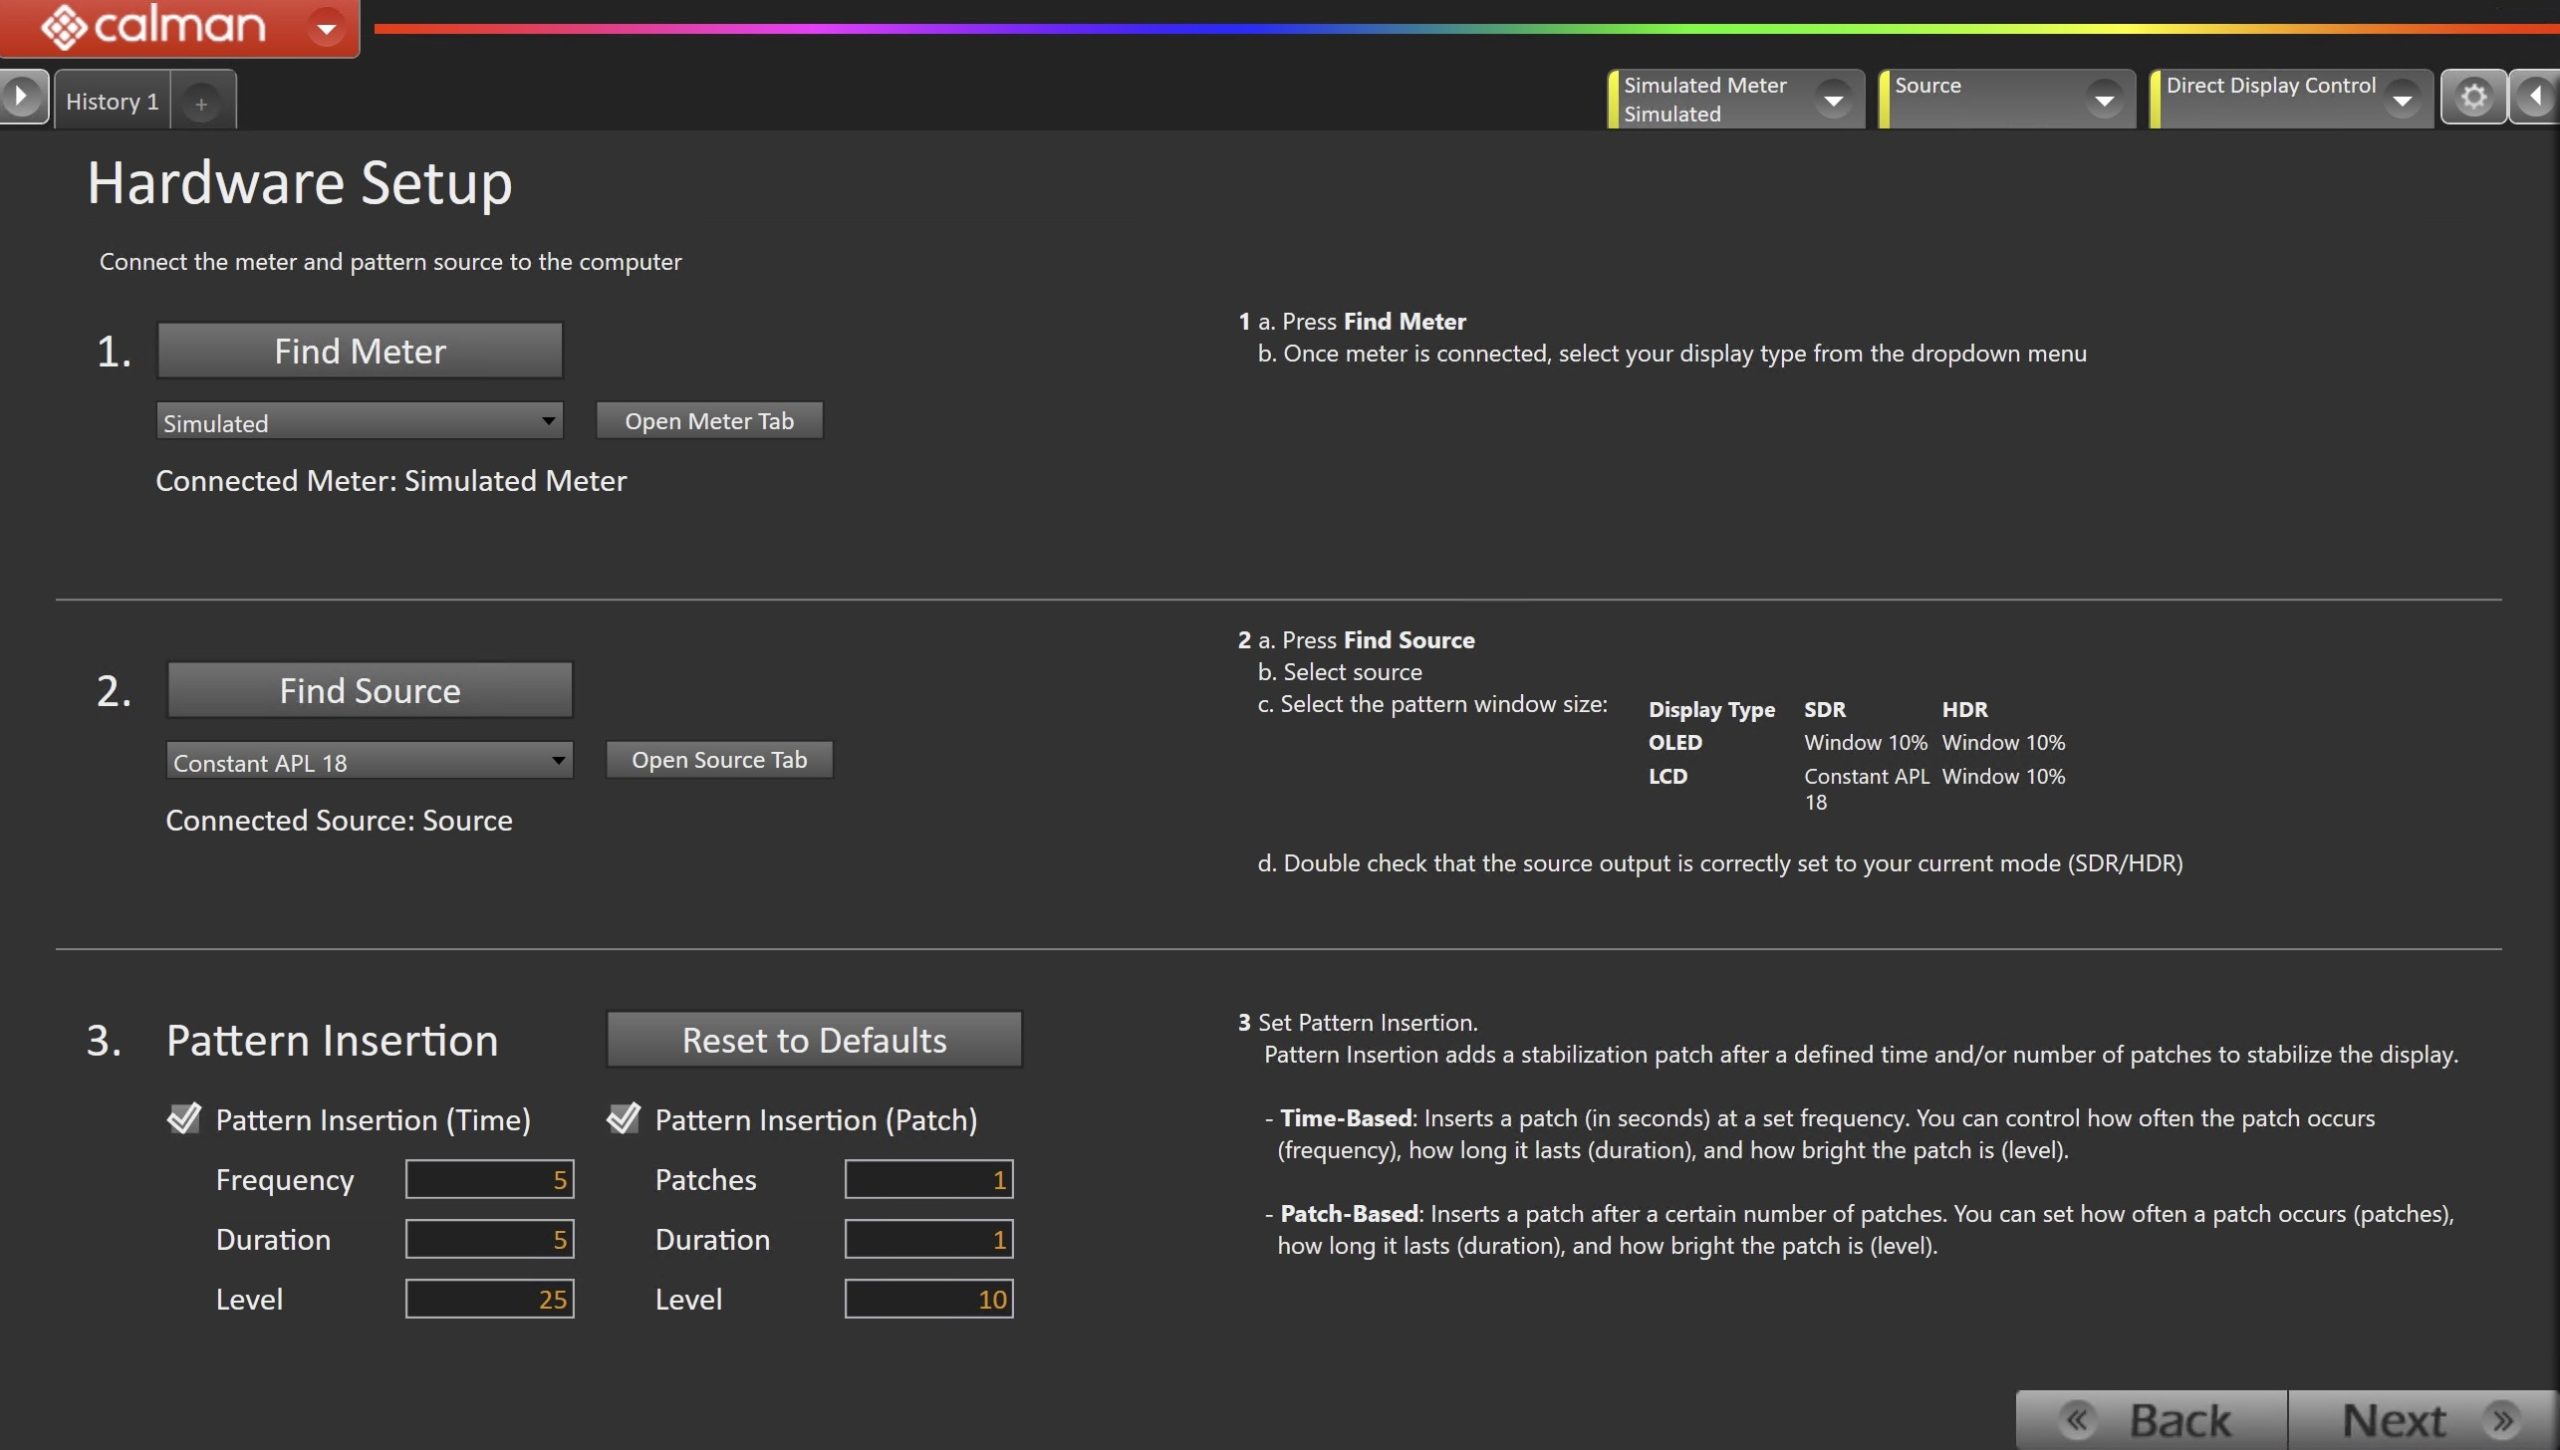
  • Plug your meter into a USB port on the computer and press the Find Meter button on the left
    • When your meter is connected, select your display type from the dropdown (this will vary by meter)
      • OLED: OLED TV profile matching your model year, for Portrait Displays C6 Meters
  • Connect Pattern Source to your computer.
    • Click the Find Source button then select your source
    • Select the pattern window size
      • OLED: Window 10%
      • LCD: APL18 for SDR
  • Connect to your Philips TV
    1. Press the Menu button on the Remote
    2. Select Frequent Settings > All Settings > Picture > Al Picture
      • For LCD TV 92×6/90×6/95×7/88×7/85×7, press the Gear button on the remote, select Frequent Settings > All Settings > Picture > AI Picture Style/Picture Style
      • For 2023 and 2024 TV models, press Quick Menu button on the remote, then press Left arrow key to go to Frequent Settings >Al Picture Style/Picture style,  select Calman and press Ok key. Press the green key to begin calibration.
    3. Select Calman
      • Note: If the Calman icon is locked, type 225626 to unlock.
    4. Press the Green button on the remote to initiate calibration
      connection
    5. The TV will show the IP address once in connection mode, enter
      that IP address in the field and press the ‘Find Philips TV‘ button
    6. Choose Make: Philips and Model: Your Philips Model
    7. Enter your TV’s IP Address into the connection dialog box, and click Connect

  • (2023 and older models only)Select the Grayscale calibration method to use.
    • Gains only produces excellent results for a Power Function 2.2 curve, for other Gamma formulas/targets a 1D LUT may return better results.

  • Select the display type
    • OLED or LCD

Step 2 – Calibration Targets

Confirm your calibration targets and prepare TV
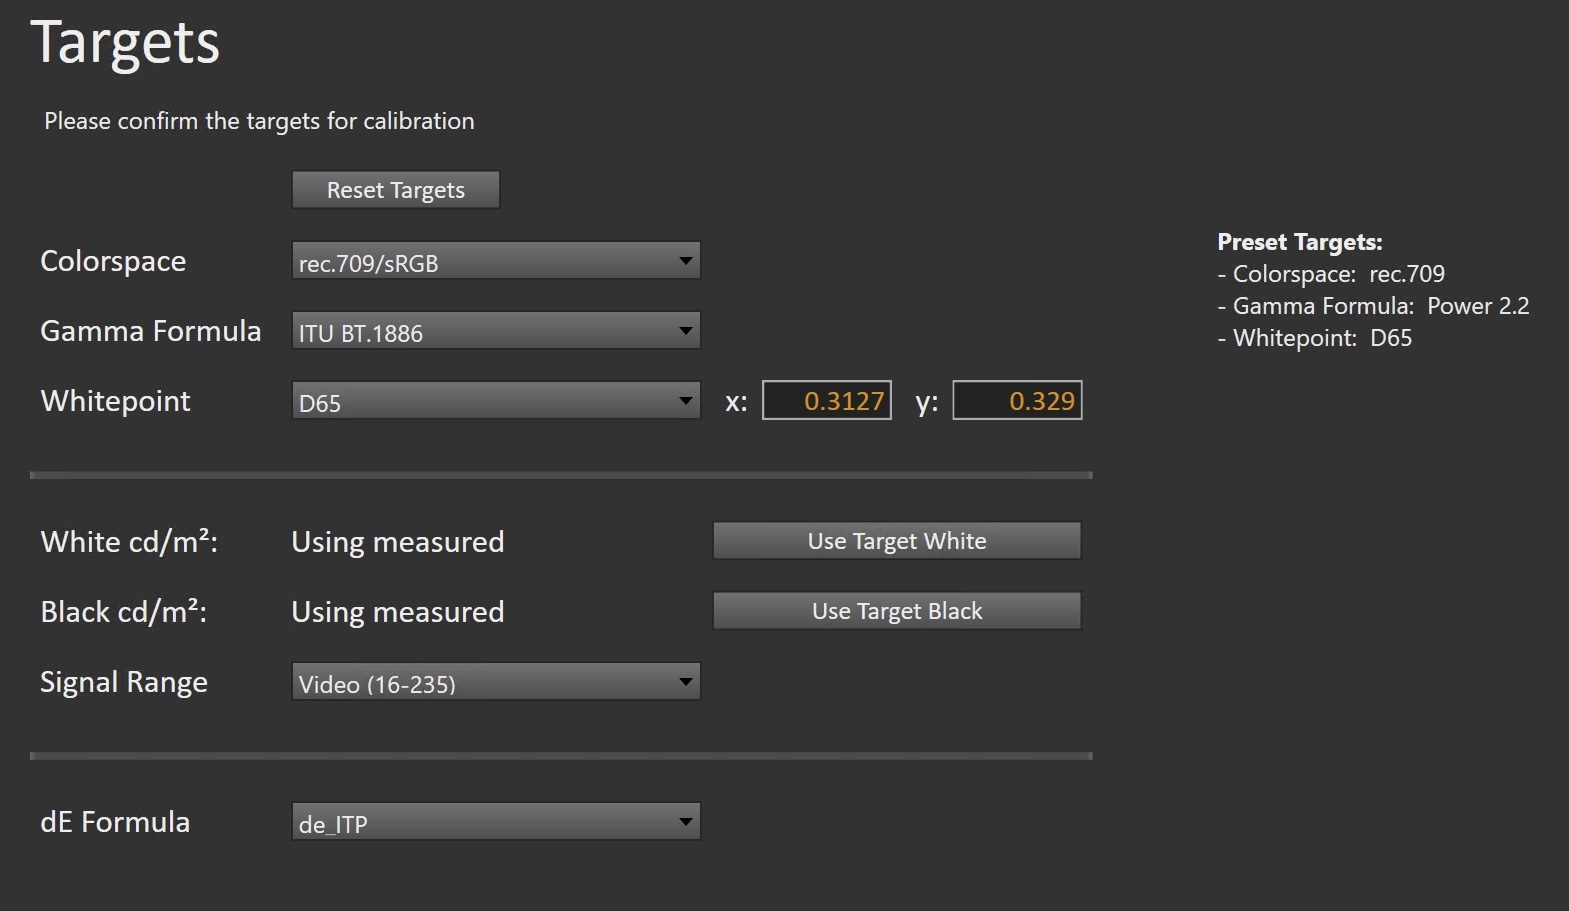
  • For best results, please configure your Calman settings to match the configuration recommended below.
    • Rec709
    • D65
    • Gamma
      • Power 2.2 gamma formula
  • To prevent a Philips OLED display from entering its auto-dimming mode during extended measurements, the Calman Pattern Insertion feature periodically inserts a different test pattern during extended test pattern measurements, to reset the display’s auto-dimming timer.
    • Under Calman Settings > Application Measurement Options set the following Full Field Pattern Insertion options:
      • Frequency: 45
      • Duration: 5
      • Pattern Level: 25
  • AutoCal dE Formula
    • dE ITP
      • Increases accuracy, but calibration time may be extended
    • dE ICtCp 240
      • Improved speed, with a small tradeoff in accuracy

Step 3 – Pre-Calibration Measurements

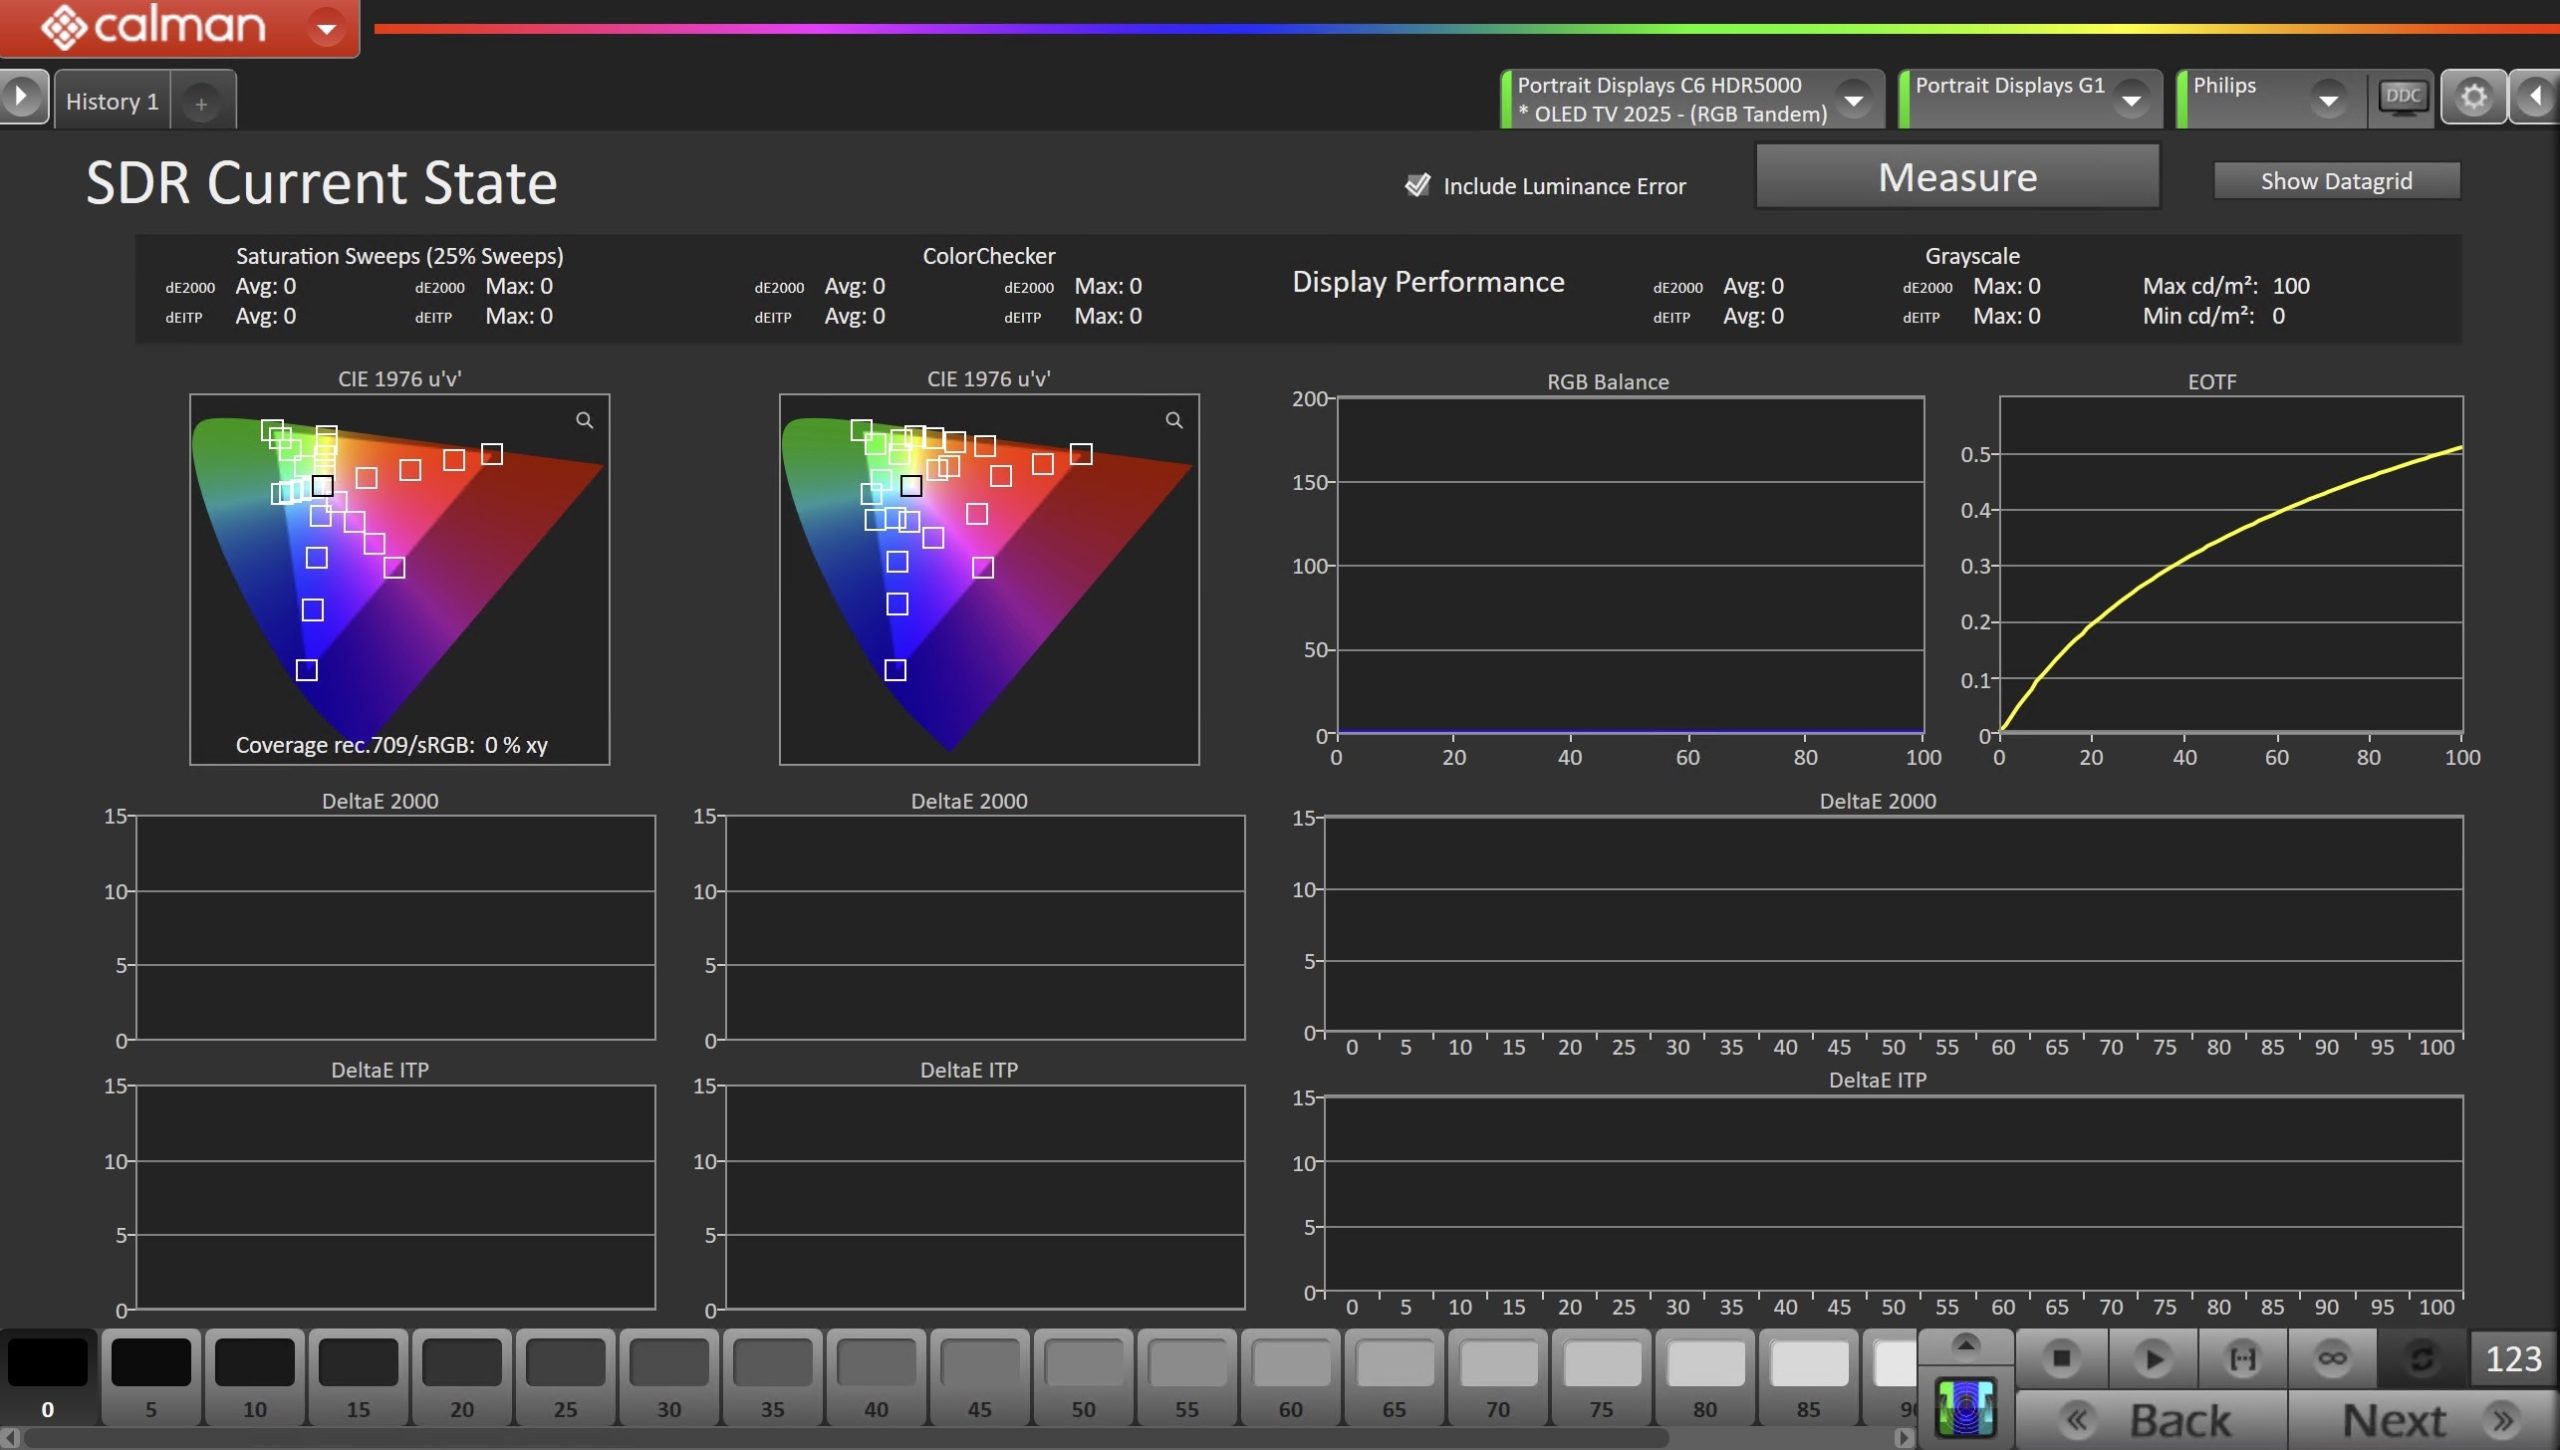
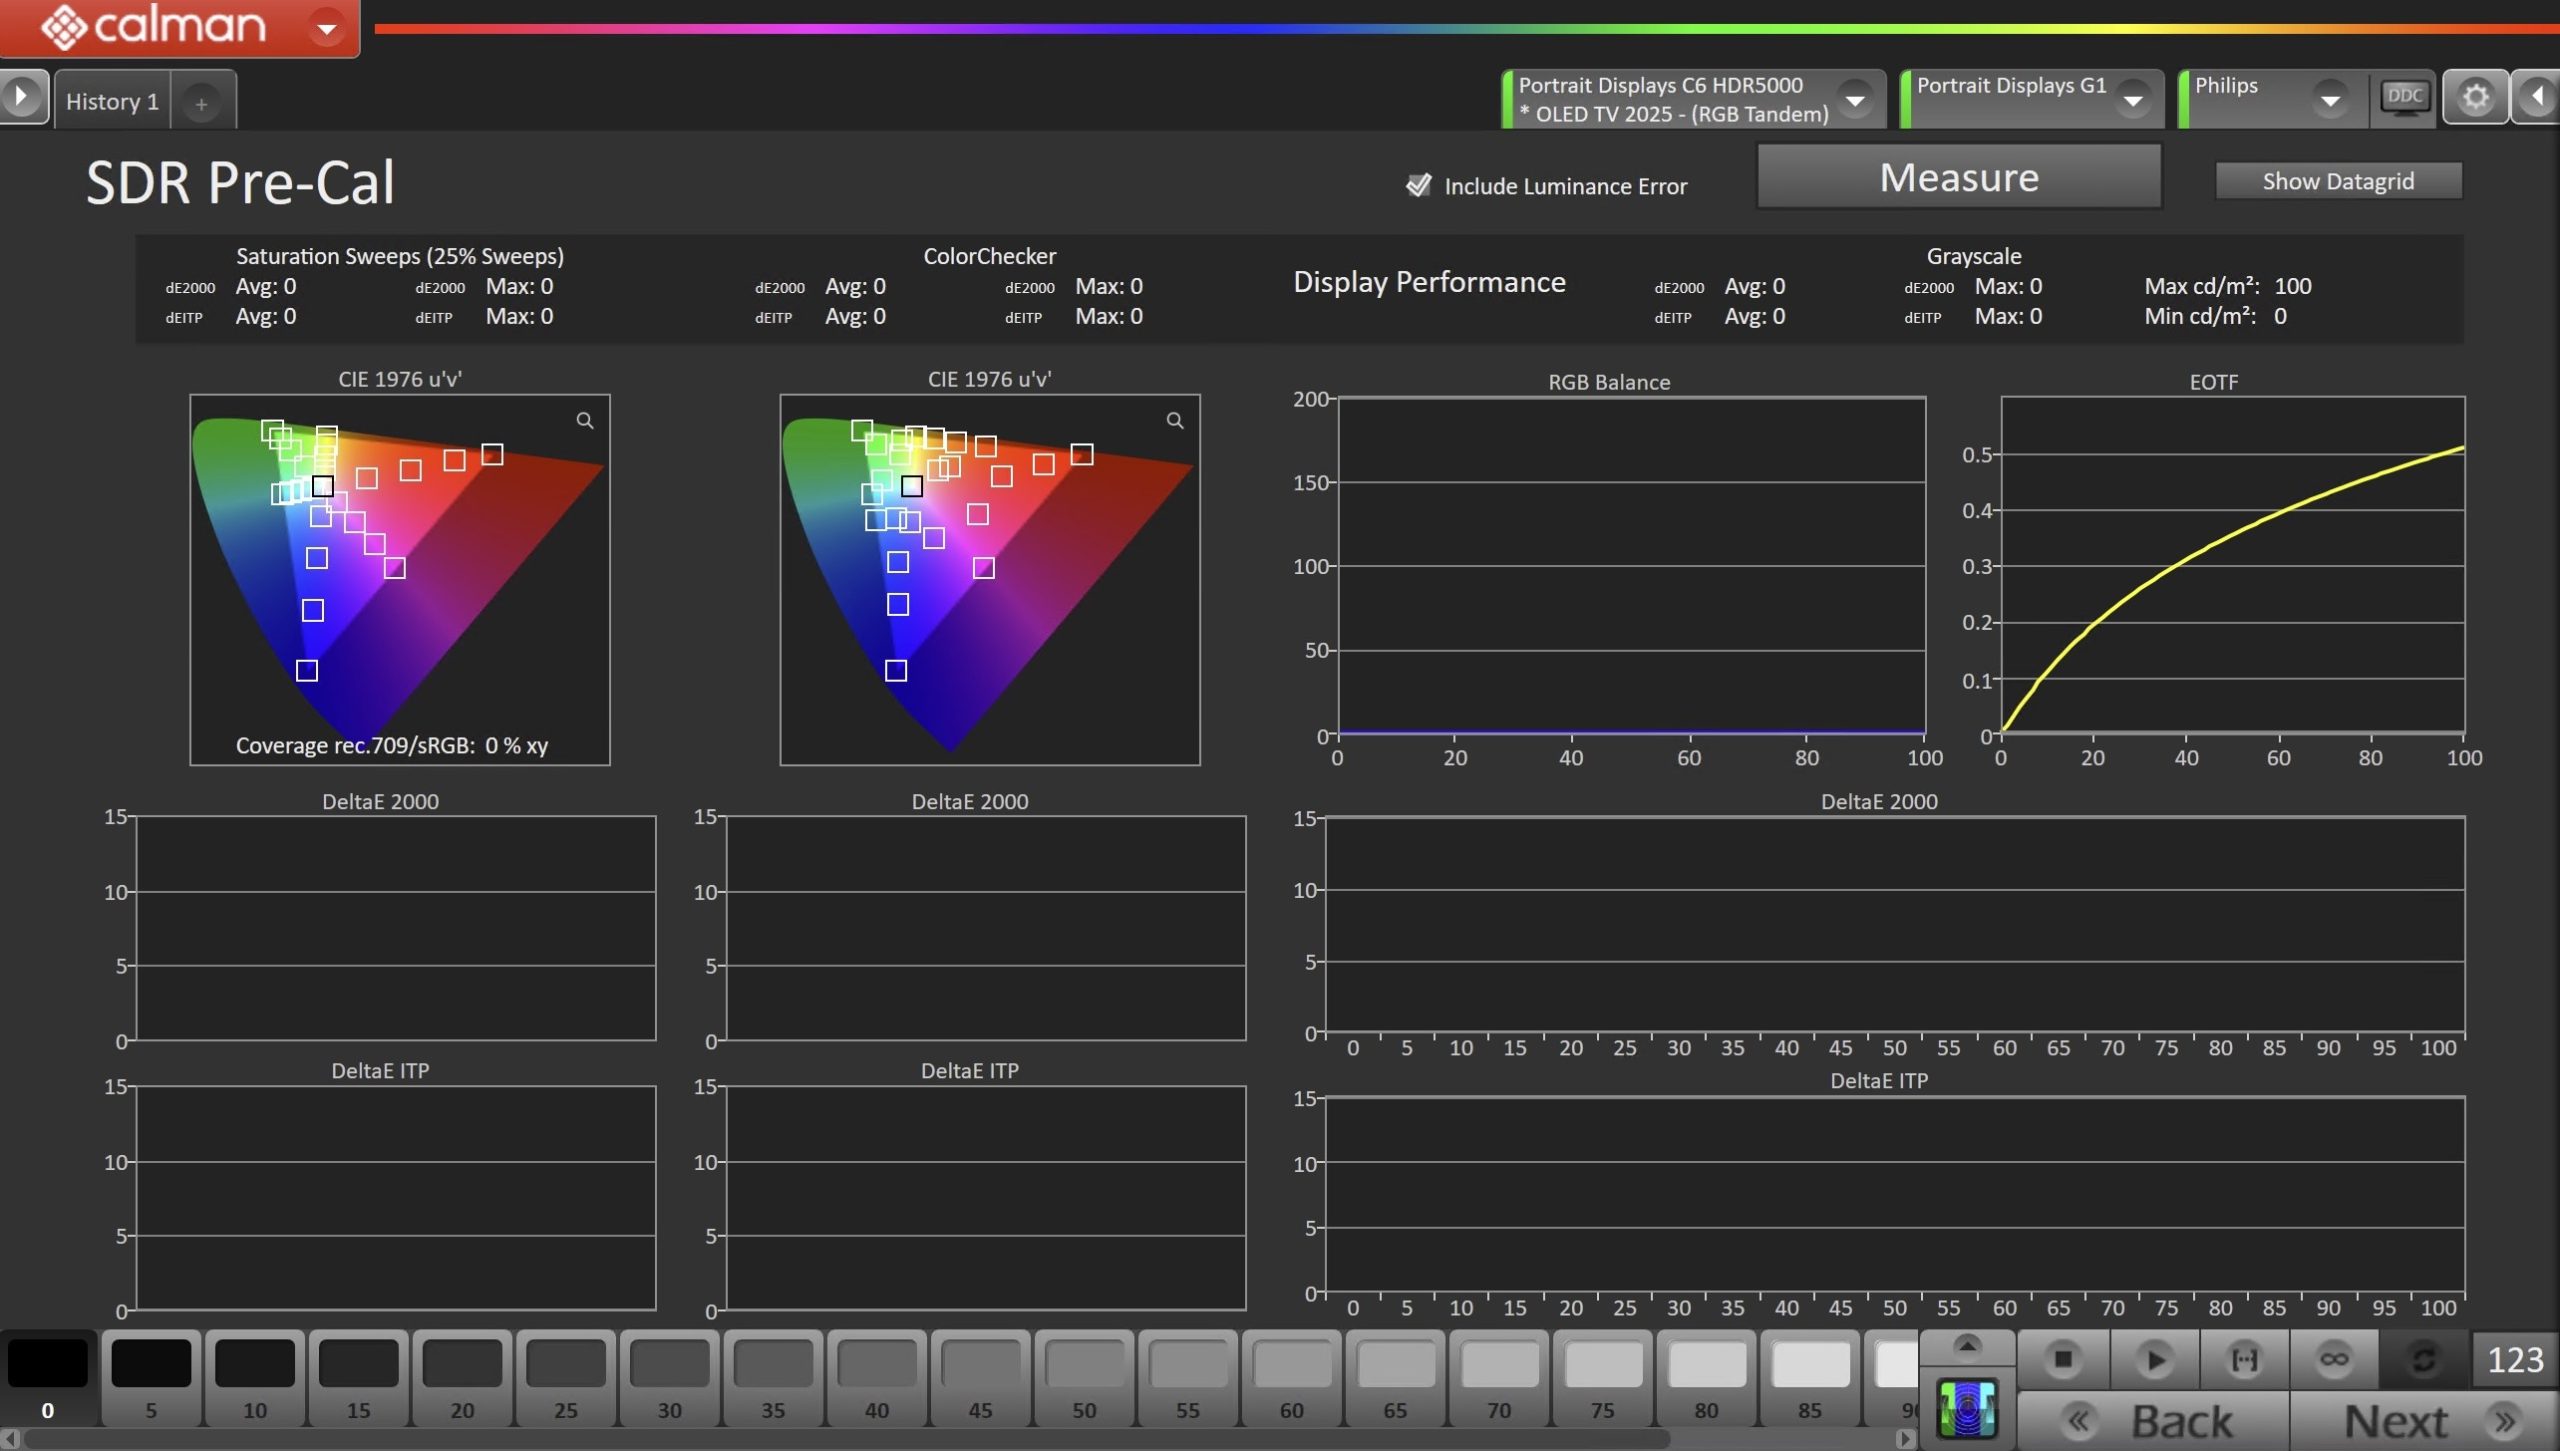
In this step, you’ll take readings of your display before the calibration. These will be used to compare your calibration results
  • To take Pre-Calibration Measurements click the Read Series […] button to measure the display’s grayscale and color gamut response
    • This will provide a point of reference to compare your calibration results
  • Note: The TV’s Calman mode setting before the pre-calibration measurement process may use default color temperature (e.g. Custom) which is not the D65. You may change TV color temperature to Warm mode via TV settings before the measurement starts.

Step 4 – Display Reset

  • Click the Reset button. This resets and prepares the picture mode for calibration.
  • Click Next after the DDC reset is complete

Step 5 – Luminance

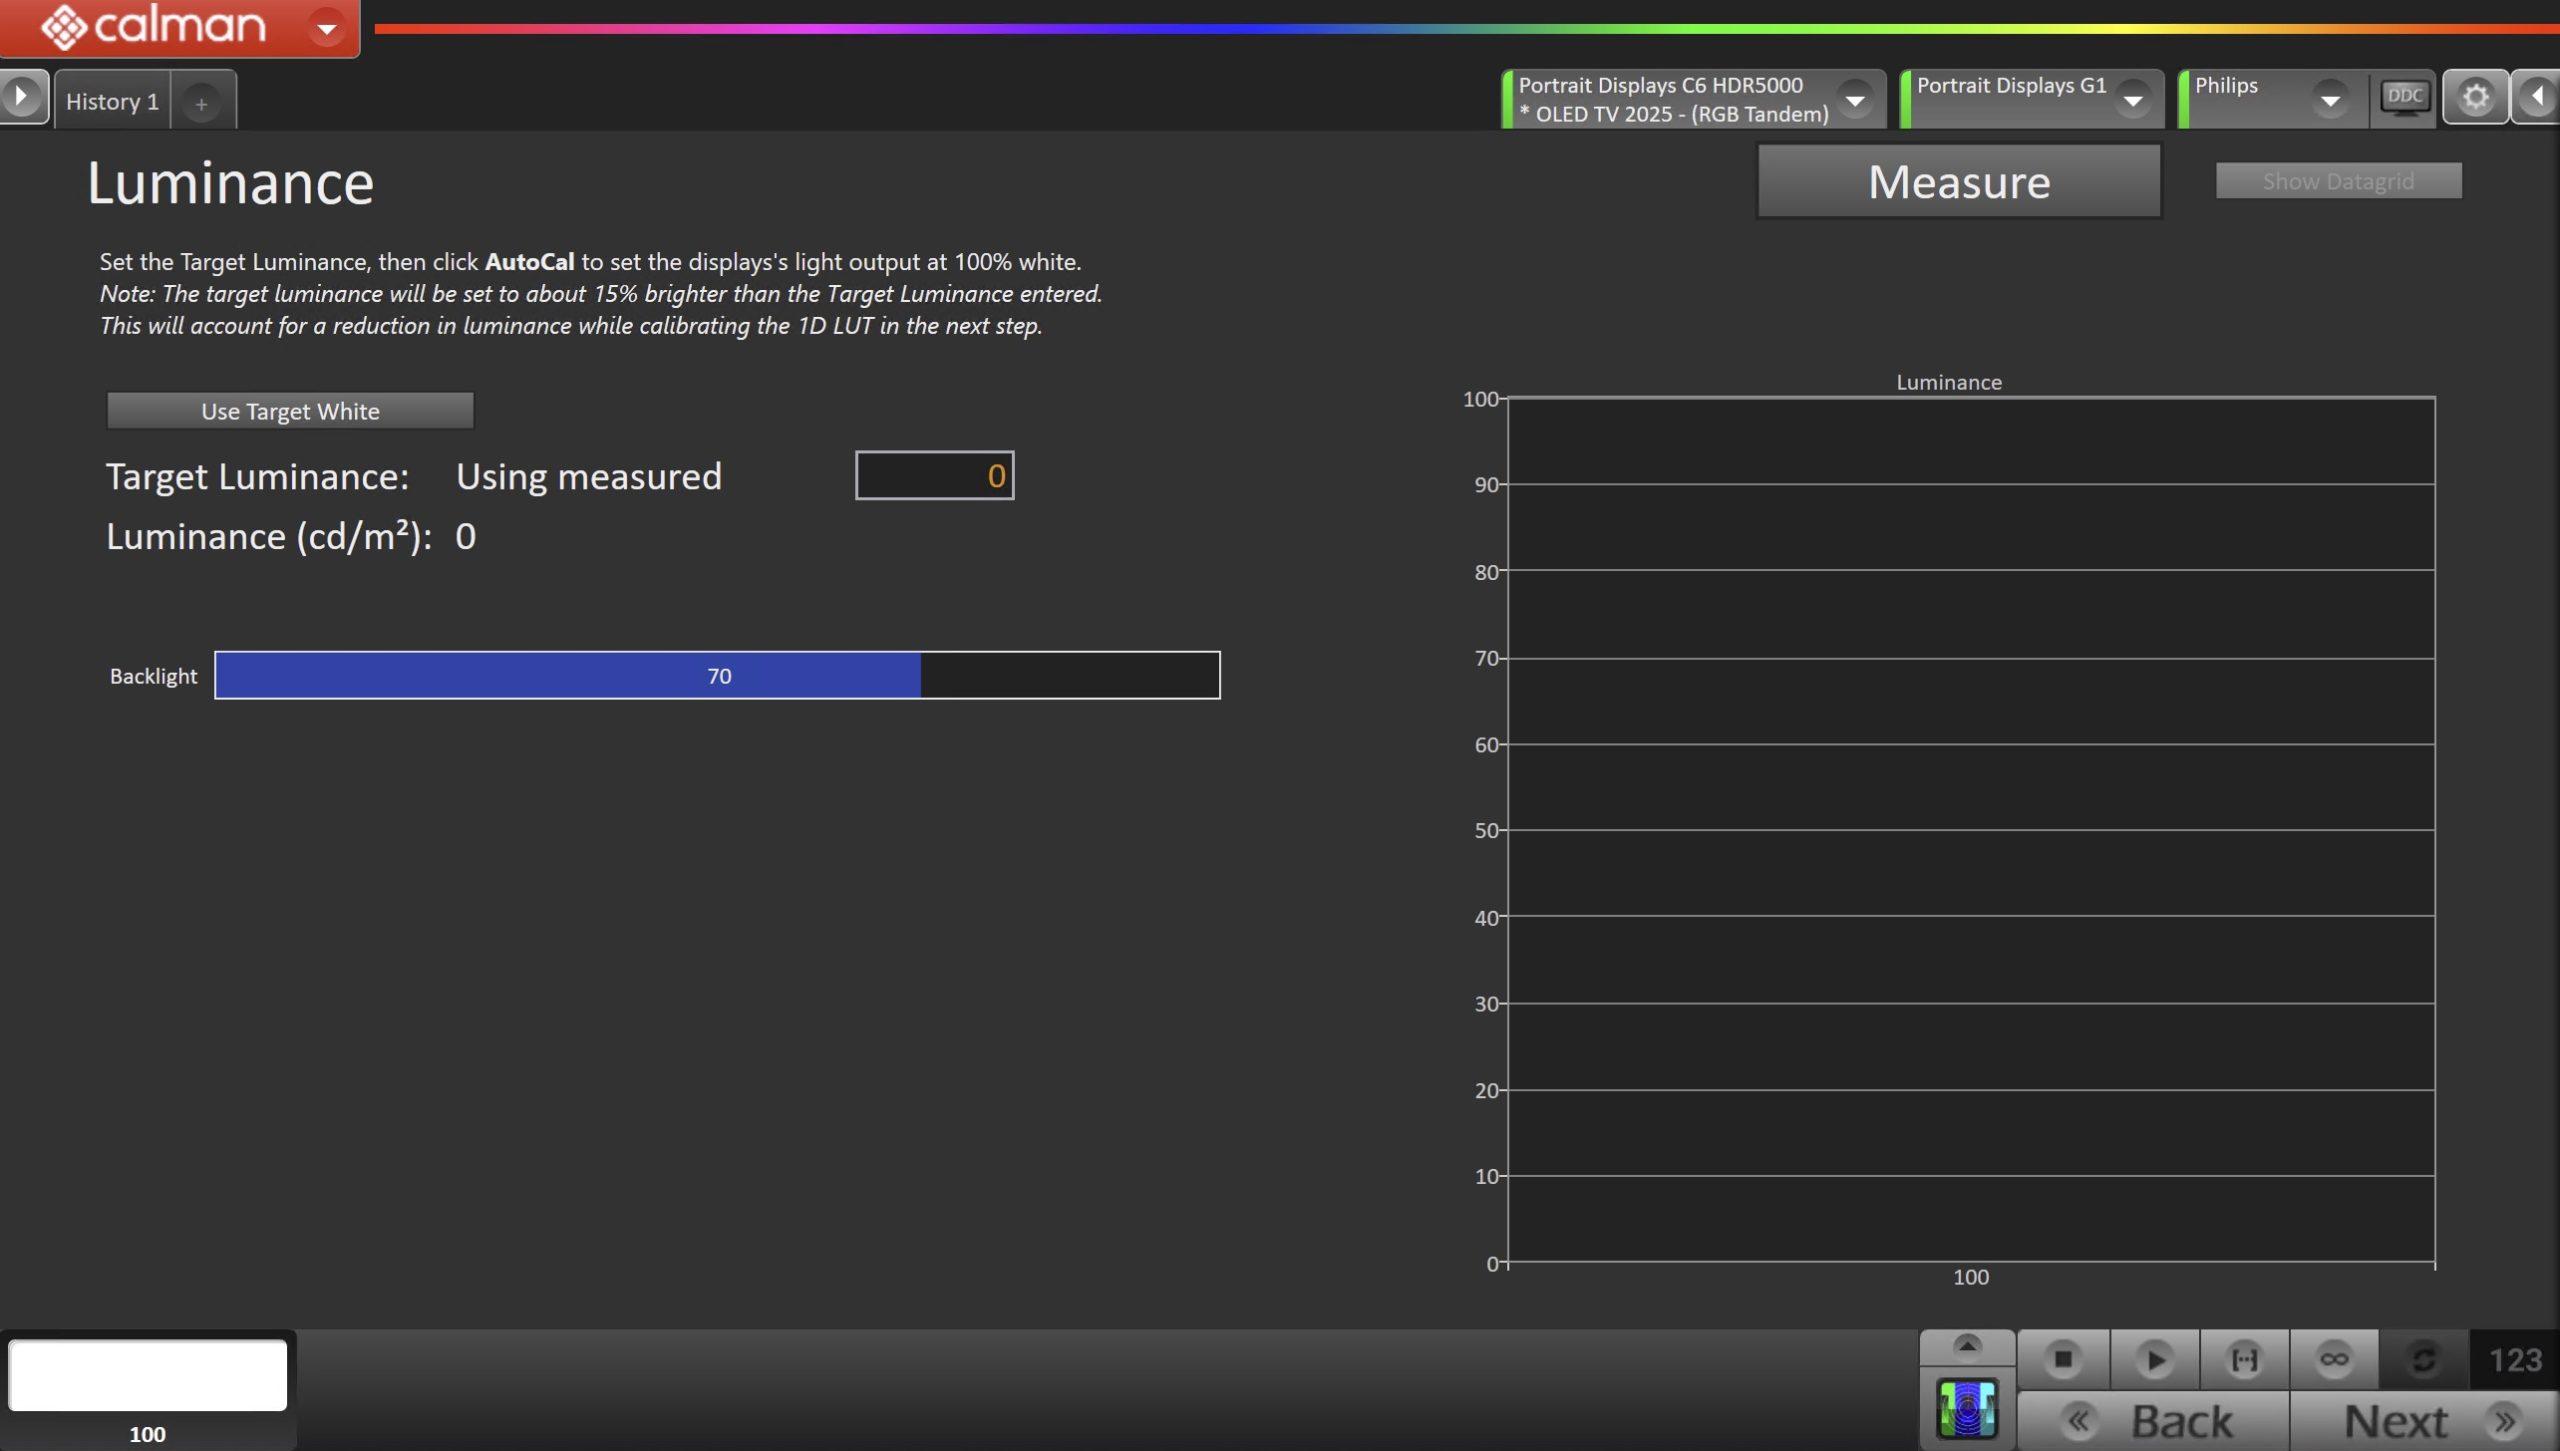
This step provides the ability to adjust the Luminance of the display to match the desired target.
  • Click the AutoCal button to calibrate the TV’s light output at 100% white and adjust the display’s peak white to the desired luminance.
    • Luminance is a subjective target. SDR reference luminance is 100nits, but you may need to target higher to account for the ambient light in your environment.
  • Adjust your TV’s backlight/OLED light control so your TV is about 15% brighter than your final target to account for a reduction in luminance when calibrating the 1D LUT in the next step
  • Press Next when luminance adjustment is complete

Step 6 – Greyscale AutoCal

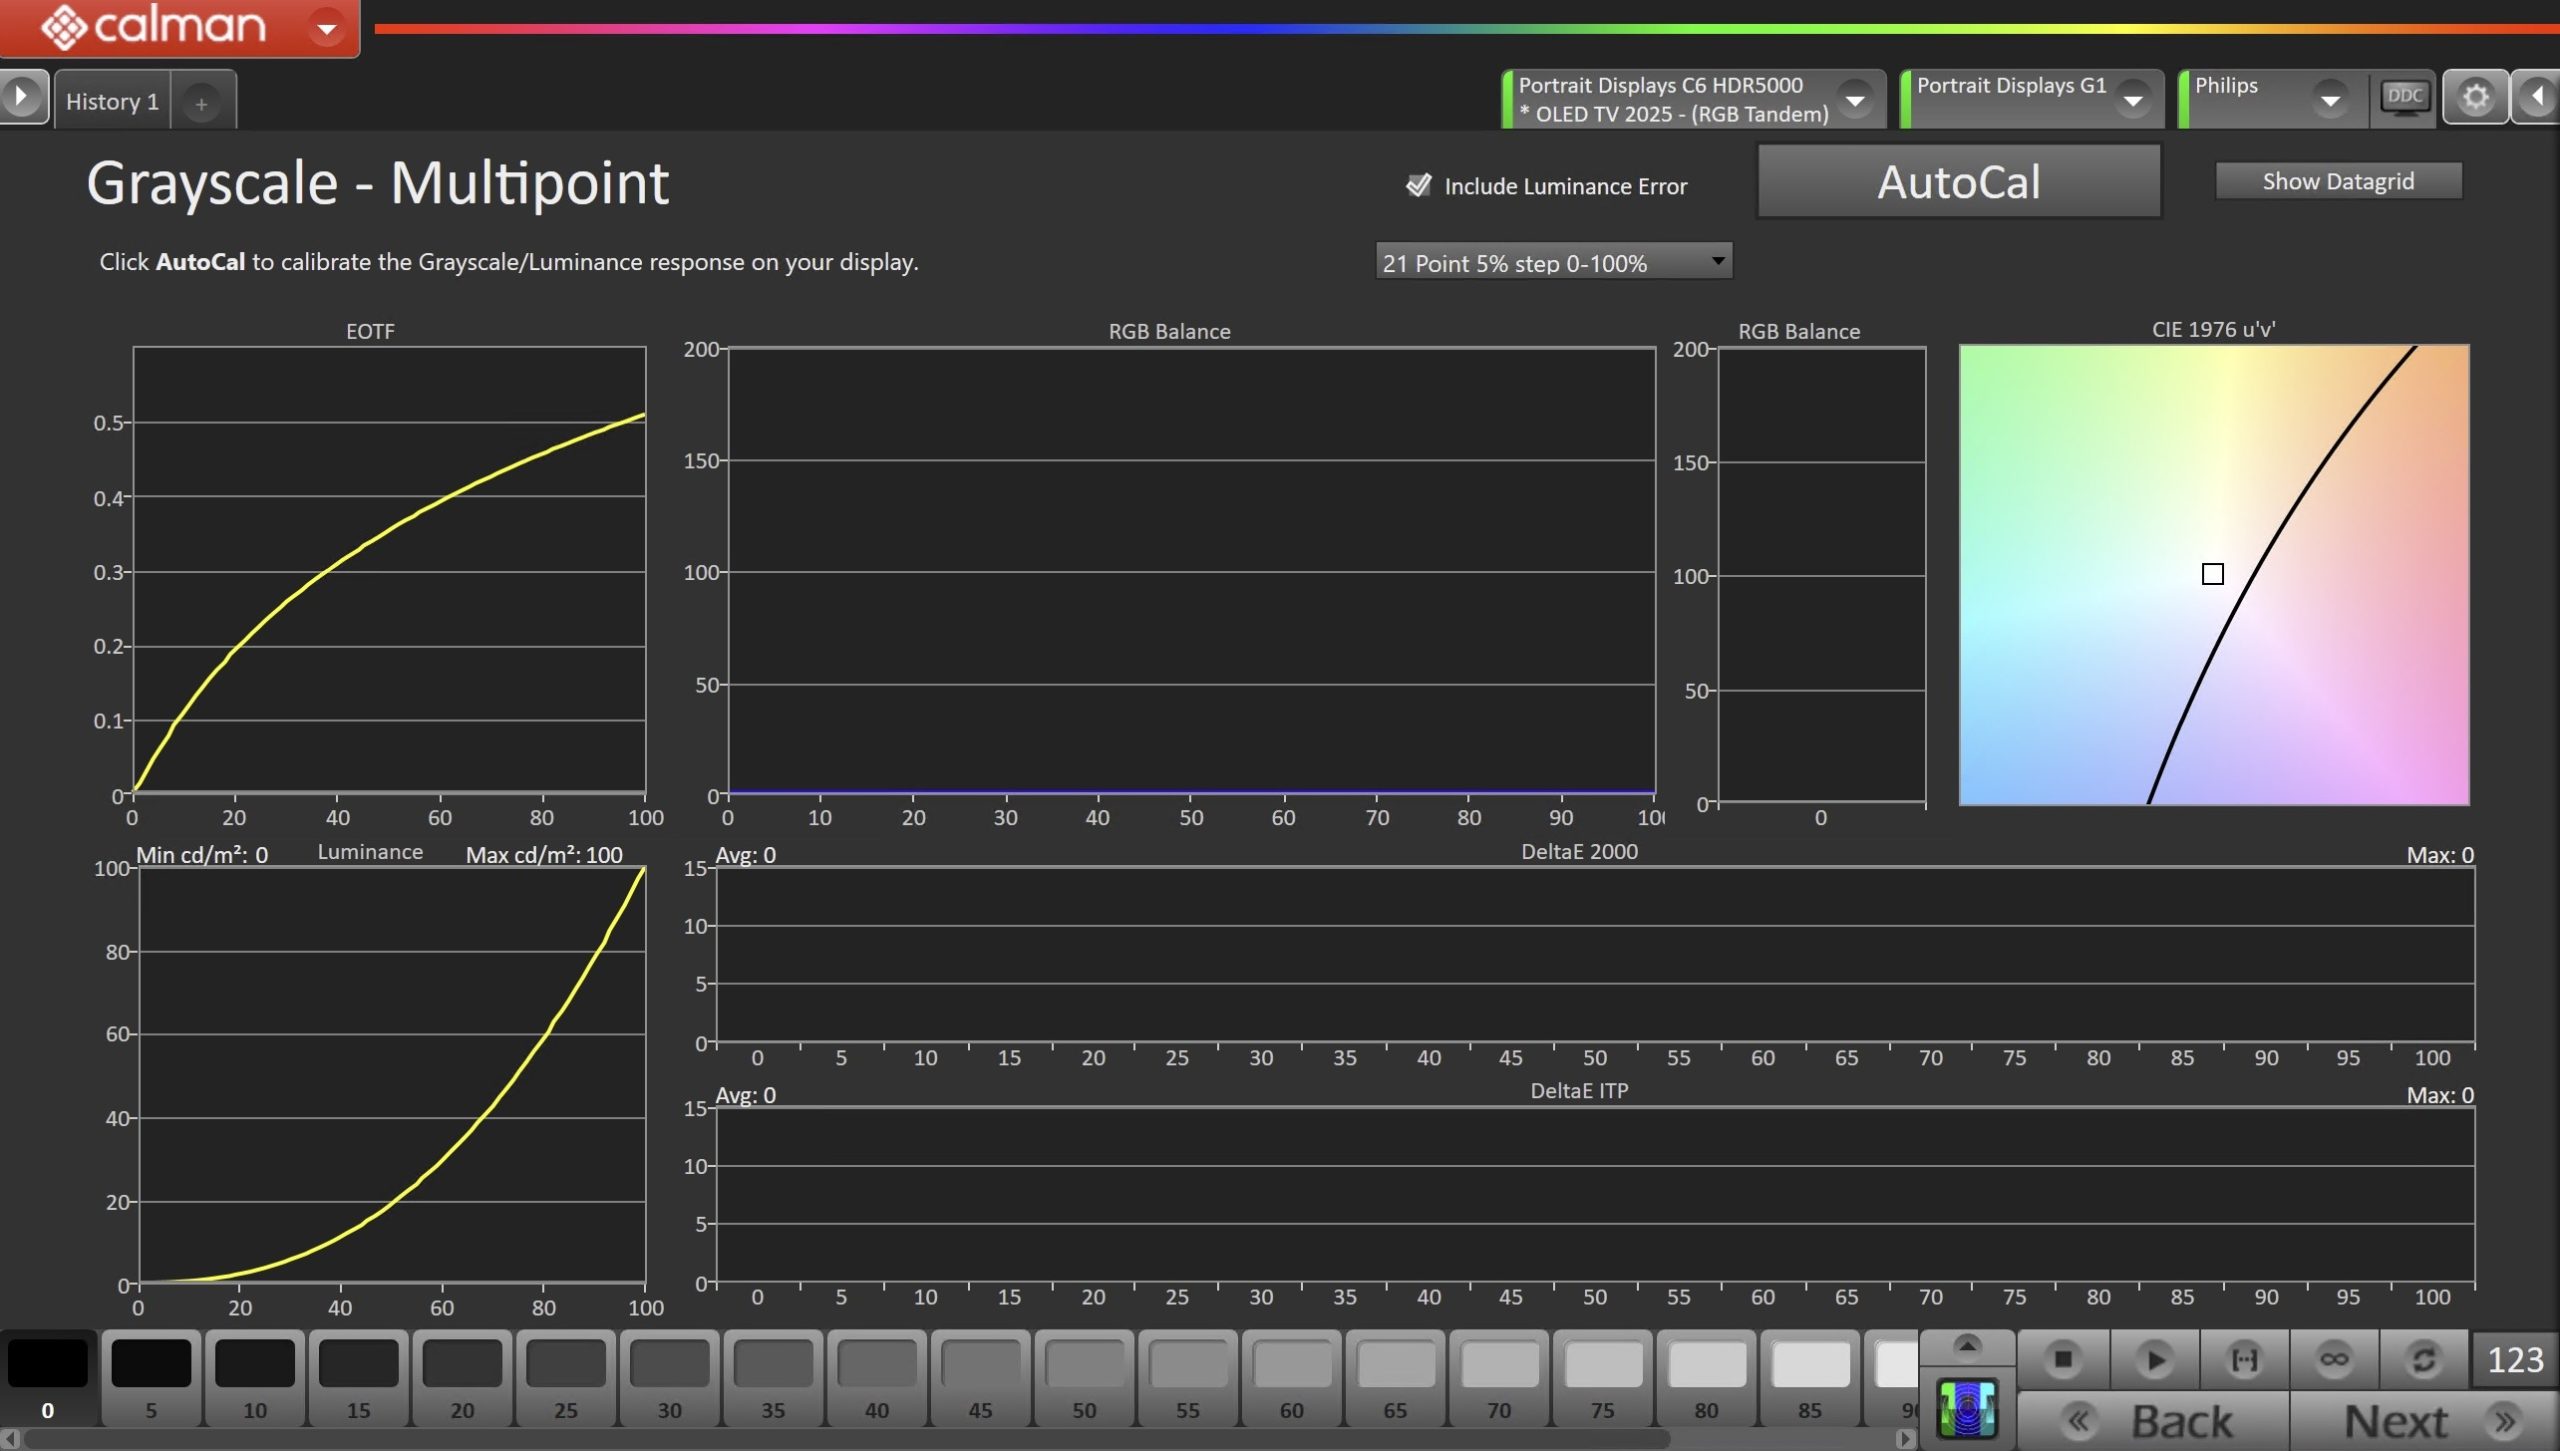
Here Calman will adjust the Multipoint Greyscale of the display
  • Press the AutoCal button and select the correct data points in the AutoCal Dialog to auto-calibrate the Grayscale/Luminance response on your display.
  • Click OK to begin greyscale AutoCal

Step 7 – CMS Calibration

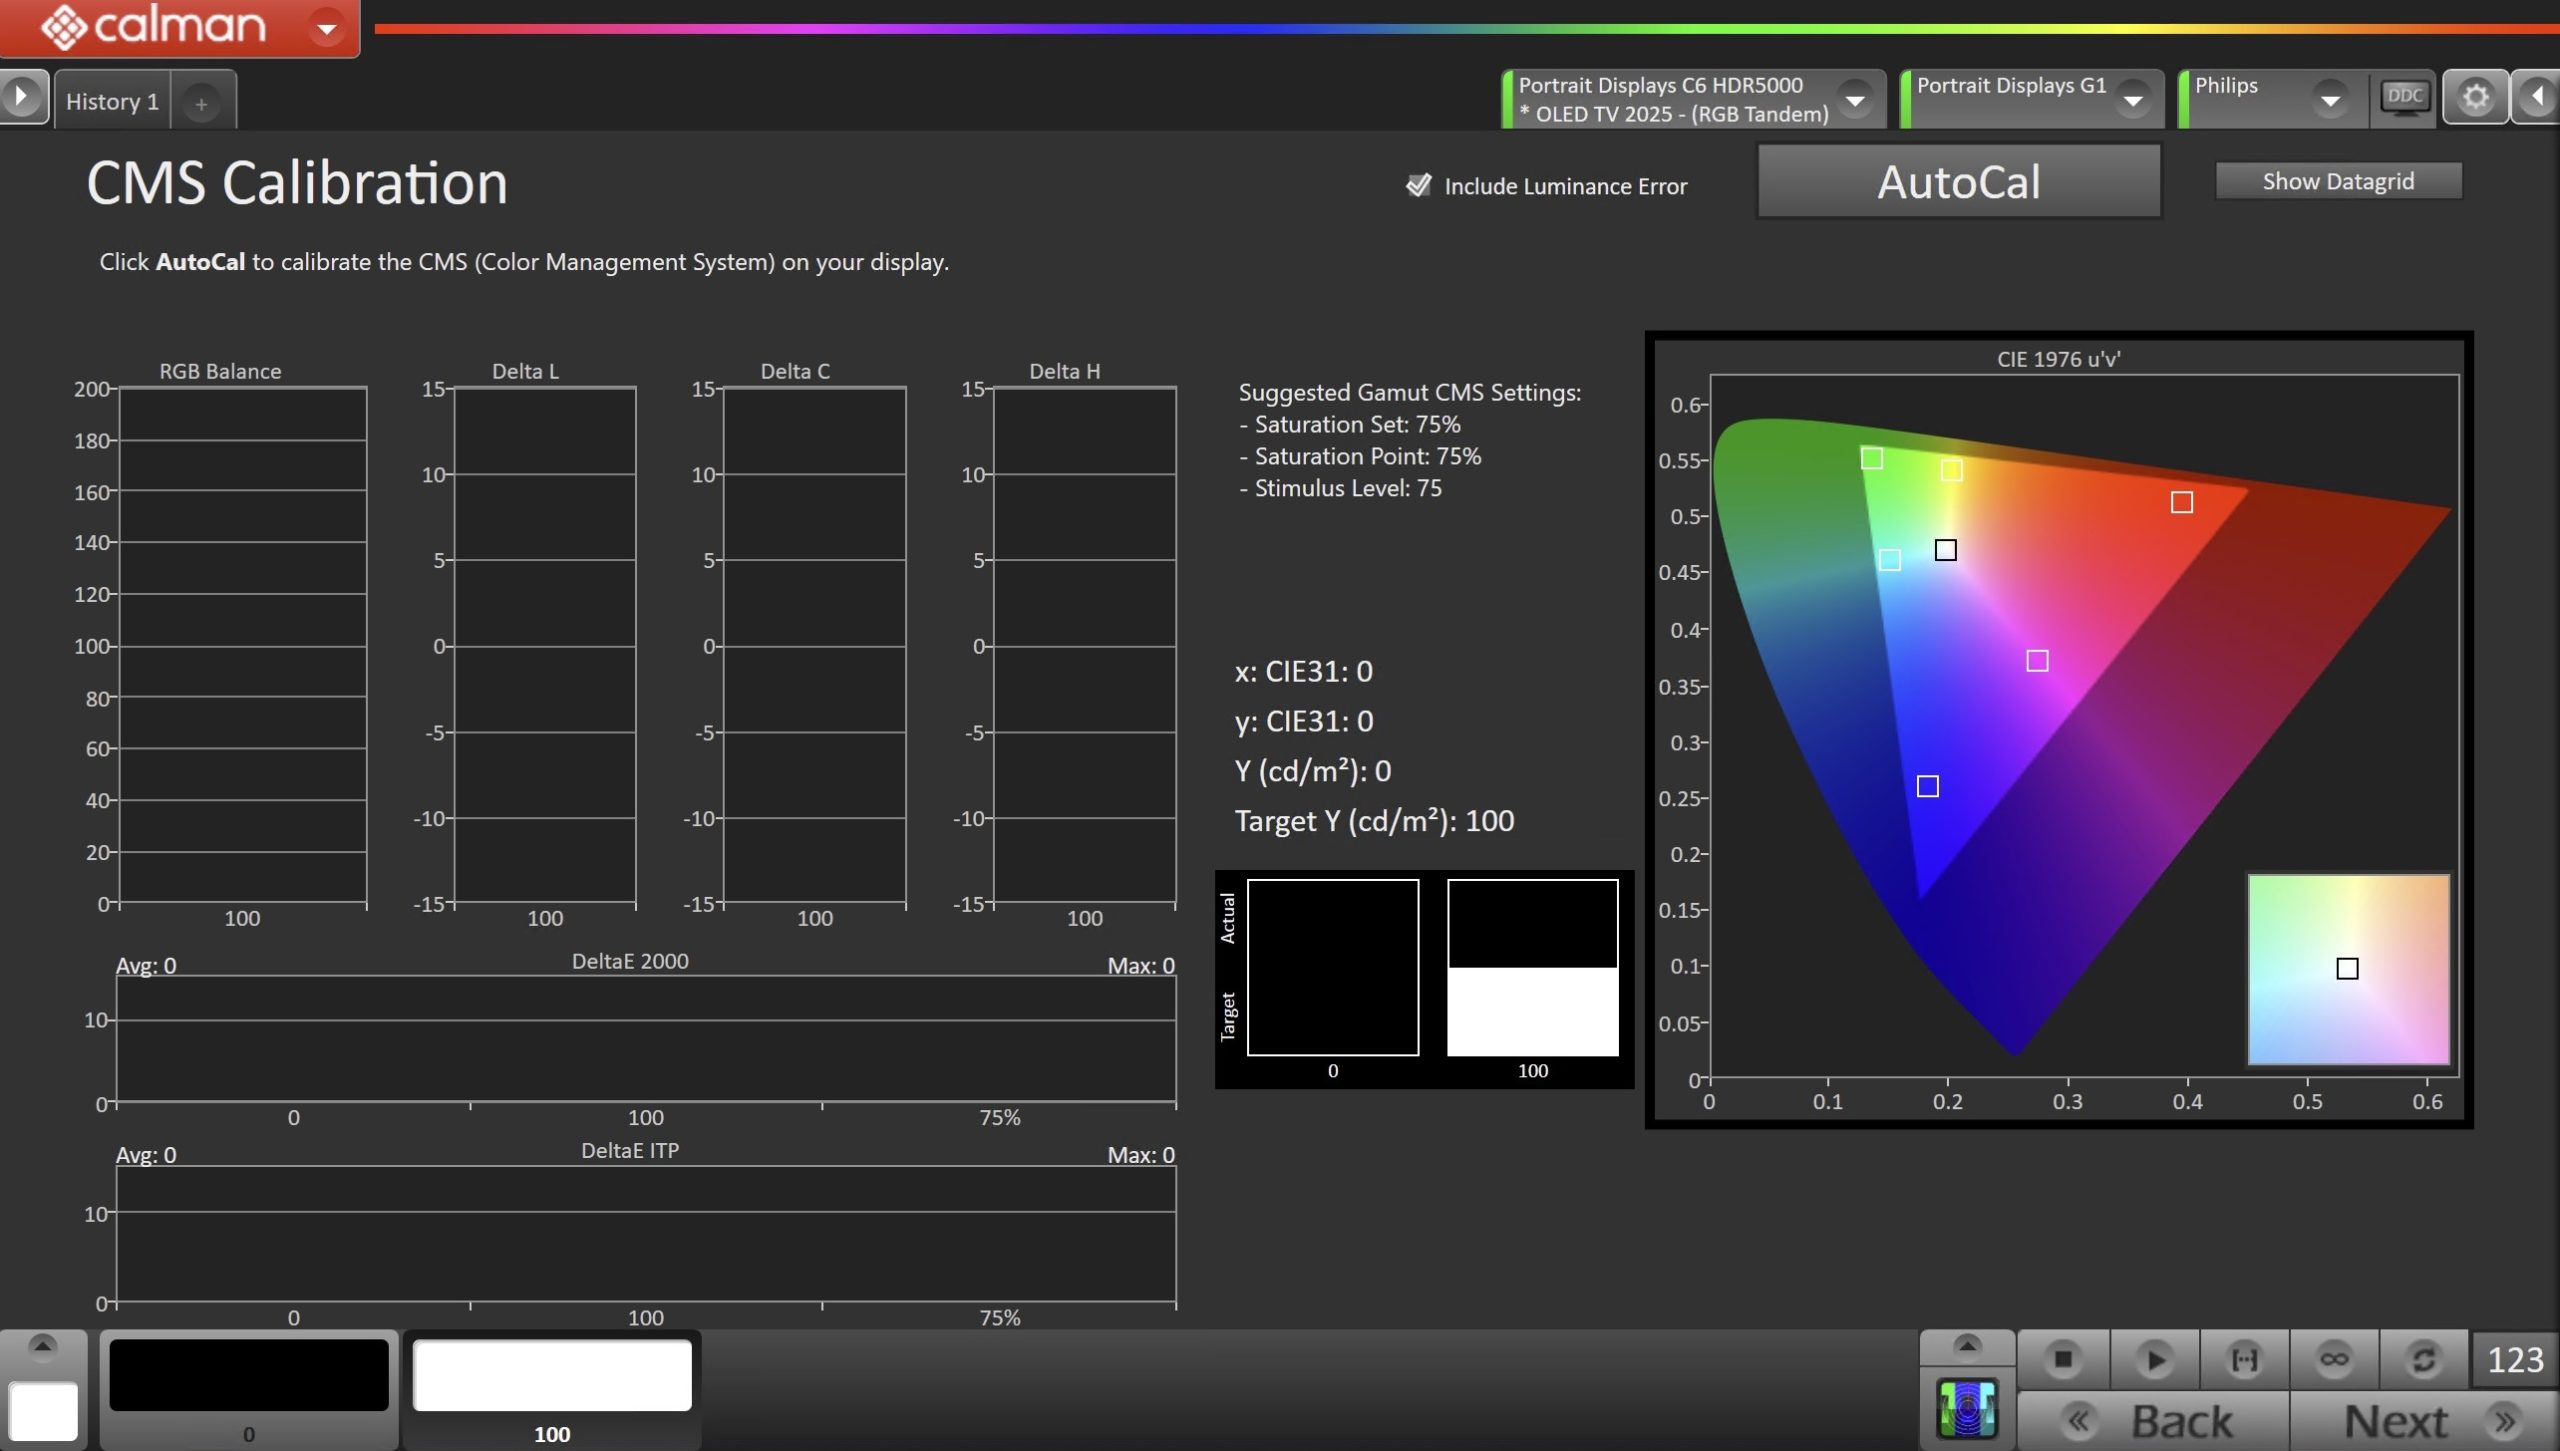
On this page, Calman will calibrate the Color Management System
  • Press the AutoCal button to open AutoCal dialog
    • Defaults have been predefined to provide best results
  • Click OK to begin colorspace AutoCal process
  • When AutoCal is complete, press the Next button to proceed

Step 8

It is common to lose some overall luminance after the 1D LUT calibration. Use this step to adjust back to the luminance target if it has changed
  • Click the Autocal button to measure your TV’s light output at 100% white and adjust the display’s peak white to the desired luminance.
    • Luminance is a subjective target. SDR reference luminance is 100nits, but you may need to target higher to account for the ambient light in your environment.
  • Press Next when luminance adjustment is complete

Step 9 -Post Calibration Capture

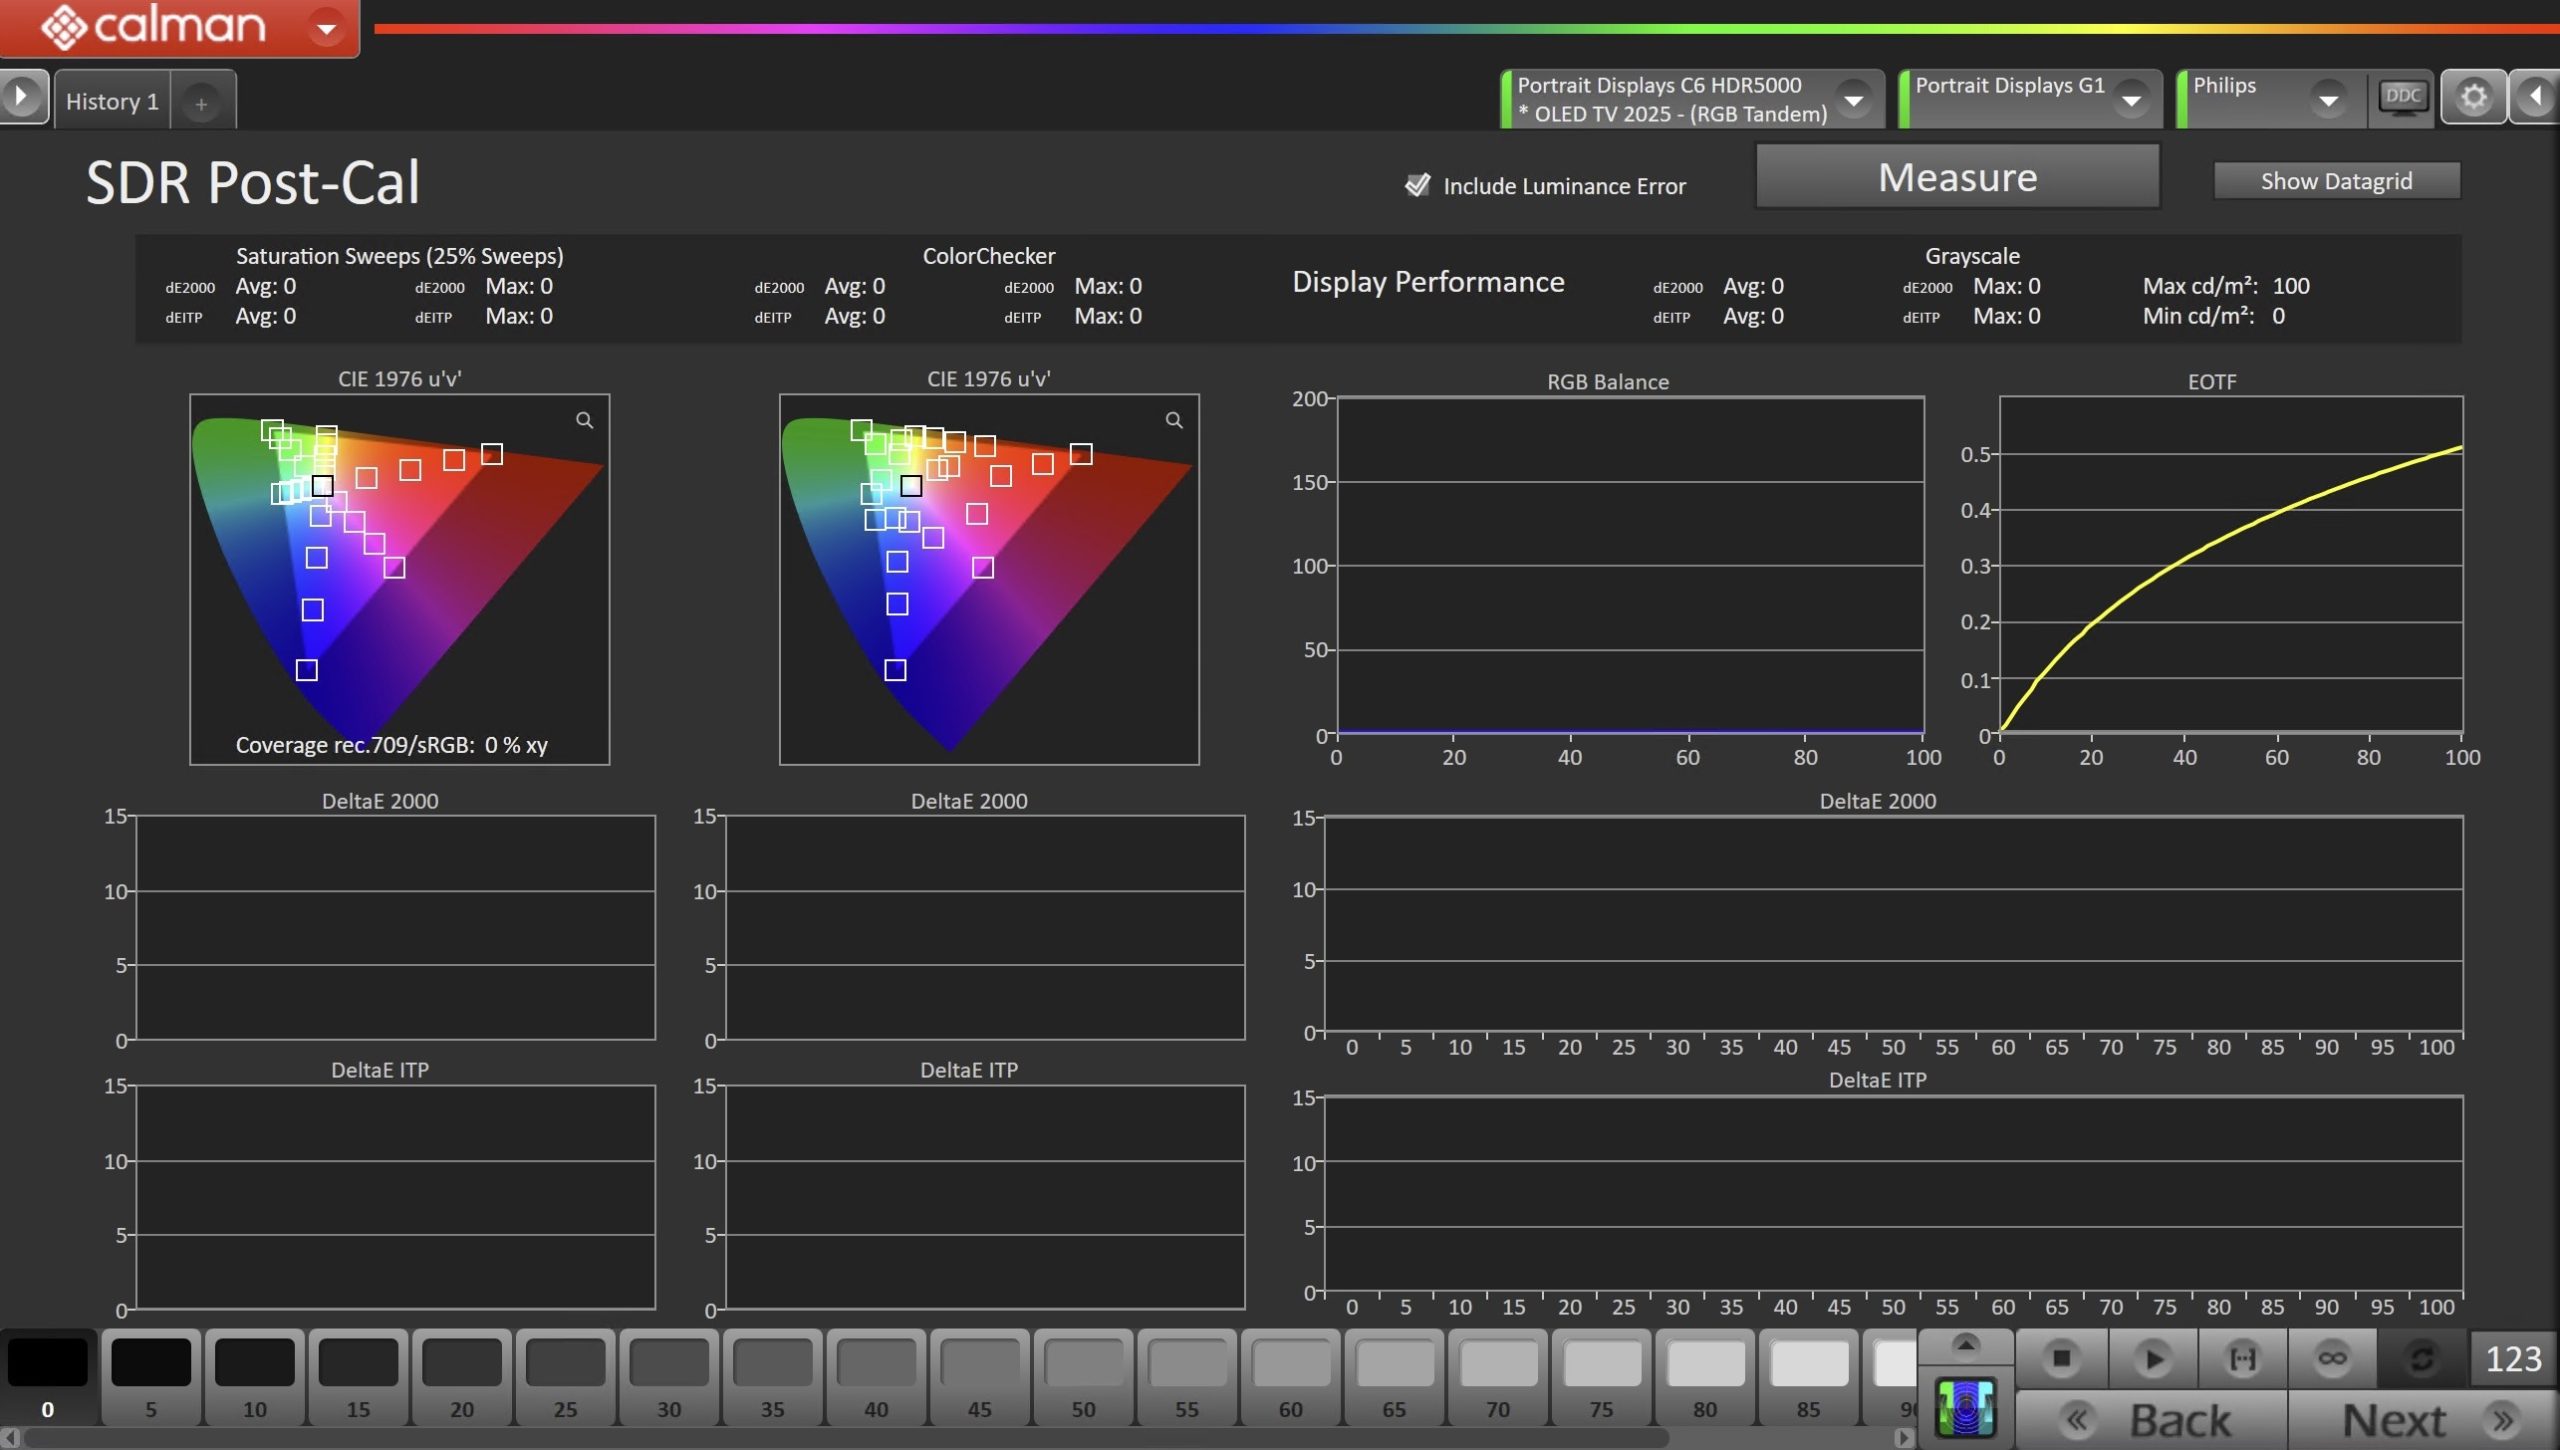
In this step, take readings of the display after the calibration.
  • Click the Read Series […] button to measure the display’s grayscale and color gamut response.
  • Click Next.
  • On the Calibration Complete page, you can choose to…
    • Save and Report
      • Select Save and Report to generate the calibration report
    • Calibrate Next Mode
      • Returns to the beginning of the workflow where a new mode or colorspace can be selected
      • Note: Does not save workflow data
    • Additional Validation
      • Allows measurement of the display using more thorough Saturation Sweeps and ColorChecker® patch sets

SDR Calibration is complete.

Note: If the SDR calibration is using Gamma of 2.2, you may copy and apply the SDR mode calibrated color temperature and 1D greyscale LUT settings to HDR Calman mode to skip HDR calibration process. To do so, please use the TV remote control to press key sequence 225626, then follow the TV’s pop-up on-screen display message instruction. You may lock Calman mode TV settings to prevent unintentional change. Once locked, the Calman settings will not be changed if the TV performing a software update, factory reset, or reinstallation of the TV. You may use the same key sequence to unlock.


HDR Calibration

Open HDR Calibration Steps

Note: HDR Calibration for 2021 and 2022 is only supported on OLED models. HDR calibration is available for all 2023 and 2024 models. 

Step 1 – Hardware Connect

  • From the Calman Menu in the top-left, choose Open Workflow Template -> Display Specific and then AutoCal – Philips
  • On the introduction screen, click HDR Calibration to proceed to the hardware connect page
    • Plug your meter into a USB port on the computer and press the Find Meter button on the left
      • When your meter is connected, select your display type from the dropdown (this will vary by meter)
        • OLED: OLED TV profile matching your model year, for Portrait Displays C6 Meters
    • Connect Pattern Source to your computer.
      • Click the Find Source button then select your source
      • Select the pattern window size
        • OLED: Window 10%
        • LCD: APL18 for SDR
    • Connect to your Philips TV
      1. Press the Menu button on the Remote
      2. Select Frequent Settings > All Settings > Picture > Al Picture
        • For LCD TV 92×6/90×6/95×7/88×7/85×7, press the Gear button on the remote, select Frequent Settings > All Settings > Picture > AI Picture Style/Picture Style
        • For 2023 and 2024 TV models, press Quick Menu button on the remote, then press Left arrow key to go to Frequent Settings >Al Picture Style/Picture style,  select Calman and press Ok key. Press the green key to begin calibration.
      3. Select Calman
        • Note: If the Calman icon is locked, type 225626 to unlock.
      4. Press the Green button on the remote to initiate calibration
        connection
      5. The TV will show the IP address once in connection mode, enter
        that IP address in the field and press the ‘Find Philips TV‘ button
      6. Choose Make: Philips and Model: Your Philips Model
      7. Enter your TV’s IP Address into the connection dialog box, and click Connect

  • Select the Gravscale calibration method to use. Gains only produces
    excellent results for a Power Function 2.2 curve, for other Gamma
    formulas/targets a 1D LUT may return better results.
  • Select the Display Type
    • OLED or LCD

Step 2 – Calibration Targets

In this step you will establish the calibration defaults. The workflow will set several settings automatically.
  • For best results, please configure your Calman settings to match the configuration recommended below.
    • BT.2020
    • D65
    • Gamma
      • BT.2084
  • To prevent a Philips OLED display from entering its auto-dimming mode during extended measurements, the Calman Pattern Insertion feature periodically inserts a different test pattern during extended test pattern measurements, to reset the display’s auto-dimming timer.
    • Under Calman Settings > Application Measurement Options set the following Full Field Pattern Insertion options:
      • Frequency: 5
      • Duration: 5
      • Pattern Level: 25
  • AutoCal dE Formula
    • dE ITP
      • Increases accuracy, but calibration time may be extended
    • dE ICtCp 240
      • Improved speed, with a small tradeoff in accuracy

Step 3 – Pre-Calibration Measurement

This step, readings will be taken of the display before the calibration and will be used to compare the calibration results.
  • To take Pre-Calibration Measurements click the Read Series […] button to measure the display’s grayscale and color gamut response
    • This will provide a point of reference to compare your calibration results

Step 4 – Display Reset

This resets and prepares the picture mode for calibration

  • Click the Full DDC Reset button. This resets and prepares the picture mode for calibration.
  • Ensure the tonemap button to the right is unchecked before proceeding, the act of the reset will uncheck it.
  • Click Next after the DDC reset is complete

Step 5 – Greyscale AutoCal

Here Calman will adjust the Multipoint Greyscale of the display using a 1D LUT
  • Press the AutoCal button and select the correct data points in the AutoCal Dialog to auto-calibrate the Grayscale/Luminance response on your display.
    • Choose 17 Point – Limited Range
    • Note: The HDR grayscale AutoCal is performed to a Power Function 2.2 target, tone mapping for PQ will be applied again after this step
  • AutoCal is performed with tone mapping disabled to panel native gamma
  • Click OK to begin greyscale AutoCal

Step 6 – Re-Enable Tone Mapping

Here Calman will re-enable the TVs tone mapping

  • Ensure the tonemap button to the right is checked.
  • Click Next

Step 7 – Post-Calibration Capture

In this step, take readings of the display after the calibration.
  • Click the Read Series […] button to measure the display’s grayscale and color gamut response.
  • Click Next.
  • On the Calibration Complete page, you can choose to…
    • Save and Report
      • Select Save and Report to generate the calibration report
    • Calibrate Next Mode
      • Returns to the beginning of the workflow where a new mode or colorspace can be selected
      • Note: Does not save workflow data
    • Additional Validation
      • Allows measurement of the display using more thorough Saturation Sweeps and ColorChecker® patch sets

HDR Calibration is complete.

Note: You may lock HDR Calman mode TV settings to prevent unintentional change. To do so, press TV remote control key sequence 225626, then follow the TV’s pop-up on-screen display message instruction. Once locked, the HDR Calman mode TV settings will not be changed if the TV performs a software update, factory reset, or reinstallation of the TV. You may use the same key sequence to unlock.